Puppet Show Theater DIY Makeover
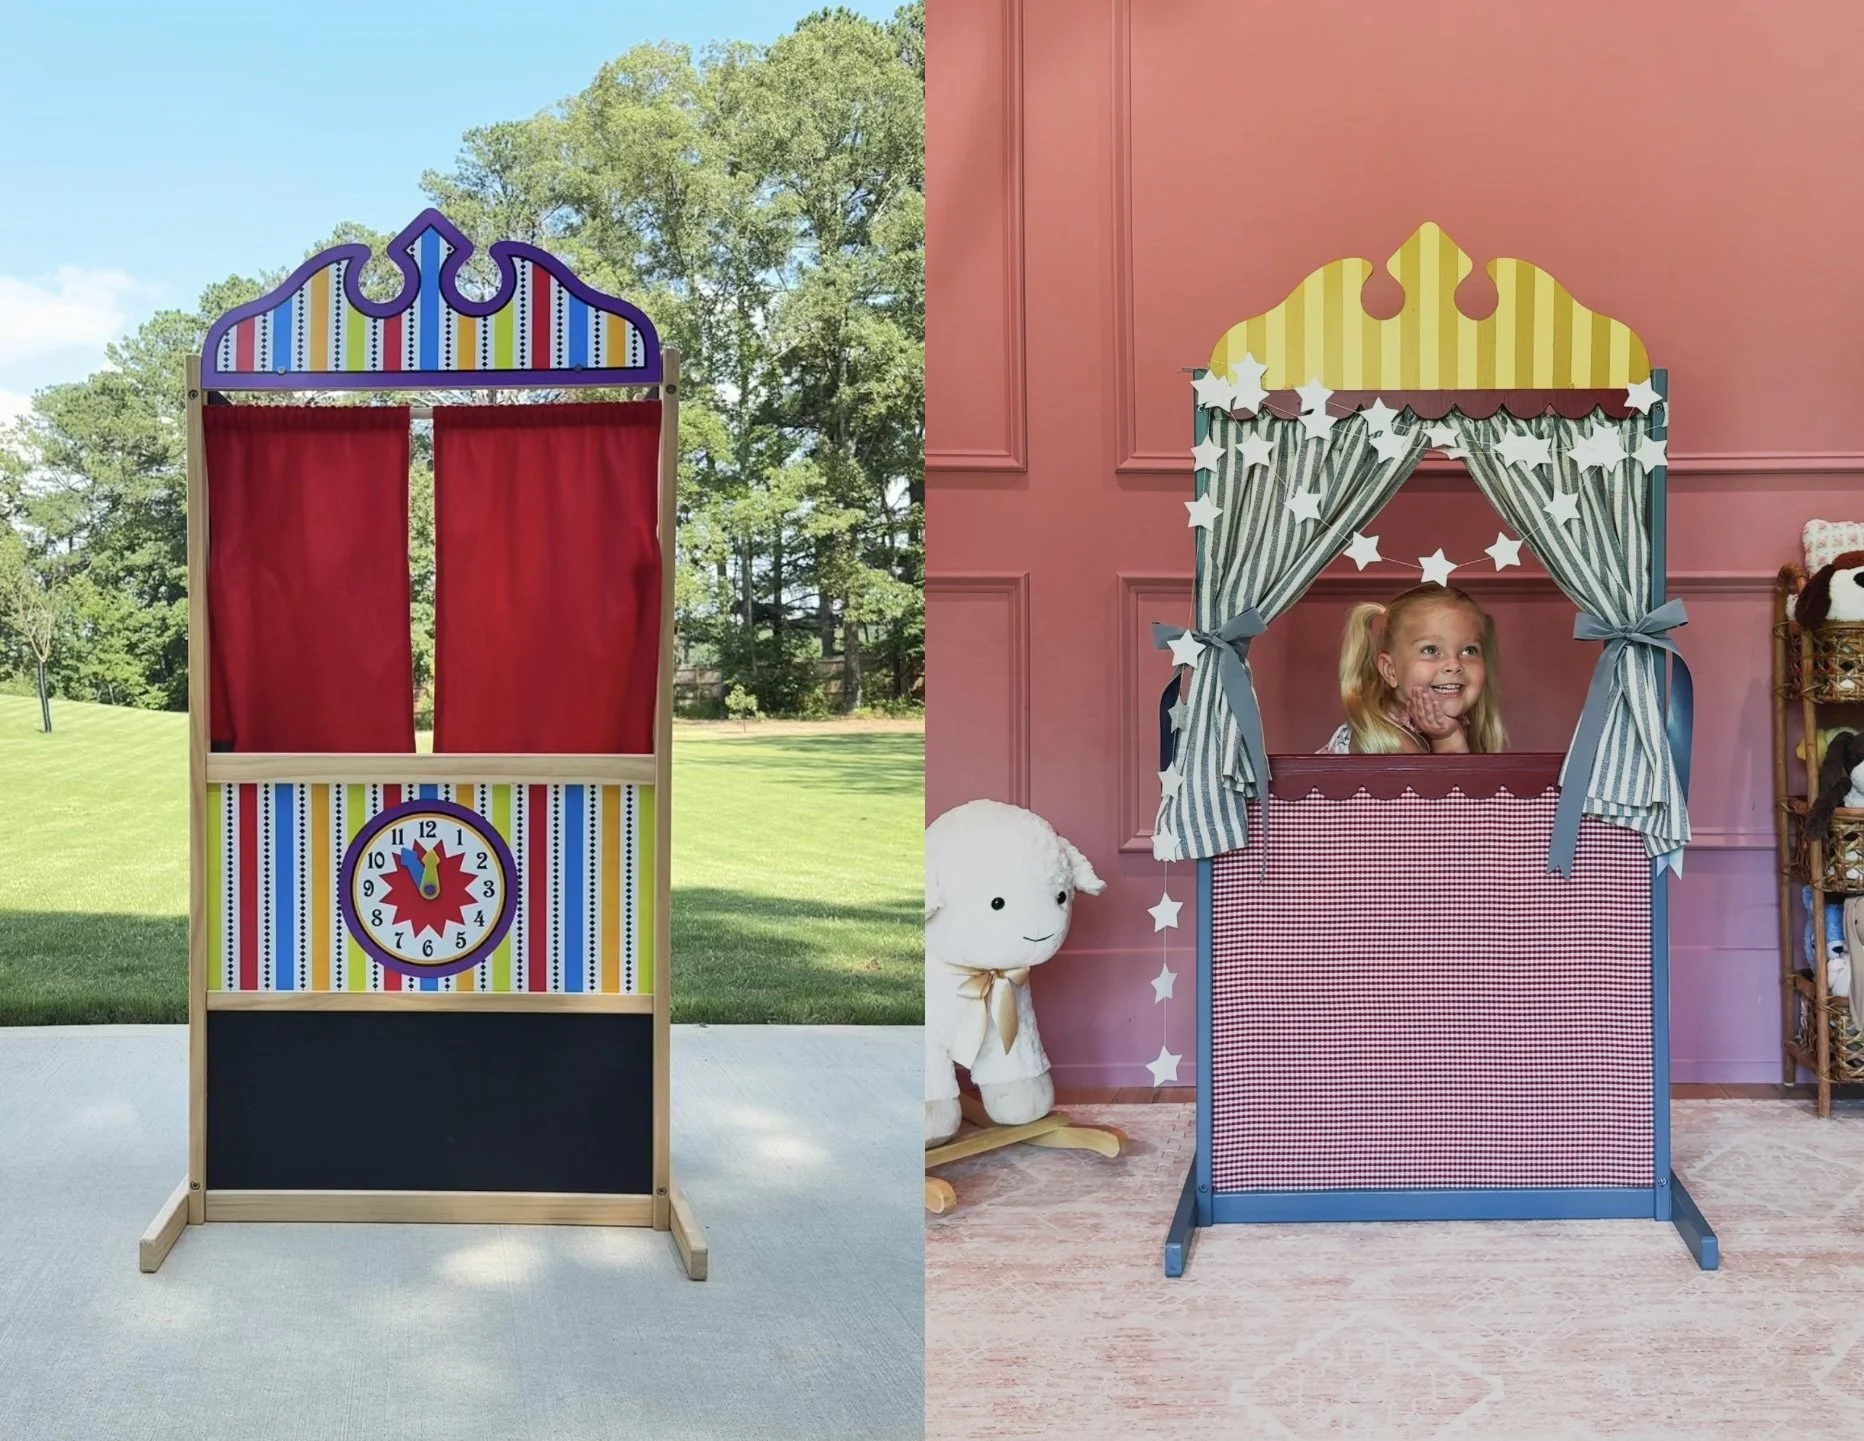
I found the cutest little puppet theater on Facebook Marketplace, but I wanted to give it a refresh. While I love color, I am not into the super bright primary color schemes that kids’ toys often come in. I wanted something a little more whimsical, playful, and girly, so I gave this toy a makeover
What You’ll Need
Scallop trim (I found mine at Hobby Lobby)
Fabric (I used red gingham for one side and a floral print on the other)
Curtains (two sizes of blue and white striped panels - 45” and 24”)
Primer (I recommend BIN primer)
Paint colors:
Paintbrushes or rollers
Ribbon (for tying back the curtains) *bought mine at a garage sale
Painter’s tape (optional, if you want crisp stripes)
Step 1: Disassemble the Toy
The theater was really easy to take apart. I made sure to mark each piece so I could remember exactly where everything needed to go when it was time to reassemble.
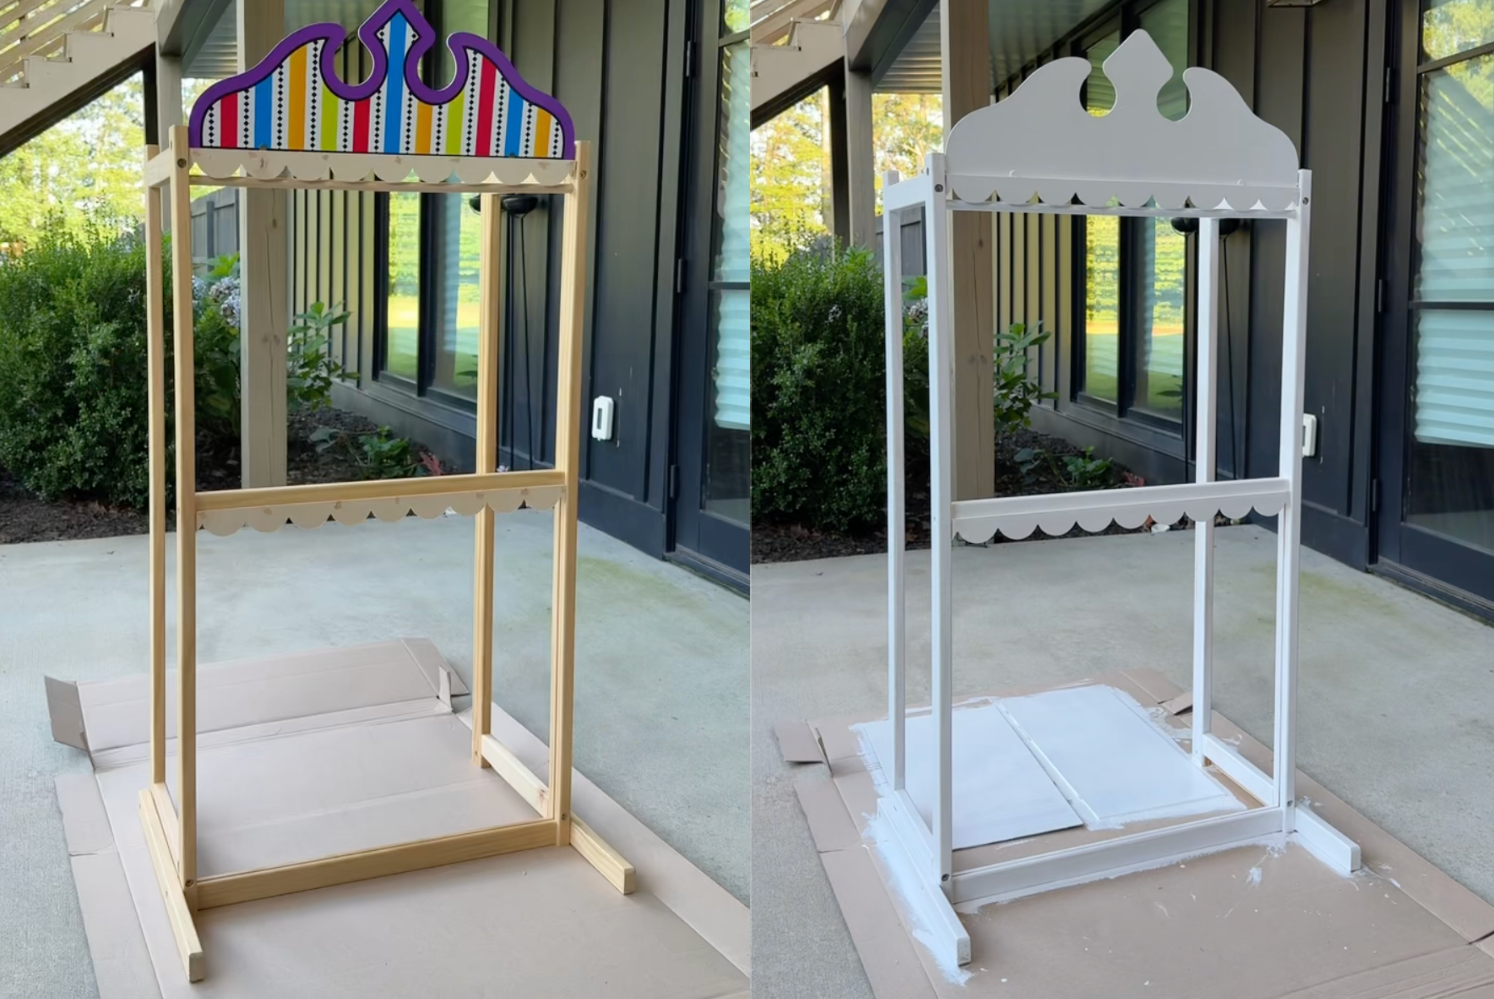
Step 2: Add Scallop Trim
To give the theater a little extra character, I added scallop trim that I found at Hobby Lobby. I attached it to the top and middle sections with a brad nailer.

Step 3: Prep for Paint
I loosely reassembled the toy so I could prime it, but you could also keep it fully disassembled if that is easier. Be sure to remove the clock board and chalkboard pieces and set them aside to use later. I used BIN primer to get everything ready for paint.
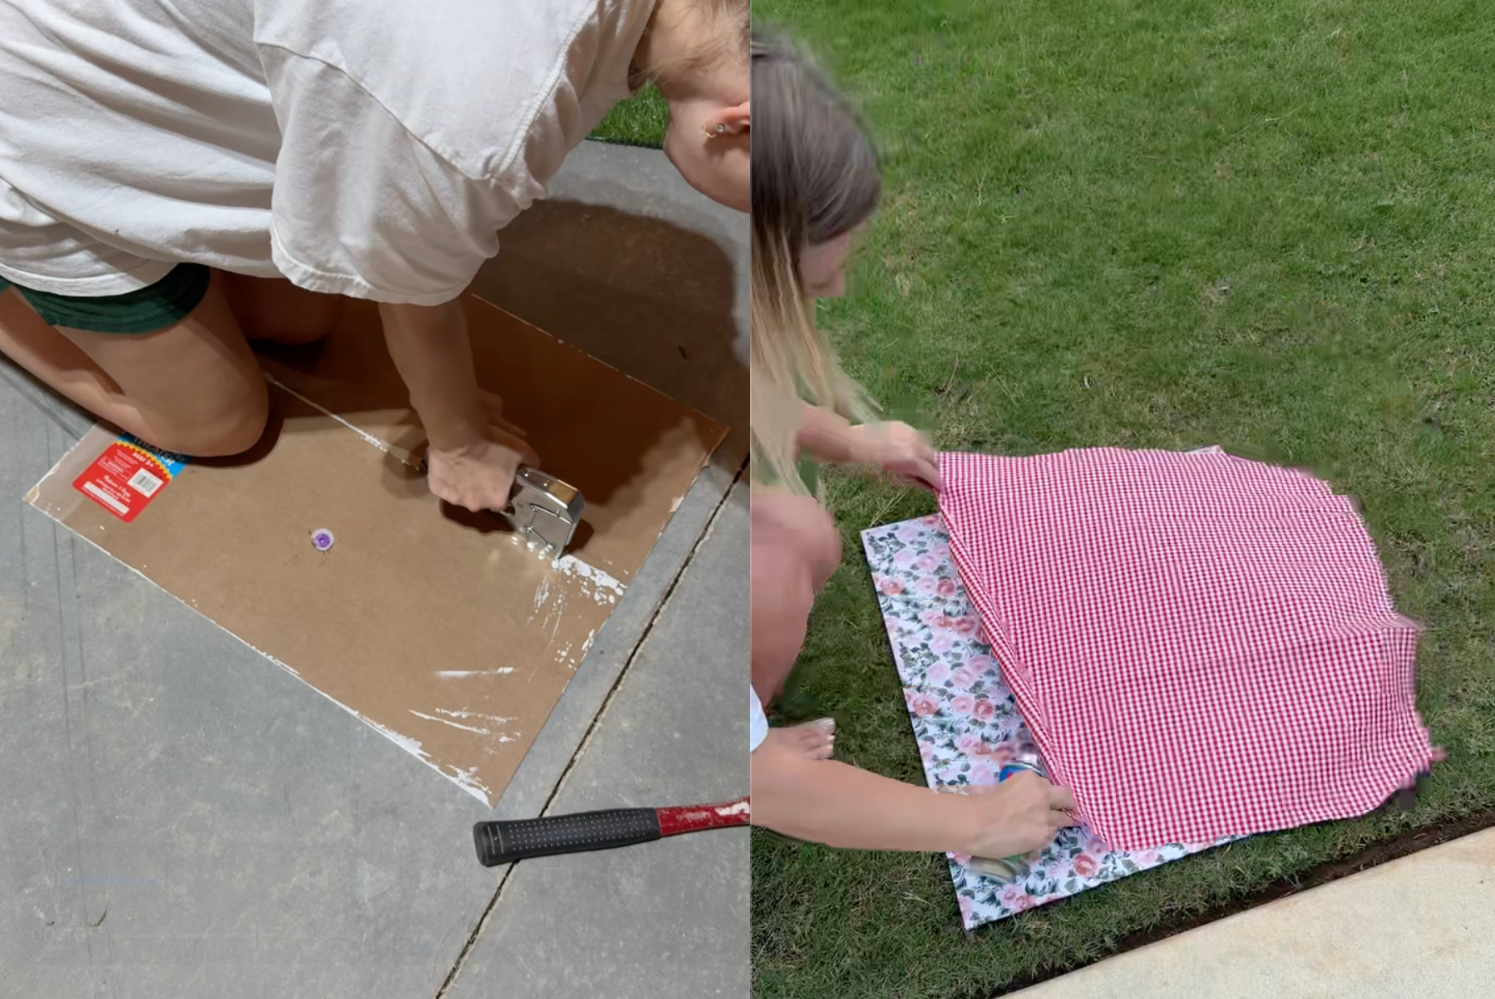
Step 4: Remove and Rework the Boards
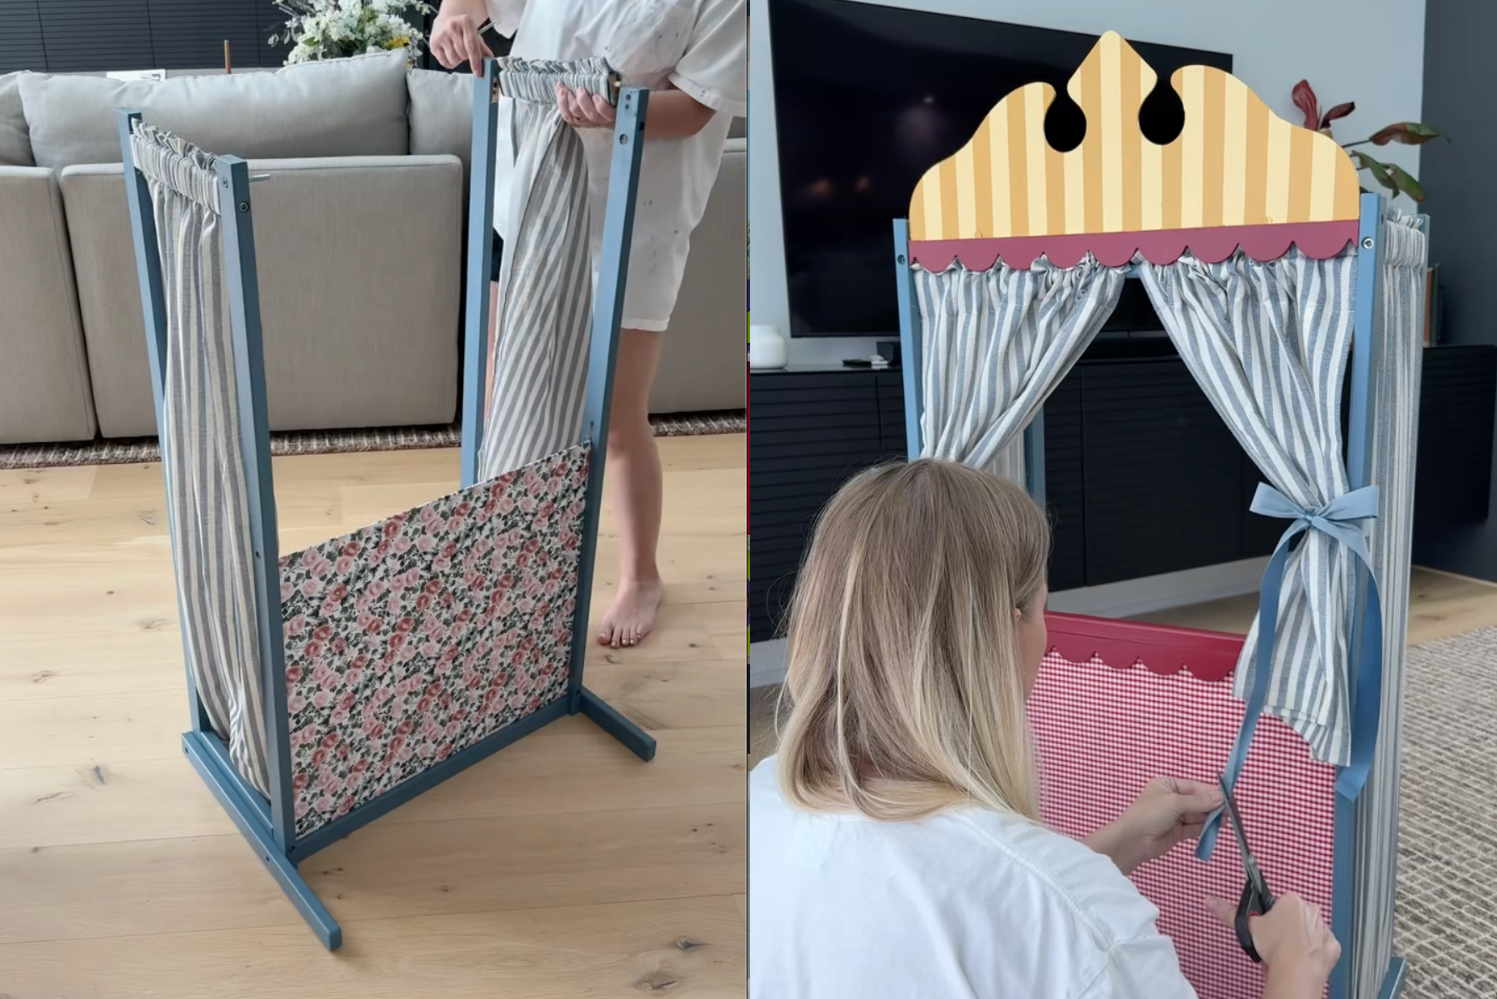
The little clock came off easily with pliers. I then used a staple gun to attach the clock board and chalkboard together, creating one larger panel. To cover it, I wrapped both sides in fabric and secured it with a staple gun. At first, I tried a floral print but decided it was not quite right. Using spray adhesive, I added a red gingham fabric panel to one side instead. Now the board is reversible, which is a fun surprise.
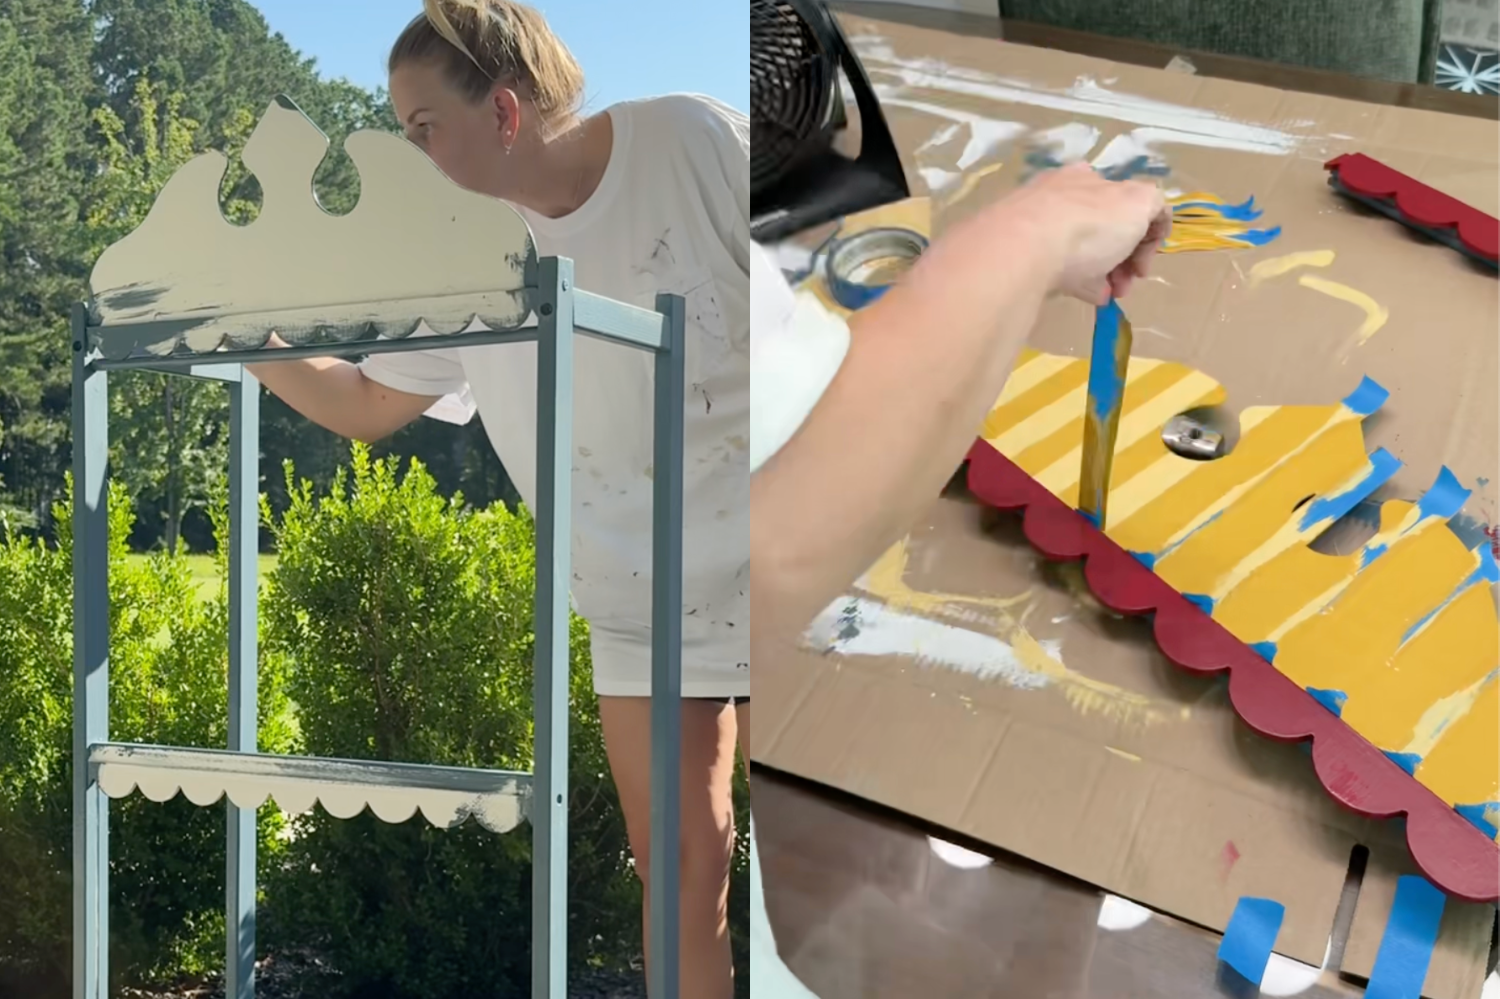
Step 5: Paint the Base and Trim
I painted the base in Smokey Blue by Sherwin Williams, the scallops in a bold red called Wild Currant by Sherwin Williams, and the top in two-toned yellow stripes using Golden Rule and Colonial Yellow. The new colors instantly transformed the toy into something more cheerful and charming.
Step 6: Add Curtains
Instead of sewing, I used two different sizes of blue and white striped curtains (45" for the sides and 24" for the front). For the sides, I hung them normally at the top and then stapled them to the inside bottom, which gave them a pretty pleated look. For the front, I hung the 24" curtains at the top and tied them back with ribbon that I bought at a garage sale for that classic theater feel.
Step 7: Reassemble
Once everything was painted, covered, and ready, I reassembled the theater.
And just like that, the makeover was complete. The puppet theater is still colorful, but in a softer, more whimsical way. It feels playful and girly, and it has become such a fun little piece for playtime.
