
The Secret to a Well-Styled Entryway
Why Getting the Scale Right in Your Entryway Is Important
Your entryway sets the tone for your entire home—it’s the first thing people see when they walk through the door, and it deserves just as much attention as any other room. One of the biggest things I’ve learned when designing ours? Scale is everything.
You can have the prettiest pieces in the world, but if they’re not the right size for your space, the whole room can feel a little… off. Oversized art, the right-sized rug, and furniture that fills the area without crowding it—it all matters more than you might think.
Take a look at the comparison between our finished entryway and what it looked like when we first moved in (pictured below). In the “before” photo, everything—art, console table, rug—was beautiful, but just too small for the space. It left the room feeling sparse and disconnected. Once we committed to properly scaled pieces, the entire area felt more grounded, intentional, and welcoming. It took a while to pull together all the right items, but good design takes time—and the final result is absolutely worth the wait.


Big Art, Big Moment
Let’s start with the art. I wanted something dramatic, something that made a statement the second you walked in. I ended up going with a massive 60” x 90” print from Big Wall Décor, and it’s honestly one of my favorite things in the whole house. I shared how I made it work in this blog post, but in short—the art file itself was free, and you choose where to print it.
The oversized scale works because the entryway is large. It doesn’t feel like it’s trying too hard—it just fits, and it makes the space feel polished and intentional.
A Rug That Grounds Everything
Underneath it all, I added a custom rug from Ernesta in color linen that spans almost the entire length of the wall. This was a game changer. A rug that’s too small can make everything else feel like it’s floating, but this one helps ground the furniture and defines the whole area as its own zone. The neutral tone works with everything, and the texture gives it enough interest without competing for attention.


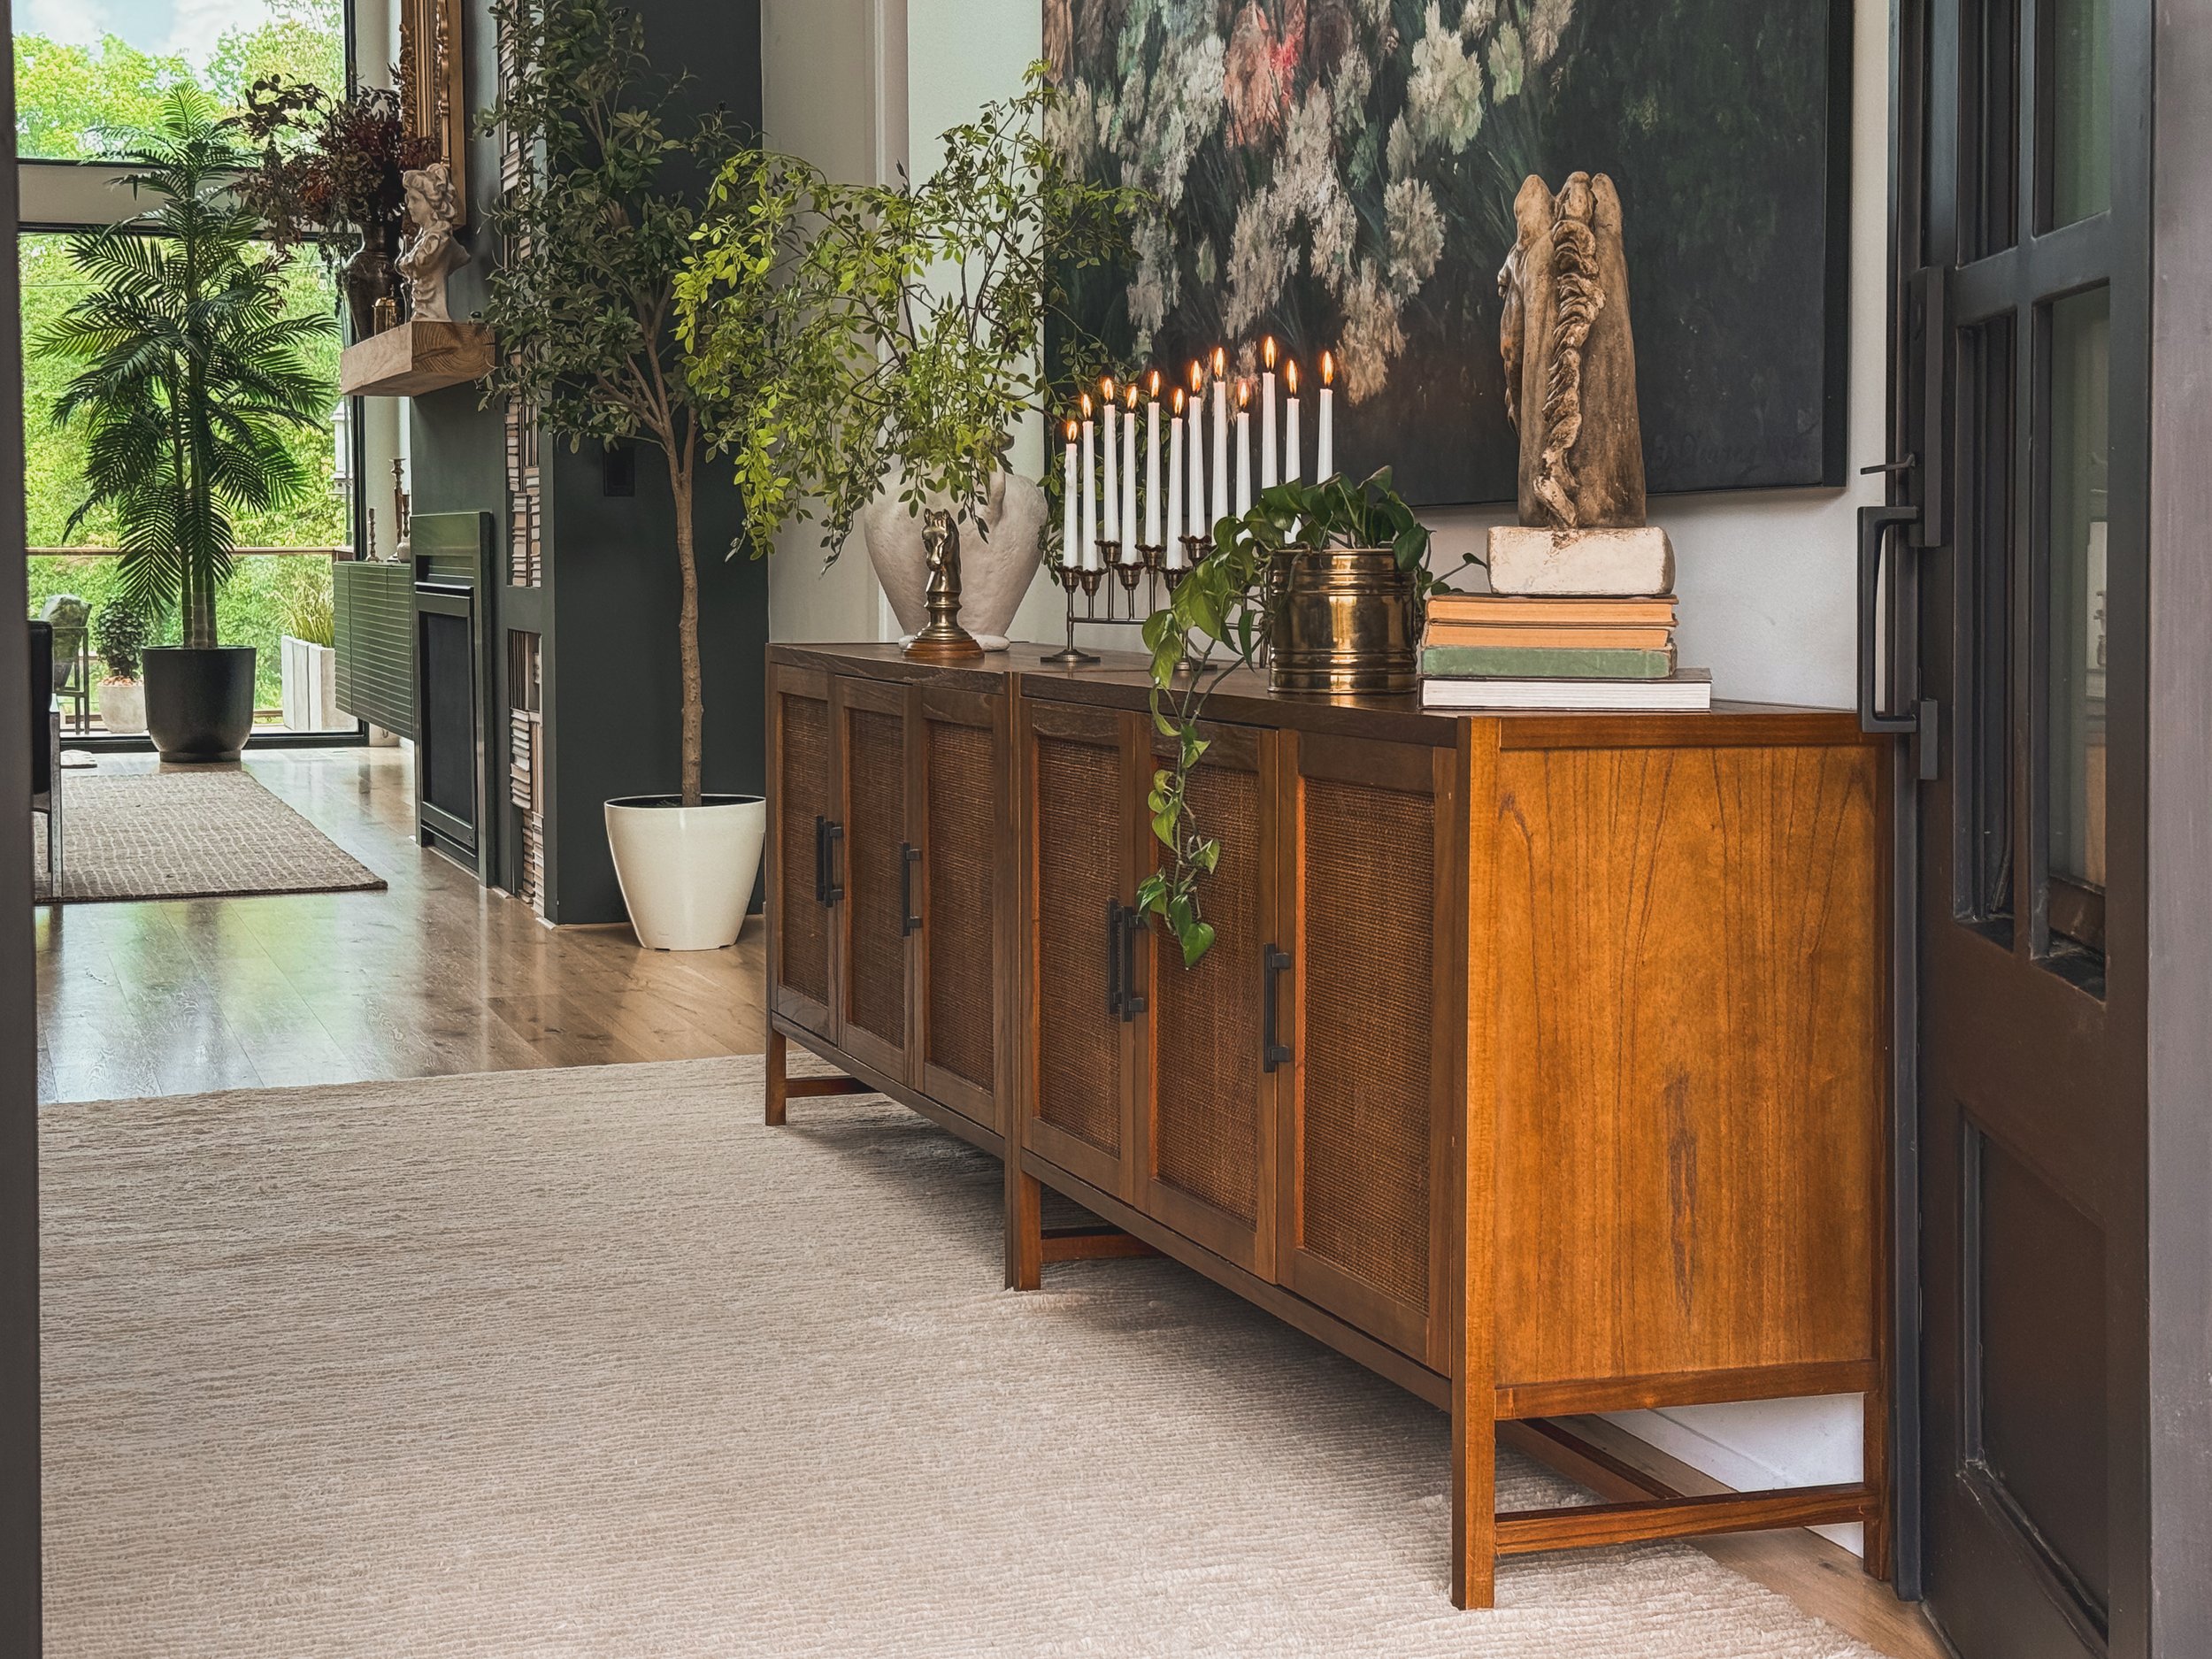
Anchoring with the Right Console
I get asked about this console setup all the time—and the truth is, it’s actually a combo of two different pieces! I placed the 2 cabinet units together to create one long, seamless piece—and honestly, it looks completely custom. The warm wood tones, woven door fronts, and clean lines help it feel substantial without being heavy, and the length is perfect for filling out the wall without needing any awkward filler pieces.
The Details That Pull It All Together
Once the foundation was set, I started layering in decor to give the space dimension and warmth. A long brass candelabra stretches nearly the full length of the console, adding height, symmetry, and just the right amount of vintage charm.
On one end, I placed a large vase filled with airy greenery to soften the lines and bring in a natural feel. On the other, I styled a small stack of books topped with a textured stone horse bust and a trailing plant in a vintage brass planter. The mix of materials—ceramic, brass, greenery, stone—adds character and creates that collected, effortless look I always love in an entryway.
The Takeaway
In the end, getting the scale right made all the difference in our entryway. From combining two consoles for the perfect fit to layering in a few well-chosen accents, each piece was picked with purpose—and it shows. It didn’t come together overnight, but taking the time to get it right was totally worth it. If your space feels a little off, start by looking at the size of what’s in it. A few smart swaps might be all you need to bring it to life.
Links at a Glance
Small Canvas Art (At Home find)
Vase (TJ Maxx find)
Horse Head (antique find, but similar links here)
Faux Olive plant (old entryway)
Brass planter (estate sale find)
IF YOU ENJOYED THIS POST, YOU MIGHT BE INTERESTED my Blog post about how to create the nancy Meyers aesthetic

DIY: Big Wall Art
How to Make Your Own Large-Scale Art on a Budget
Big art can be pricey, but that doesn’t mean you can’t have a statement piece in your home! I wanted a large-scale art piece without the hefty price tag, so I got creative and made one myself. Here’s how you can do it too!
Finding the Perfect Fabric
I stumbled upon a roll of upholstery fabric at an antique store for just $21—score! If you’re on the hunt for fabric, check out thrift stores, antique shops, or even repurpose curtains or shower curtains.
Building the Frame
I figured out the measurements for the size I wanted and luckily had some scrap 1x4s lying around, so I used those to create the frame. If I were to redo this, I’d add a center support piece for extra stability, but it worked out just fine!
To assemble the frame, I connected my 45-degree cuts using wood glue, brad nails, and a LOT of heavy-duty staples—seriously, like five staples per joint. It might look a little Frankenstein-ish, but hey, no one will see that part!


Attaching the Fabric
Once my frame was solid, I draped the fabric over the non-stapled side and flipped it over to make sure the pattern was straight. I started by stapling a row at the top to keep the fabric in place, then trimmed off the excess.
For the best results, I pulled the fabric tight, stapled a few spots, moved to the next side, and repeated—just working my way around to keep everything straight and even.


Hanging It Up
To hang the piece, I attached two D-ring hooks. I don’t remember the exact measurements, but I made sure to place them evenly (for example, 3 inches from the side and 2 inches from the top).
Then came the moment of truth—flipping it over for the big reveal!
I use a laser level to make sure it was on the wall perfectly straight, used toothpaste on the D-rings so I knew exactly where to put in my screws, and used anchors where there were no studs.


I absolutely love how this turned out, and it was such a budget-friendly way to get a large art piece! If you’re thinking of making your own, you can use all kinds of fabric—curtains, shower curtains, or whatever catches your eye. Give it a try and let me know how yours turns out!