
Primary Bathroom Lighting
One of my favorite parts of the bathroom makeover was swapping out the plain can lights and adding two chandeliers. We used a can light converter kit from Amazon (highly recommend) to hang them right where the old can lights were. Interested in a step-by-step tutorial on converting your can lights? Click here!
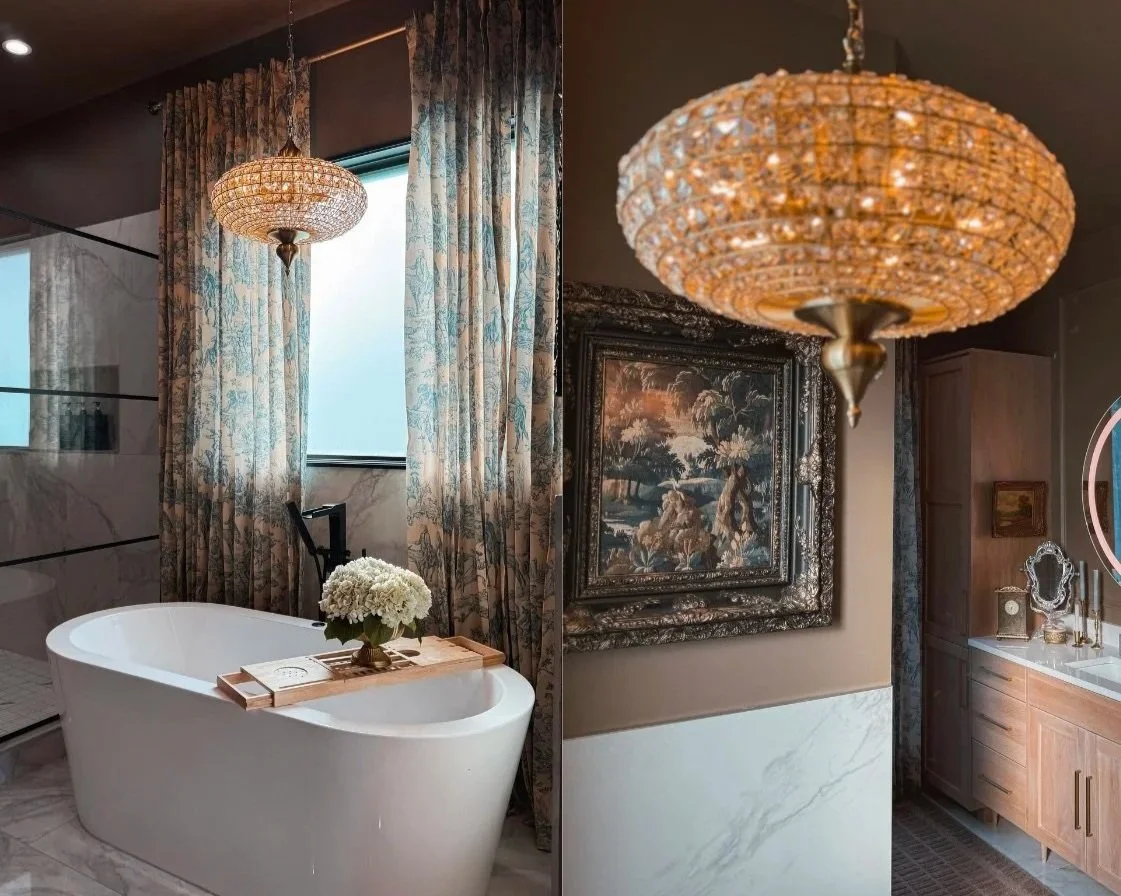
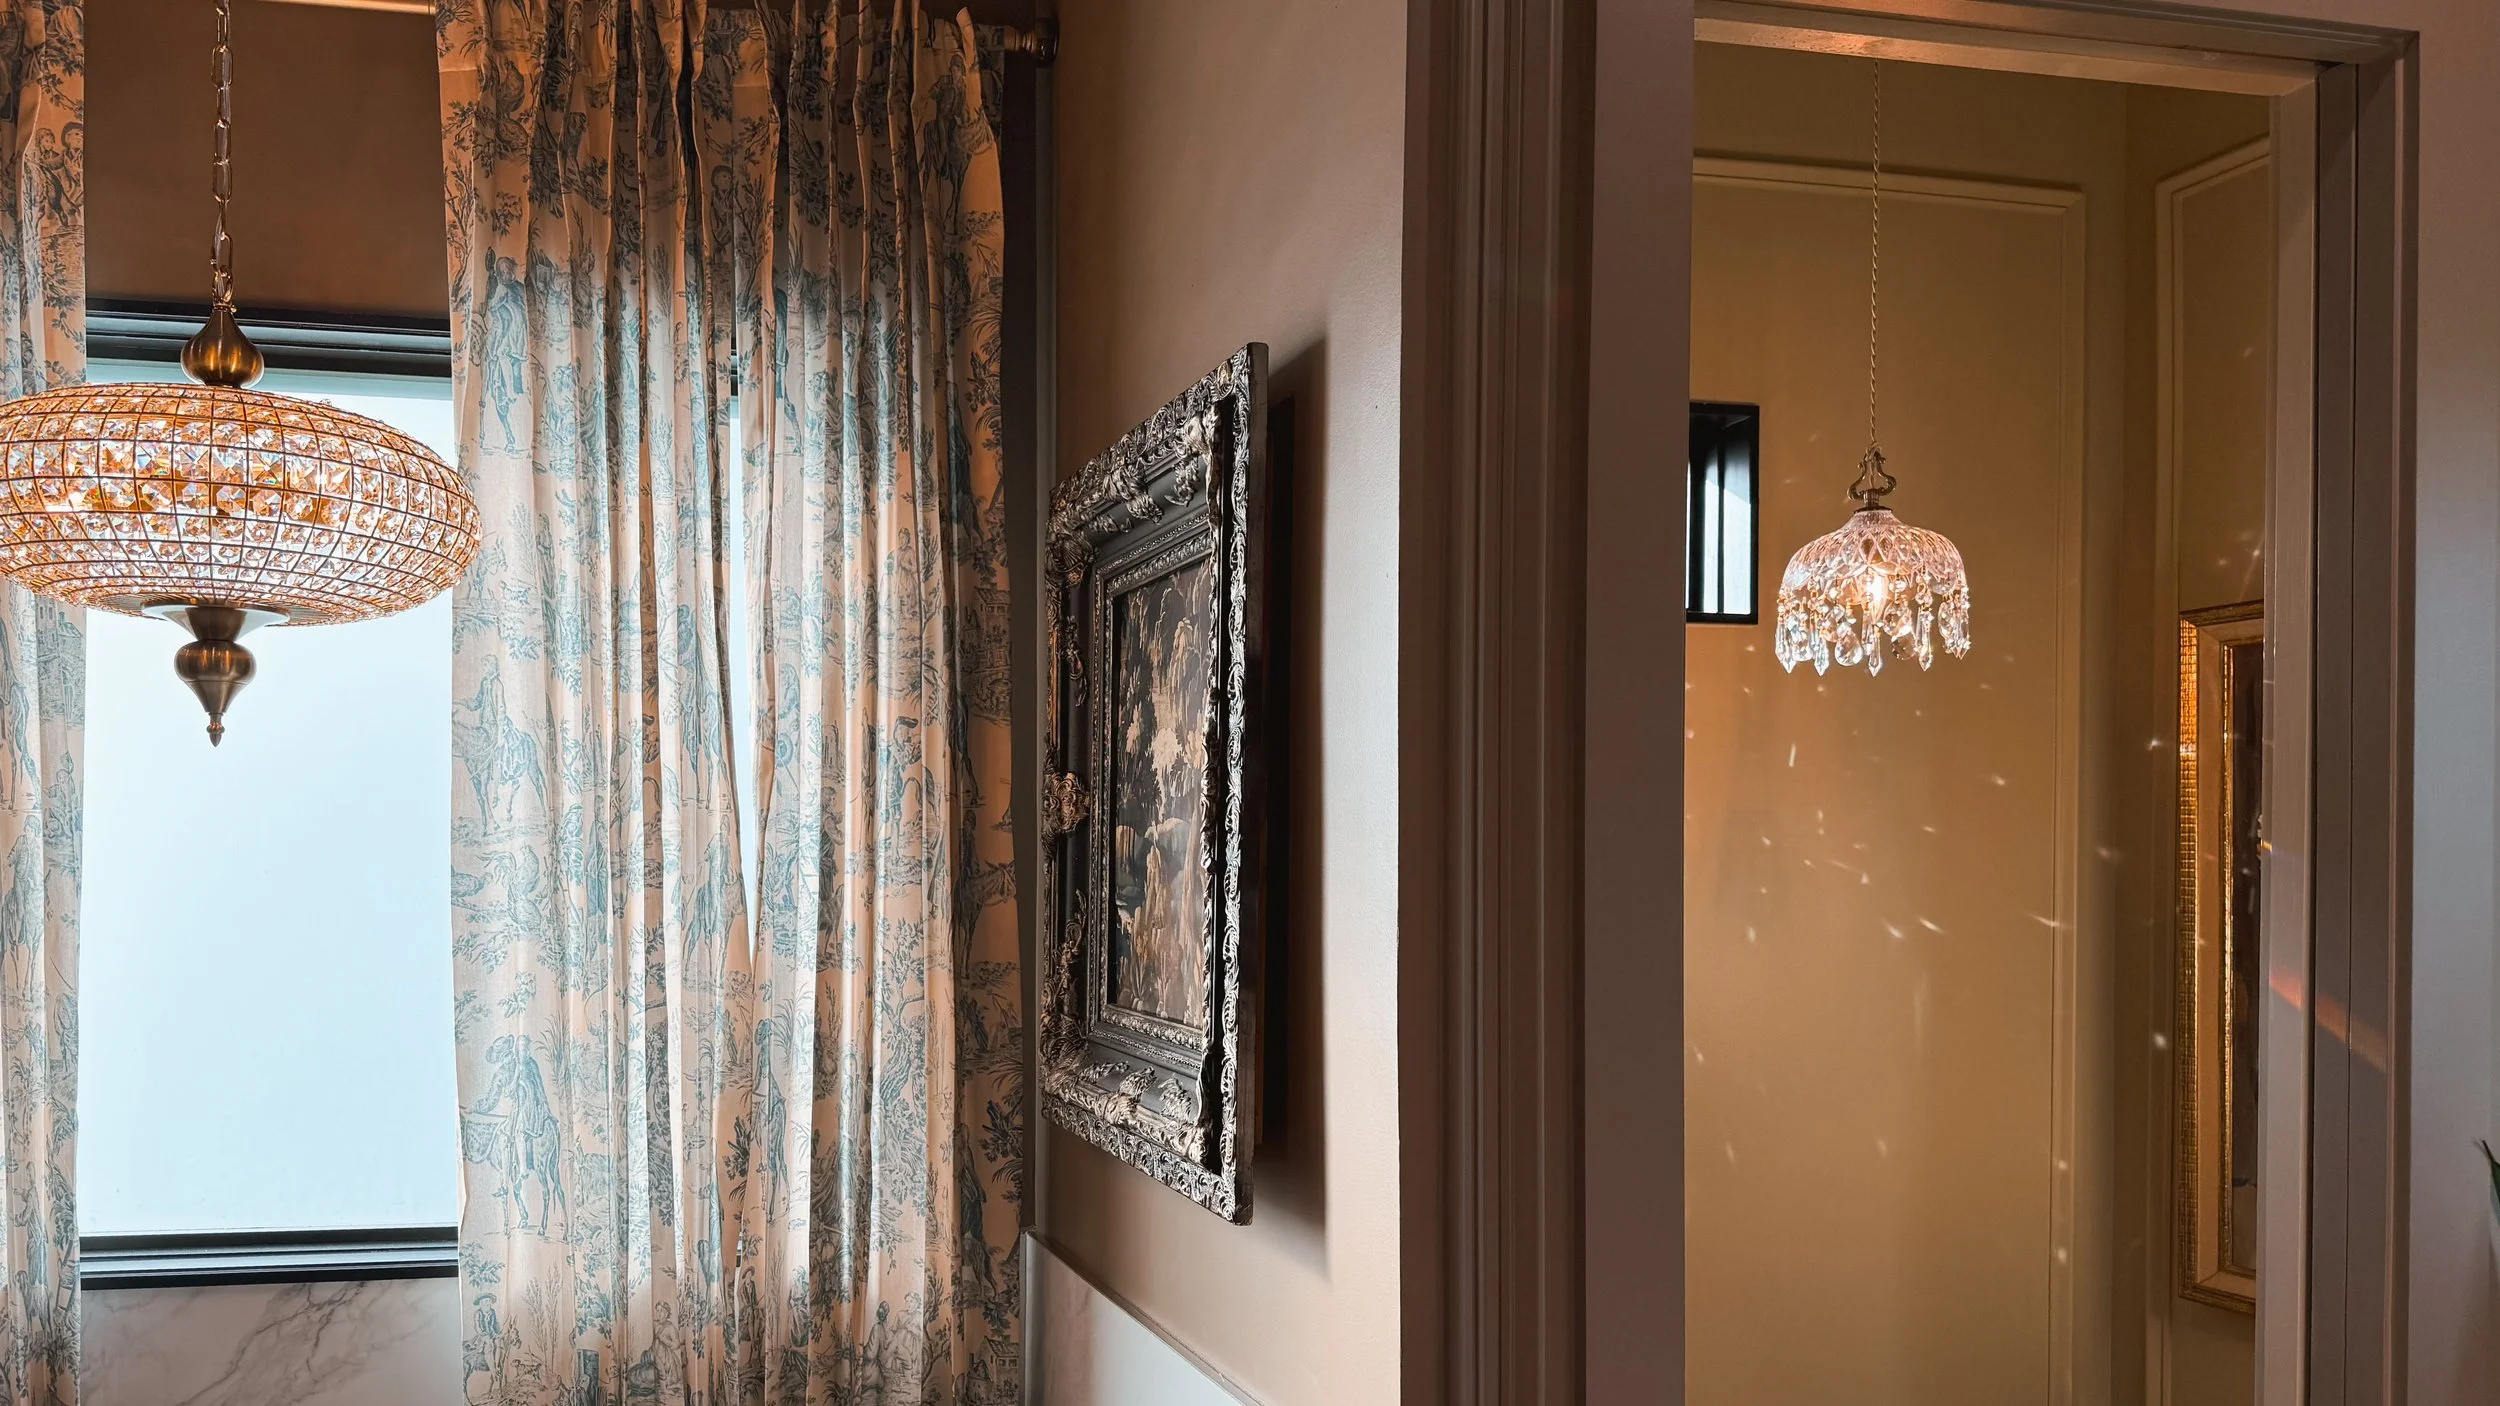
Over the tub, we added a beautiful chandelier paired with a large, ornate ceiling medallion (the same one that’s in the sunroom) that I painted to match the room. It instantly made the whole space feel more finished.

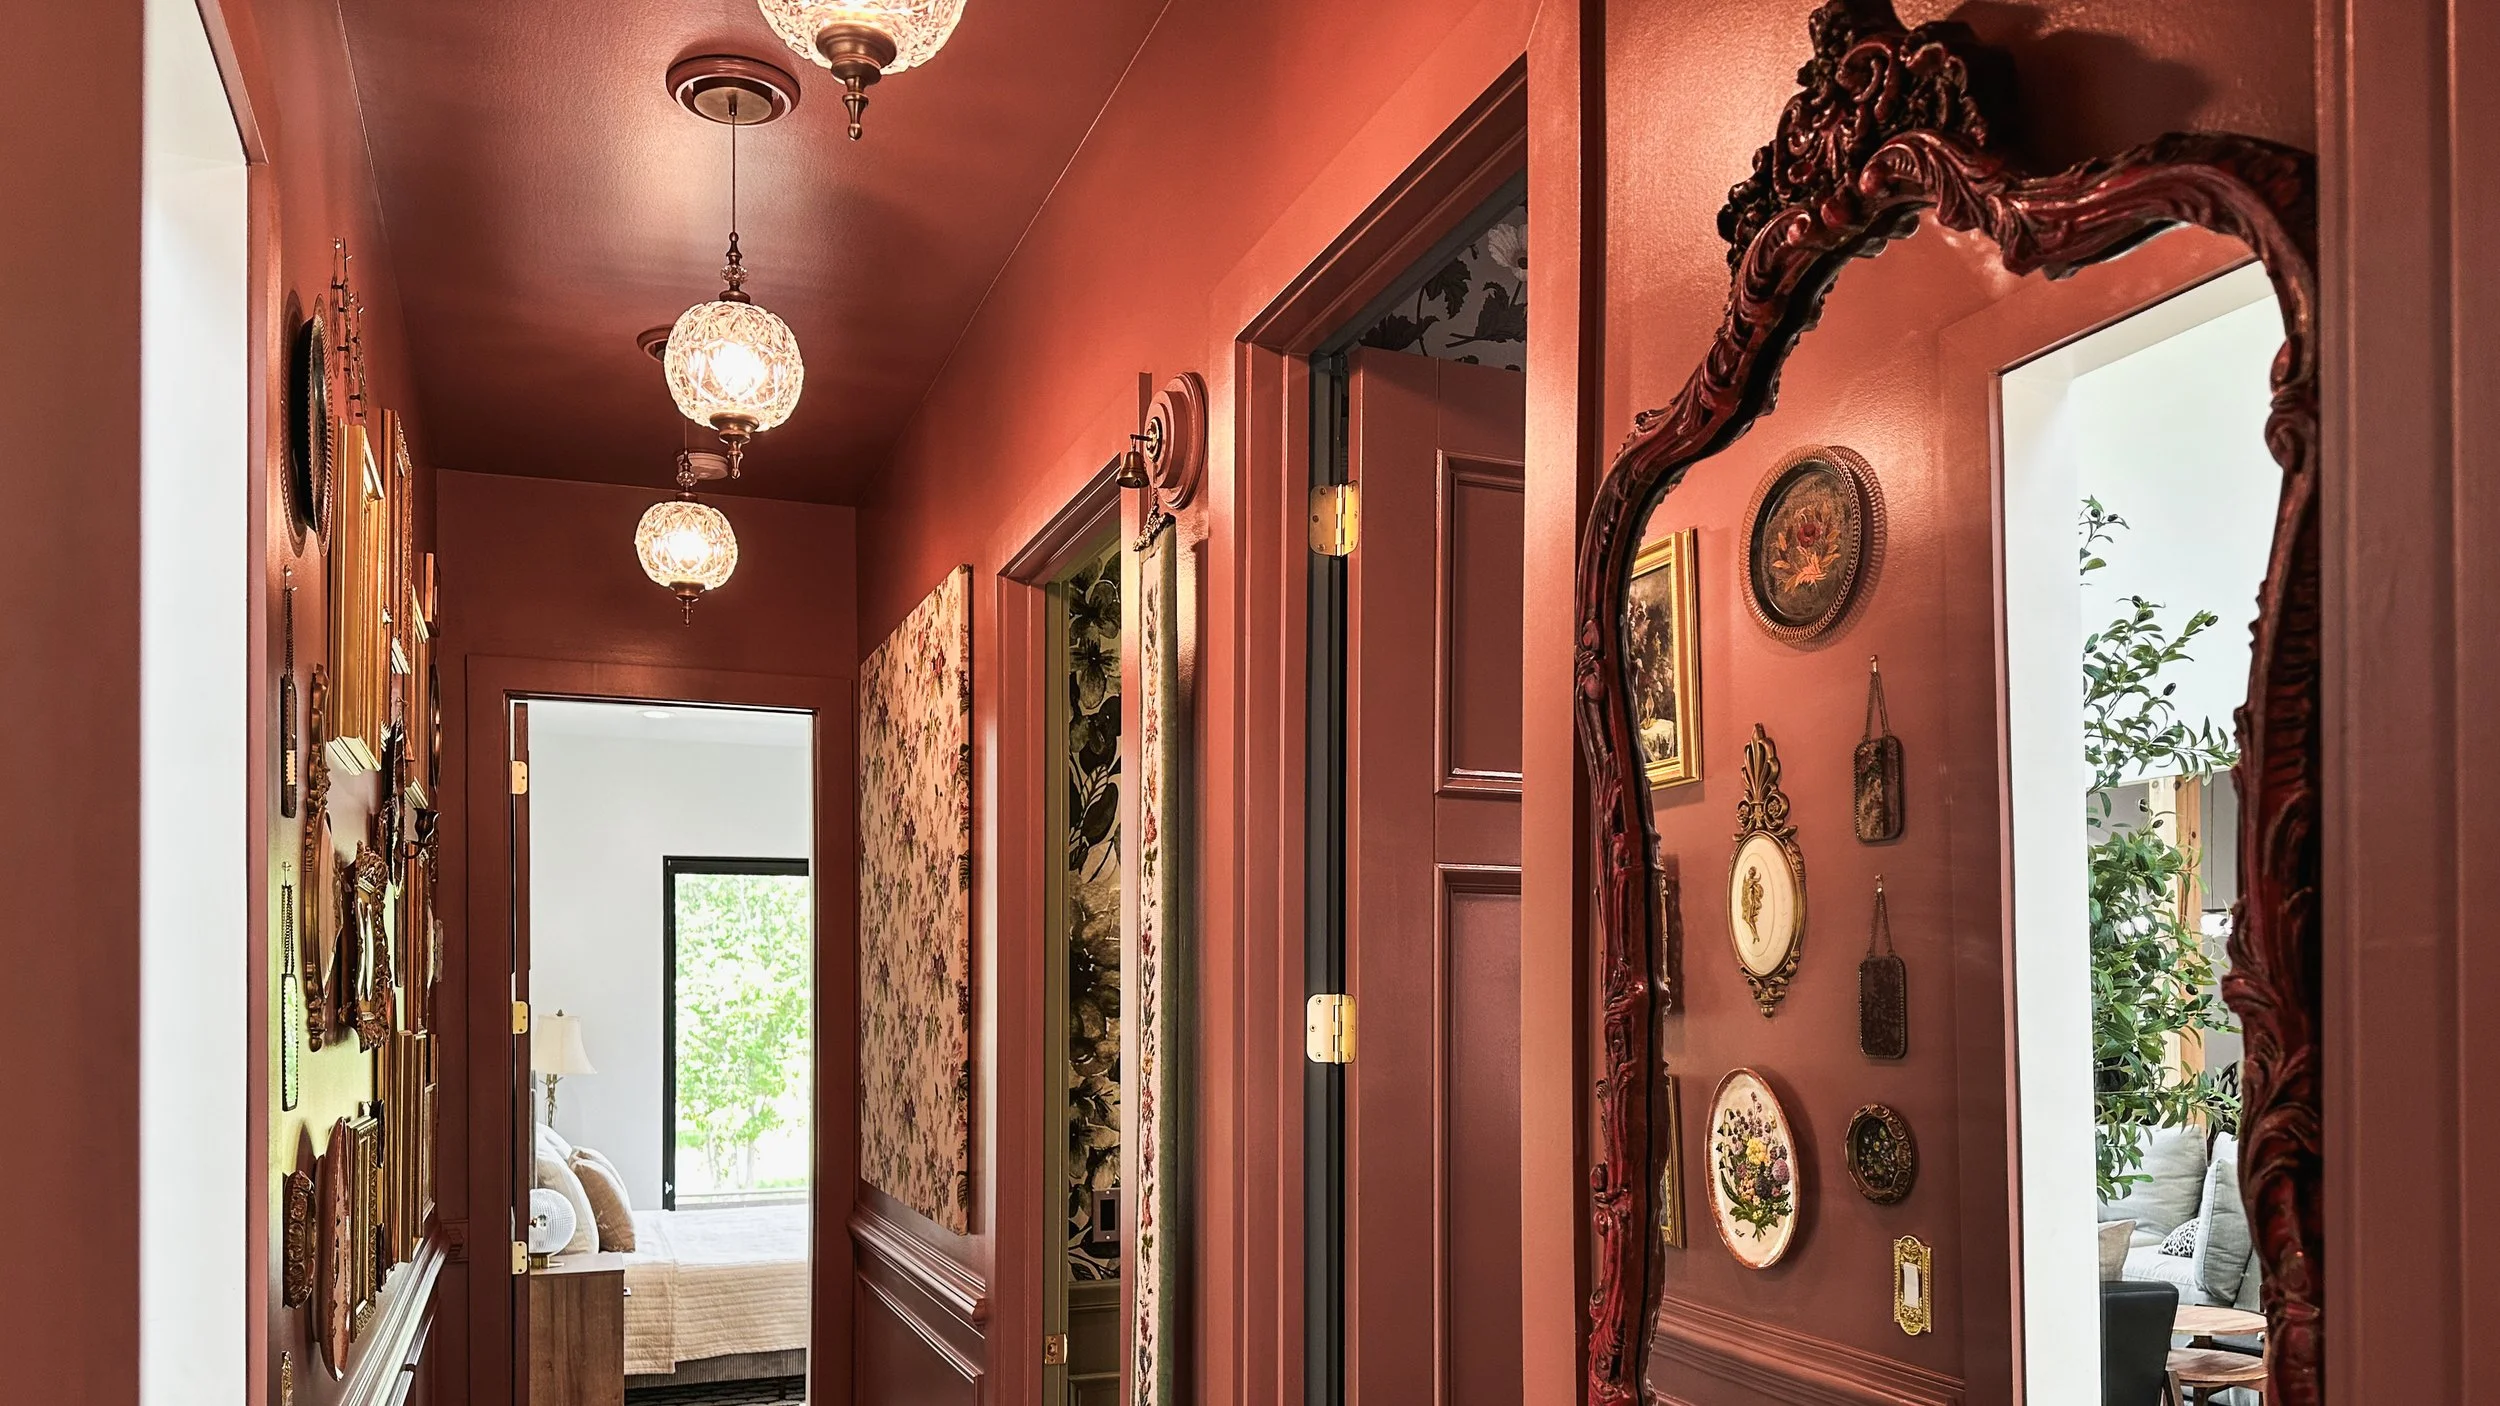
In the water closet, I went with a smaller chandelier that catches the sunset light in the prettiest way. It literally sparkles!! That one has a small ceiling medallion that came with the converter kit, and it worked perfectly. I’ve also used the ceiling medallions that came with the can-light converter kits in the hallway.
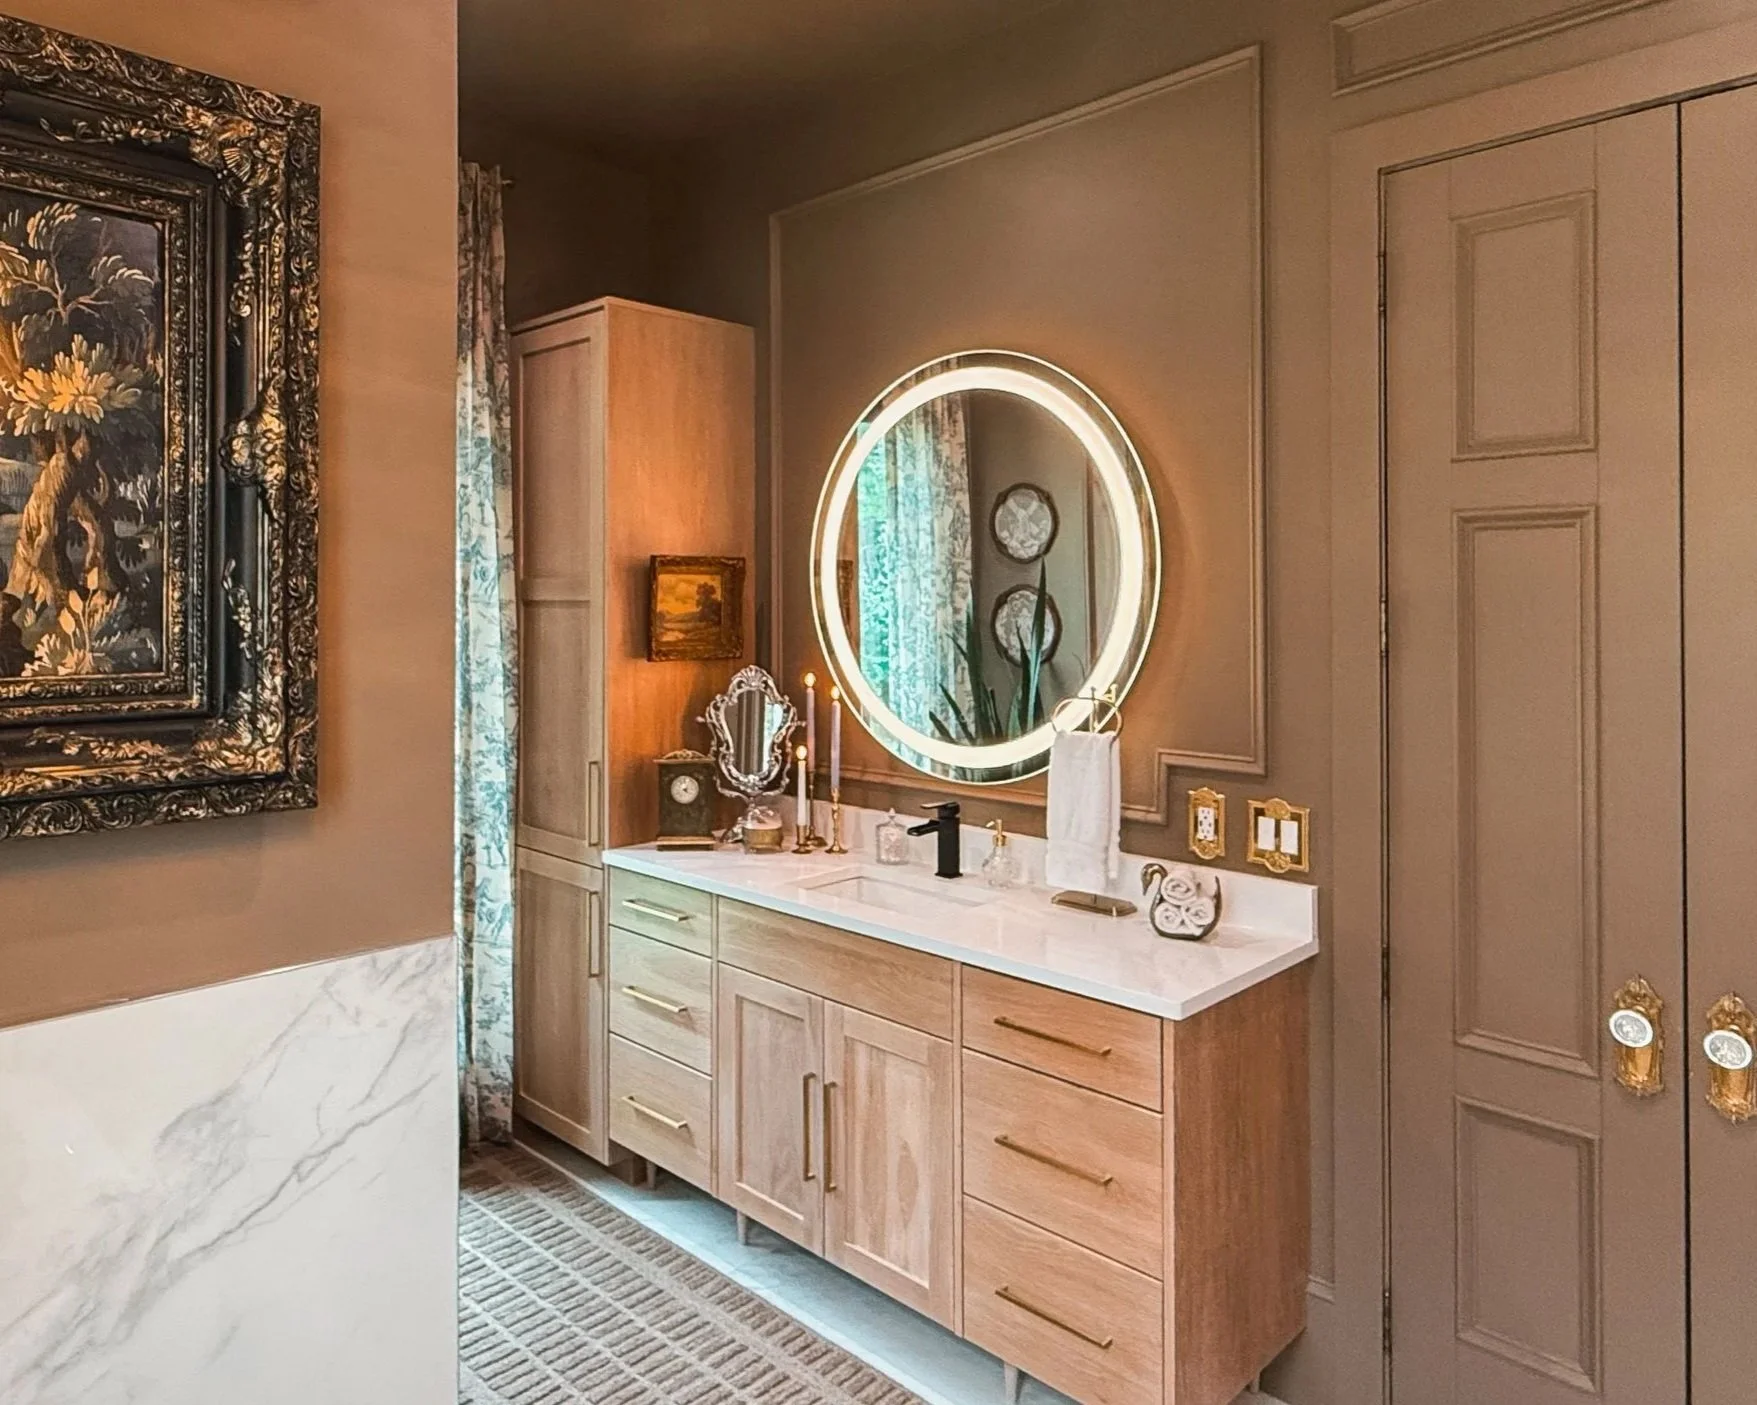
Besides the two chandeliers and the remaining can lights, each sink area also has a large round lit mirror. These are original to the bathroom and are perfect for doing makeup and getting ready.
It’s true what they say, lighting is the jewelry of the room. These lights bring just the right amount of charm and drama.
Links at a Glance
If you’re interested in this, check out my blog post about my Best selling lighting picks from Amazon!
How I Replaced My Can Lights with Gorgeous Pendants

Our hallway had those standard can lights that are totally functional, but kind of boring. I knew I really wanted something for that space that had a little more charm and personality, so I swapped out our can lights for these gorgeous Amazon pendants. Honestly, it completely transformed the look of the hallway.
The best part? I didn’t have to rewire anything or hire an electrician. I just used this can light converter kit and we did it ourselves Seriously, it’s a total game-changer for renters or anyone who doesn’t want to do major electrical work. We just did it again in our bathroom makeover so I filmed my husband and wrote down exact step by step instructions for you!
Here’s how it works:
Turn off the power at the breaker.
Remove the can light trim (ours are just two wires that you squeeze together to release)
Unscrew the can light from the ceiling (similar to a light bulb)

4. Open the converter kit and separate the metal bracket pieces that are screwed together. You will need the expandable bracket first.
5. Expand it to the side of your hole in the ceiling. Tighten the middle screw to lock in the adjusted size and screw the two side screw into the actual can light hole.
6. Now you’ll need the other metal piece. Using two screws from the kit, it will screw directly into the adjustable bracket.

7. The green wire hanging down is the ground wire. Using the flat head screw driver, loosen the screw. Attach it to a metal piece inside the can light hole and screw it tight to secure it. Tuck the wire out of the way.


8. Put the metal cover up by lining up the two spaces and twisting it in place.
9. Now screw in the piece that looks like the bottom of a light bulb with a black and white wire attached.
10. If needed, install the ceiling medallion to cover the metal plate (optional) or use the small ceiling medallion it comes with (like I did in my hallway!)
11. Now you can install your pendant light! Follow the directions for your specific light fixture.


It’s such a simple project, but it made a huge difference. The pendants bring in so much more style than the old can lights ever did, and now the hallway and bathroom feels more elevated.
If you’ve got recessed lights that could use a little personality, this is one of those quick wins that looks way more complicated than it actually is.
Links at a glance:
Paint in hallway: Reddened Earth by HGTV Home by Sherwin-Williams
Paint in bathroom: Virtual Taupe by HGTV Home by Sherwin Williams
Pendant Lights in hallway