How to Make Floral Ice Cubes for Your Next Party

If you’re hosting anything, from a backyard hangout to a baby shower, you have to try floral ice cubes. Trust me, this is one of those DIYs that looks super fancy but is actually incredibly easy. They take almost no time to make, but they instantly make your setup feel thoughtful, festive, and way more elevated.
I used them in a clear drink tub and they totally stole the show. People were way more excited about the ice than I expected (like, full-on compliments about ice cubes). It’s such a simple touch, but it adds this fun, creative vibe that makes everything feel a little extra special without any real effort.


Here’s how I made them:
I used a mix of dried flowers, real flowers, and even a few fake ones I had lying around. Don’t overthink it! Just grab whatever looks pretty! I stuffed each section of the ice cube tray with petals and blooms, and didn’t worry about making them perfect. For the roses, I found a little trick: if you twist them quickly between your palms, the petals come off super easily. It’s oddly satisfying and made the whole process go faster.
Once your tray is packed with floral goodness, just fill it to the top with water and freeze overnight. No need to get fancy with layers or stages, you just pop it in the freezer and forget it.
One thing to keep in mind: if you’re planning to use these cubes in drinks (like cocktails or lemonade), make sure you’re using edible flowers. Not all flowers are safe to consume, so it’s worth double-checking. But if they’re just for chilling wine bottles or decorating a drink tub, feel free to use any combination of dried, real, or faux.


In the morning, you’ll have the prettiest ice cubes ever, like little frozen flower arrangements. I dumped mine into a clear drink tub with sparkling waters and wine bottles, and they instantly made everything feel so much more fun and festive. You could also pop them into pitchers, a punch bowl, or even individual glasses if you’re going all out. However you use them, they’re guaranteed to make people stop and say, “Wait…did you make these?!”
It’s such a small detail, but it really pulls everything together and makes your setup feel intentional. One of those easy little wins that looks high-effort but takes barely any time at all.
Give it a try and let me know how yours turn out, I’d love to see!
Links At A Glance
IF YOU ENJOYED THIS POST, YOU MIGHT BE INTERESTED IN how to make a hot chocolate bar!
FOLLOW ME ON MY SOCIALS!

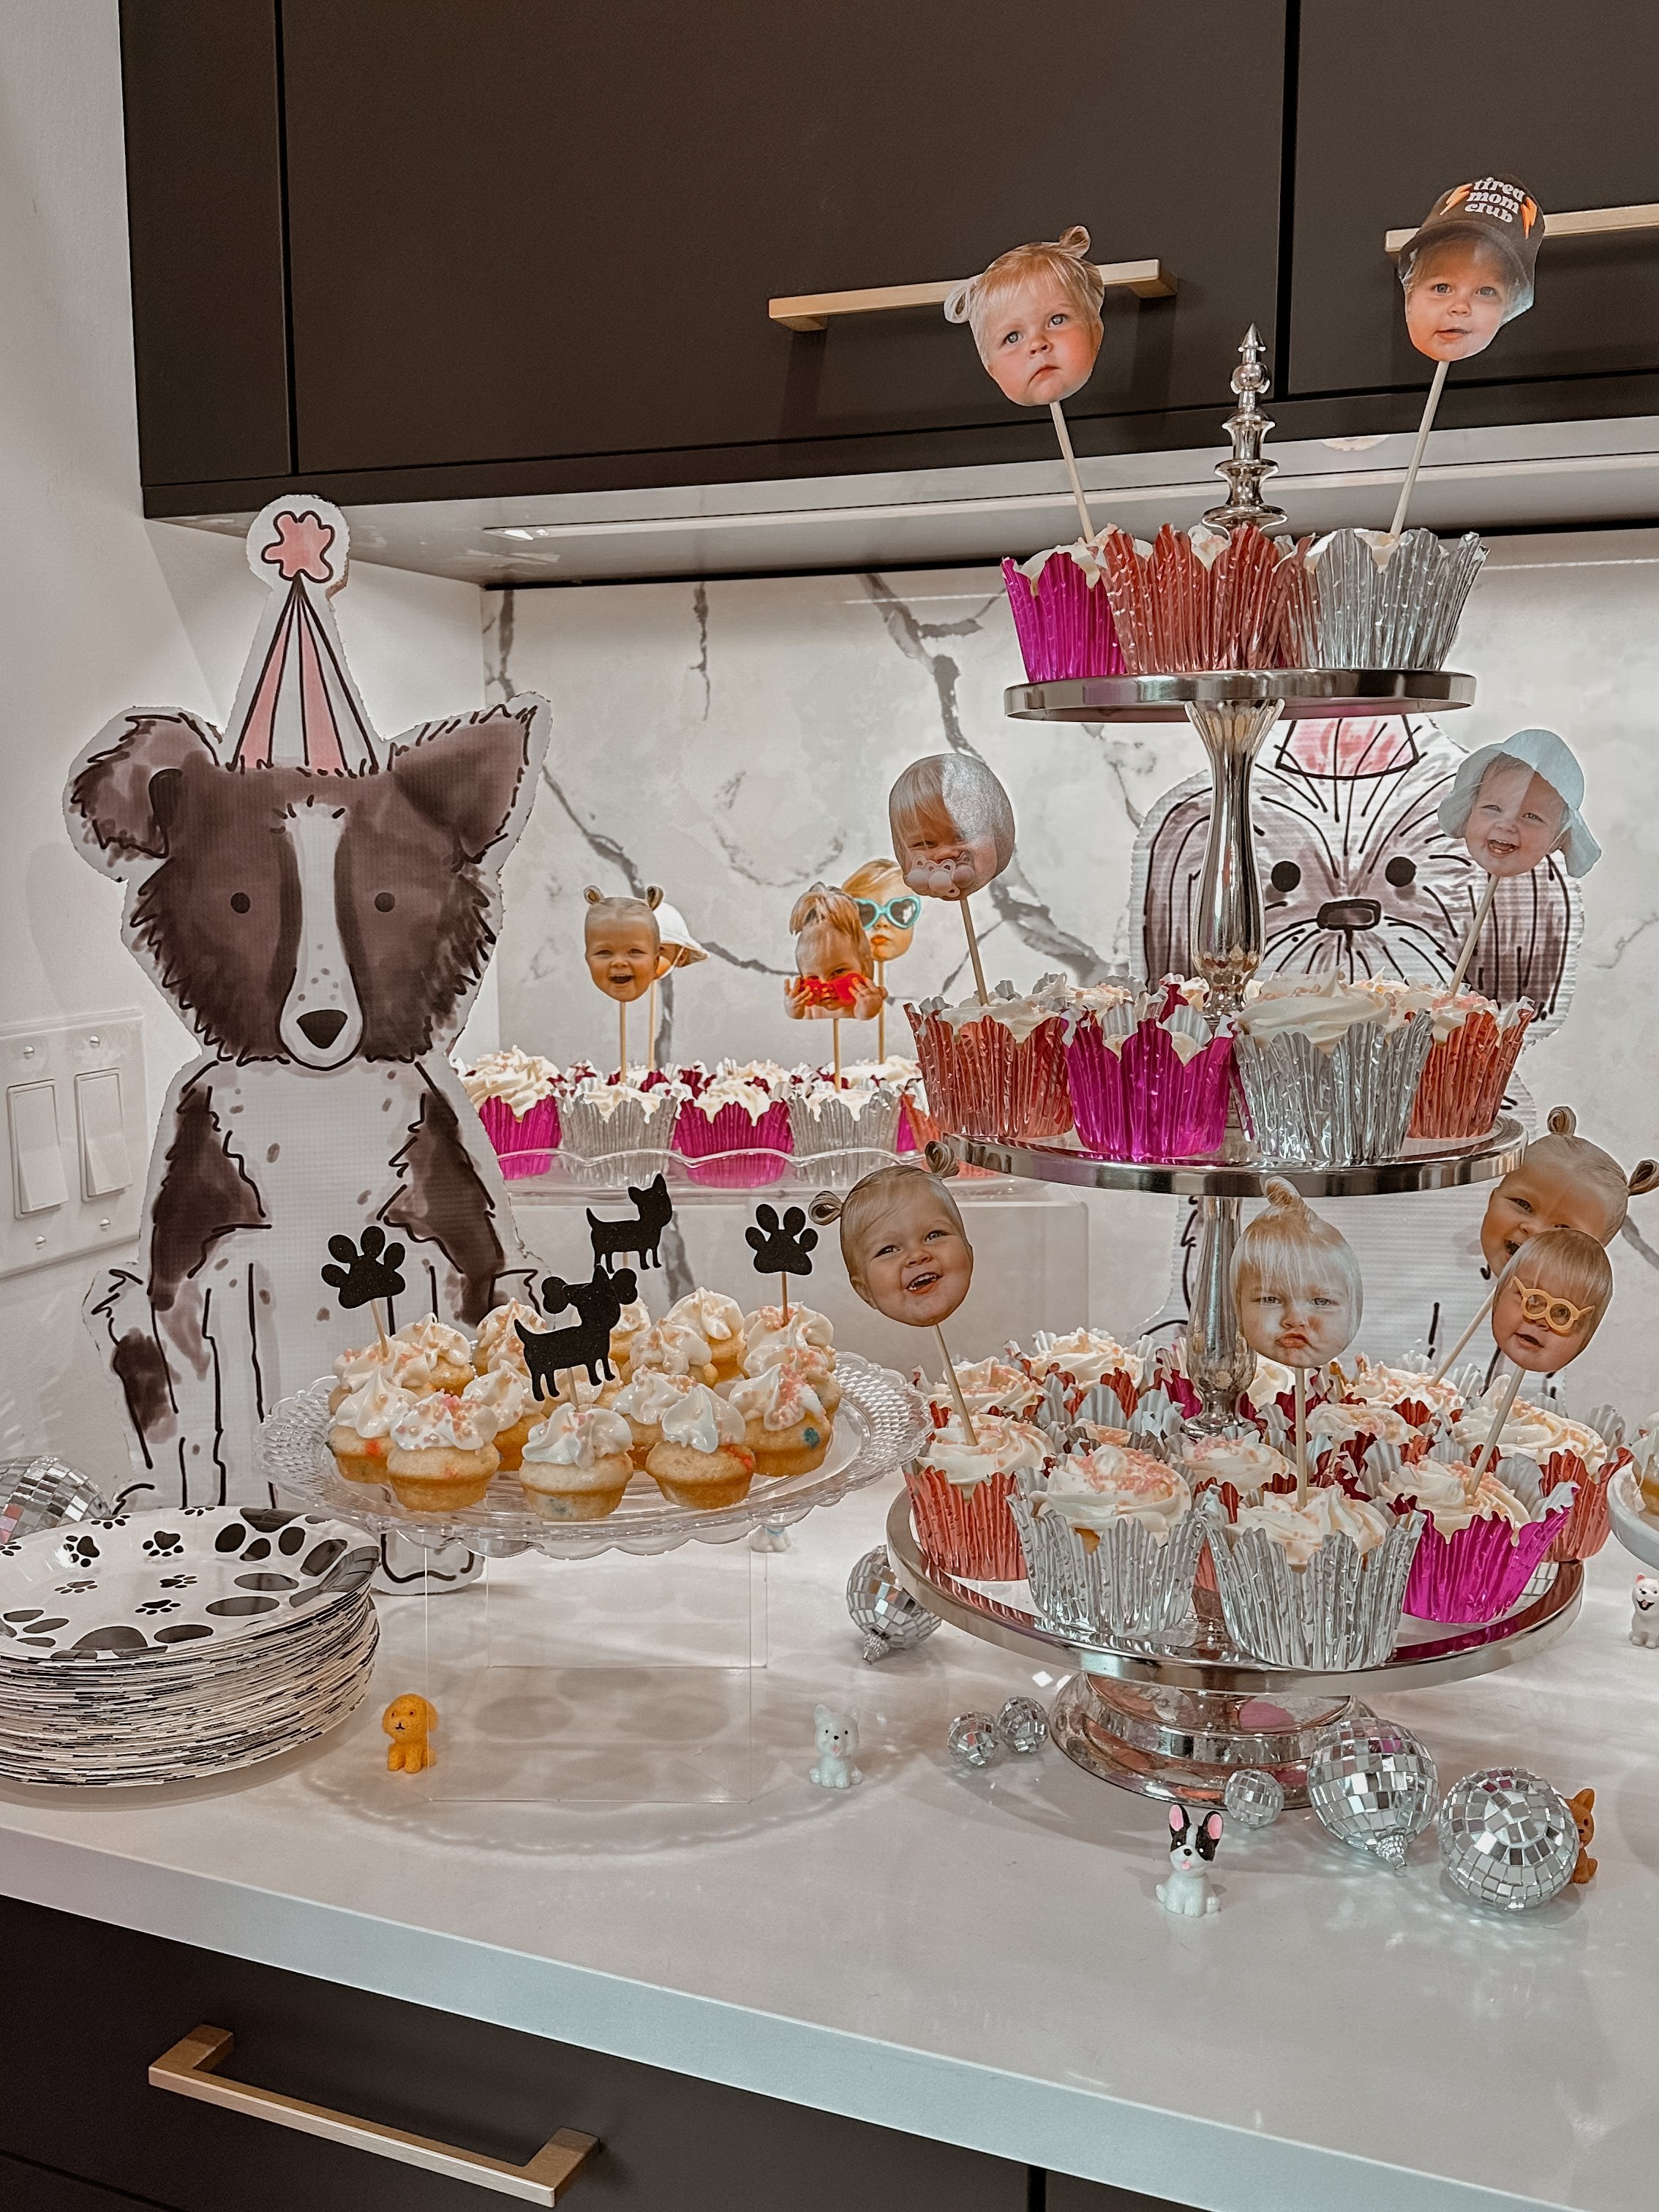
DIY Personalized Cupcake Toppers

Let’s talk about one of my favorite little party details: personalized cupcake toppers. They’re the kind of thing that makes a dessert table feel extra special, and the best part is you can totally make them yourself. No fancy tools required, just a little crafting and some patience.
I made these for my daughter’s 1st birthday party and had so much fun putting them together. Here's how you can do the same:
What You'll Need:
Photos with the face big enough to actually show up once it’s cut out


How To Make Them
Pick your photos
Start by choosing clear, front-facing photos where the person's face is large enough to show up well once cut out. I used Canva to zoom in and fit two to three faces per page. You want the faces to be big enough to stand out on top of a cupcake, so don’t be afraid to crop in close.Print and cut
I printed mine on photo paper using my home photo printer, but you can absolutely get them printed anywhere you normally develop photos. Once they’re printed, just cut around each face. They end up looking so cute and personal.Attach to skewers
Flip the face cutouts over and tape a skewer or toothpick to the back. That’s it. No fancy supplies or tools needed. You can also add a second face on the back if you want them double-sided, but I usually keep it simple.Stick them in and enjoy
Once they’re ready, just pop them into your cupcakes. These always get a good laugh and make the whole party feel a little more personal and fun. They're perfect for birthdays, graduations, bachelorette parties, pretty much any celebration where faces on cupcakes would make people smile.


That’s all it takes. It’s a super quick and budget-friendly DIY that adds such a personal touch. I love how easy it is to switch up the style depending on the occasion: birthdays, showers, holidays, or even just for fun.
Let me know if you make some. I’d love to see how yours turn out!


IF YOU ENJOYED THIS POST, YOU MIGHT BE INTERESTED IN my daughter’s music themed 1st birthday party!
FOLLOW ME ON MY SOCIALS!

DIY Flower Bar
How to Create a DIY Flower Bar for Your Next Event
A flower bar is a fun and interactive way to let guests create their own bouquets to take home as a party favor. It’s a beautiful addition to any event, from birthdays to bridal showers. Here's a step-by-step tutorial, complete with a price breakdown, to help you set up your own flower bar with ease.

Materials Needed for 20 guests
Fresh flowers/greenery in a cohesive color palette (purchased from Trader Joe’s)
Buckets and/or vases for flowers (we used the free buckets from Trader Joe’s and several clear vases)

Step 1: Buying the Flowers
I purchased my flowers from Trader Joe’s at opening the day before the event. There was already a line of people, all there for flowers, and the best selections go fast! I highly recommend arriving at opening to get the best options.
Since I had 20 guests RSVP, I calculated how many flowers I needed based on the recommended 8-10 stems per person including a “thriller, some filler, and a spiller of greenery” guideline. This ensured I had enough for everyone while preventing guests from taking too many stems and leaving others without enough options. Planning this way made budgeting easier and kept the flower bar fair for all attendees. I also recommend using a cohesive color palette so no matter what each guest chooses or what is left towards the end of the event, all of the flowers are usable together.
I would also recommend buying more “thriller” flowers than I did, as people will gravitate to them first.
Flower Selection & Cost (Spring 2024):
Premium Assorted Greens – $3.99 each (bought 7) → $27.93
Eucalyptus – $3.99 each (bought 3) → $11.97
Raffine Dianthus – $4.99
Tulips (Seasonal, Big Bunch) – $9.99 each (bought 2) → $19.98
Rose DZ Yellow/Orange – $9.99
Chrysanthemums (Big Bunch) – $4.99
Carnation Mini Novelty – $4.99
Rose DZ Pink/Purple/Bicolor – $9.99
Baby’s Breath (Gypsophila) – 4 @ $3.99 → $15.96
Jumbo Mum Balls – $4.99 each (bought 2) → $9.98
Lily Calla Mini – $5.99 each (bought 2) → $11.98
Total flower cost: $131.75


Step 2: Setting Up the Flower Bar
Prep the Flowers – Trim the stems at an angle and place them in buckets of water to keep them fresh.
Organizing the Table – Arrange the flowers in separate vases or buckets, grouping them by type to make selection easy.
Precut Materials – Cut kraft paper and twine in advance to make wrapping easy.
Display & Signage – I purchased a themed sign from Etsy to guide guests. The sign suggested:
Choose 8-10 stems, including a thriller, some filler, and a spiller of greenery.
Wrap in paper and tie your bouquet up.
Take it home to enjoy!
Wrapping Station – Set up a space with kraft paper, twine, and scissors so guests can wrap their bouquets.
Again, I loved that the 8-10 stem recommendation on the sign helped guide people on how many to take, preventing anyone from making oversized bouquets and ensuring there were enough flowers for everyone to enjoy.


Step 3: Assembling Bouquets
Guests can mix and match stems, following the signage suggestion for how many stems to take.
Suggested Bouquet Formula :
2-3 focal flowers (like roses or peonies)
2-3 filler flowers (like daisies or carnations)
3-4 greenery stems (like eucalyptus or ferns)
After picking their flowers, guests can wrap them in kraft paper and secure them with twine or ribbon
Final Tips
Buy flowers a day in advance and keep them in water overnight.
Use an Etsy sign to guide guests on the amount of flowers to use.
Have plenty of scissors and twine so multiple guests can wrap their bouquets at once.
Buy more “thriller” flowers and less greenery than I did. No matter what your sign says, people gravitate to the prettiest flowers first.


This DIY flower bar was such a hit at my event and added a special touch. Have you ever tried a flower bar? Let me know in the comments!
IF YOU ENJOYED THIS POST, YOU MIGHT BE INTERESTED IN my Dining room refresh post.
FOLLOW ME ON MY SOCIALS!

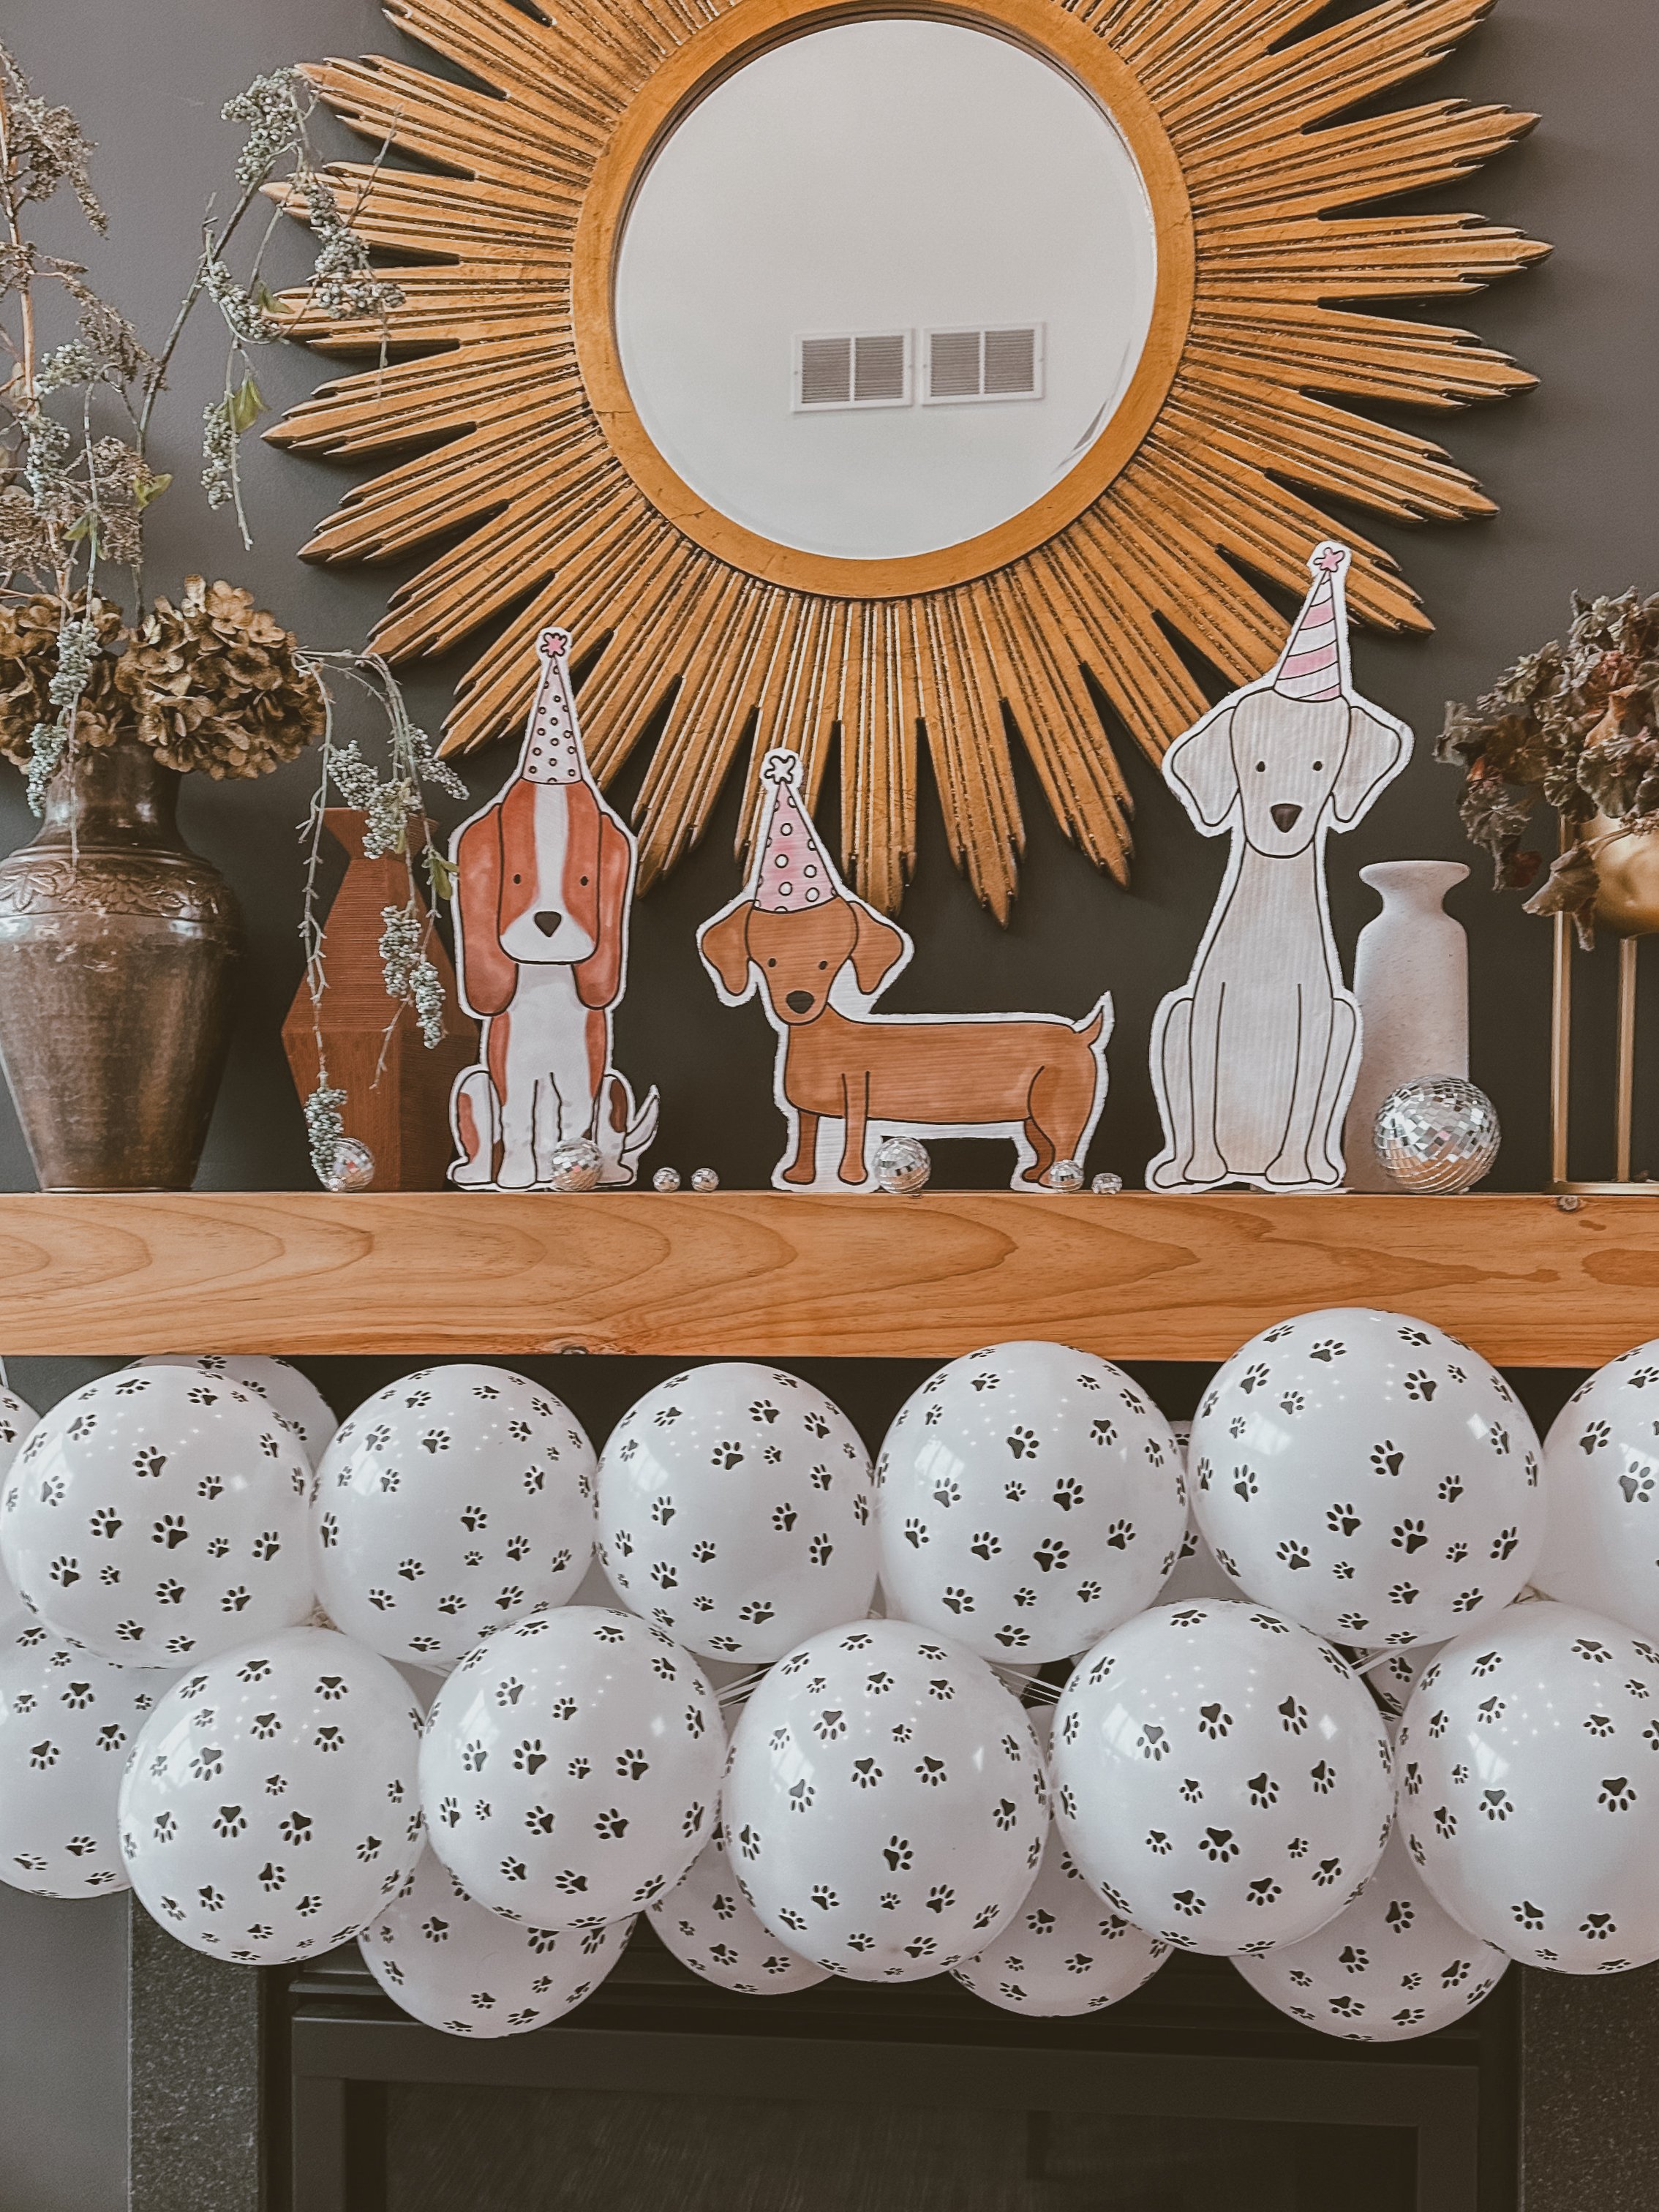
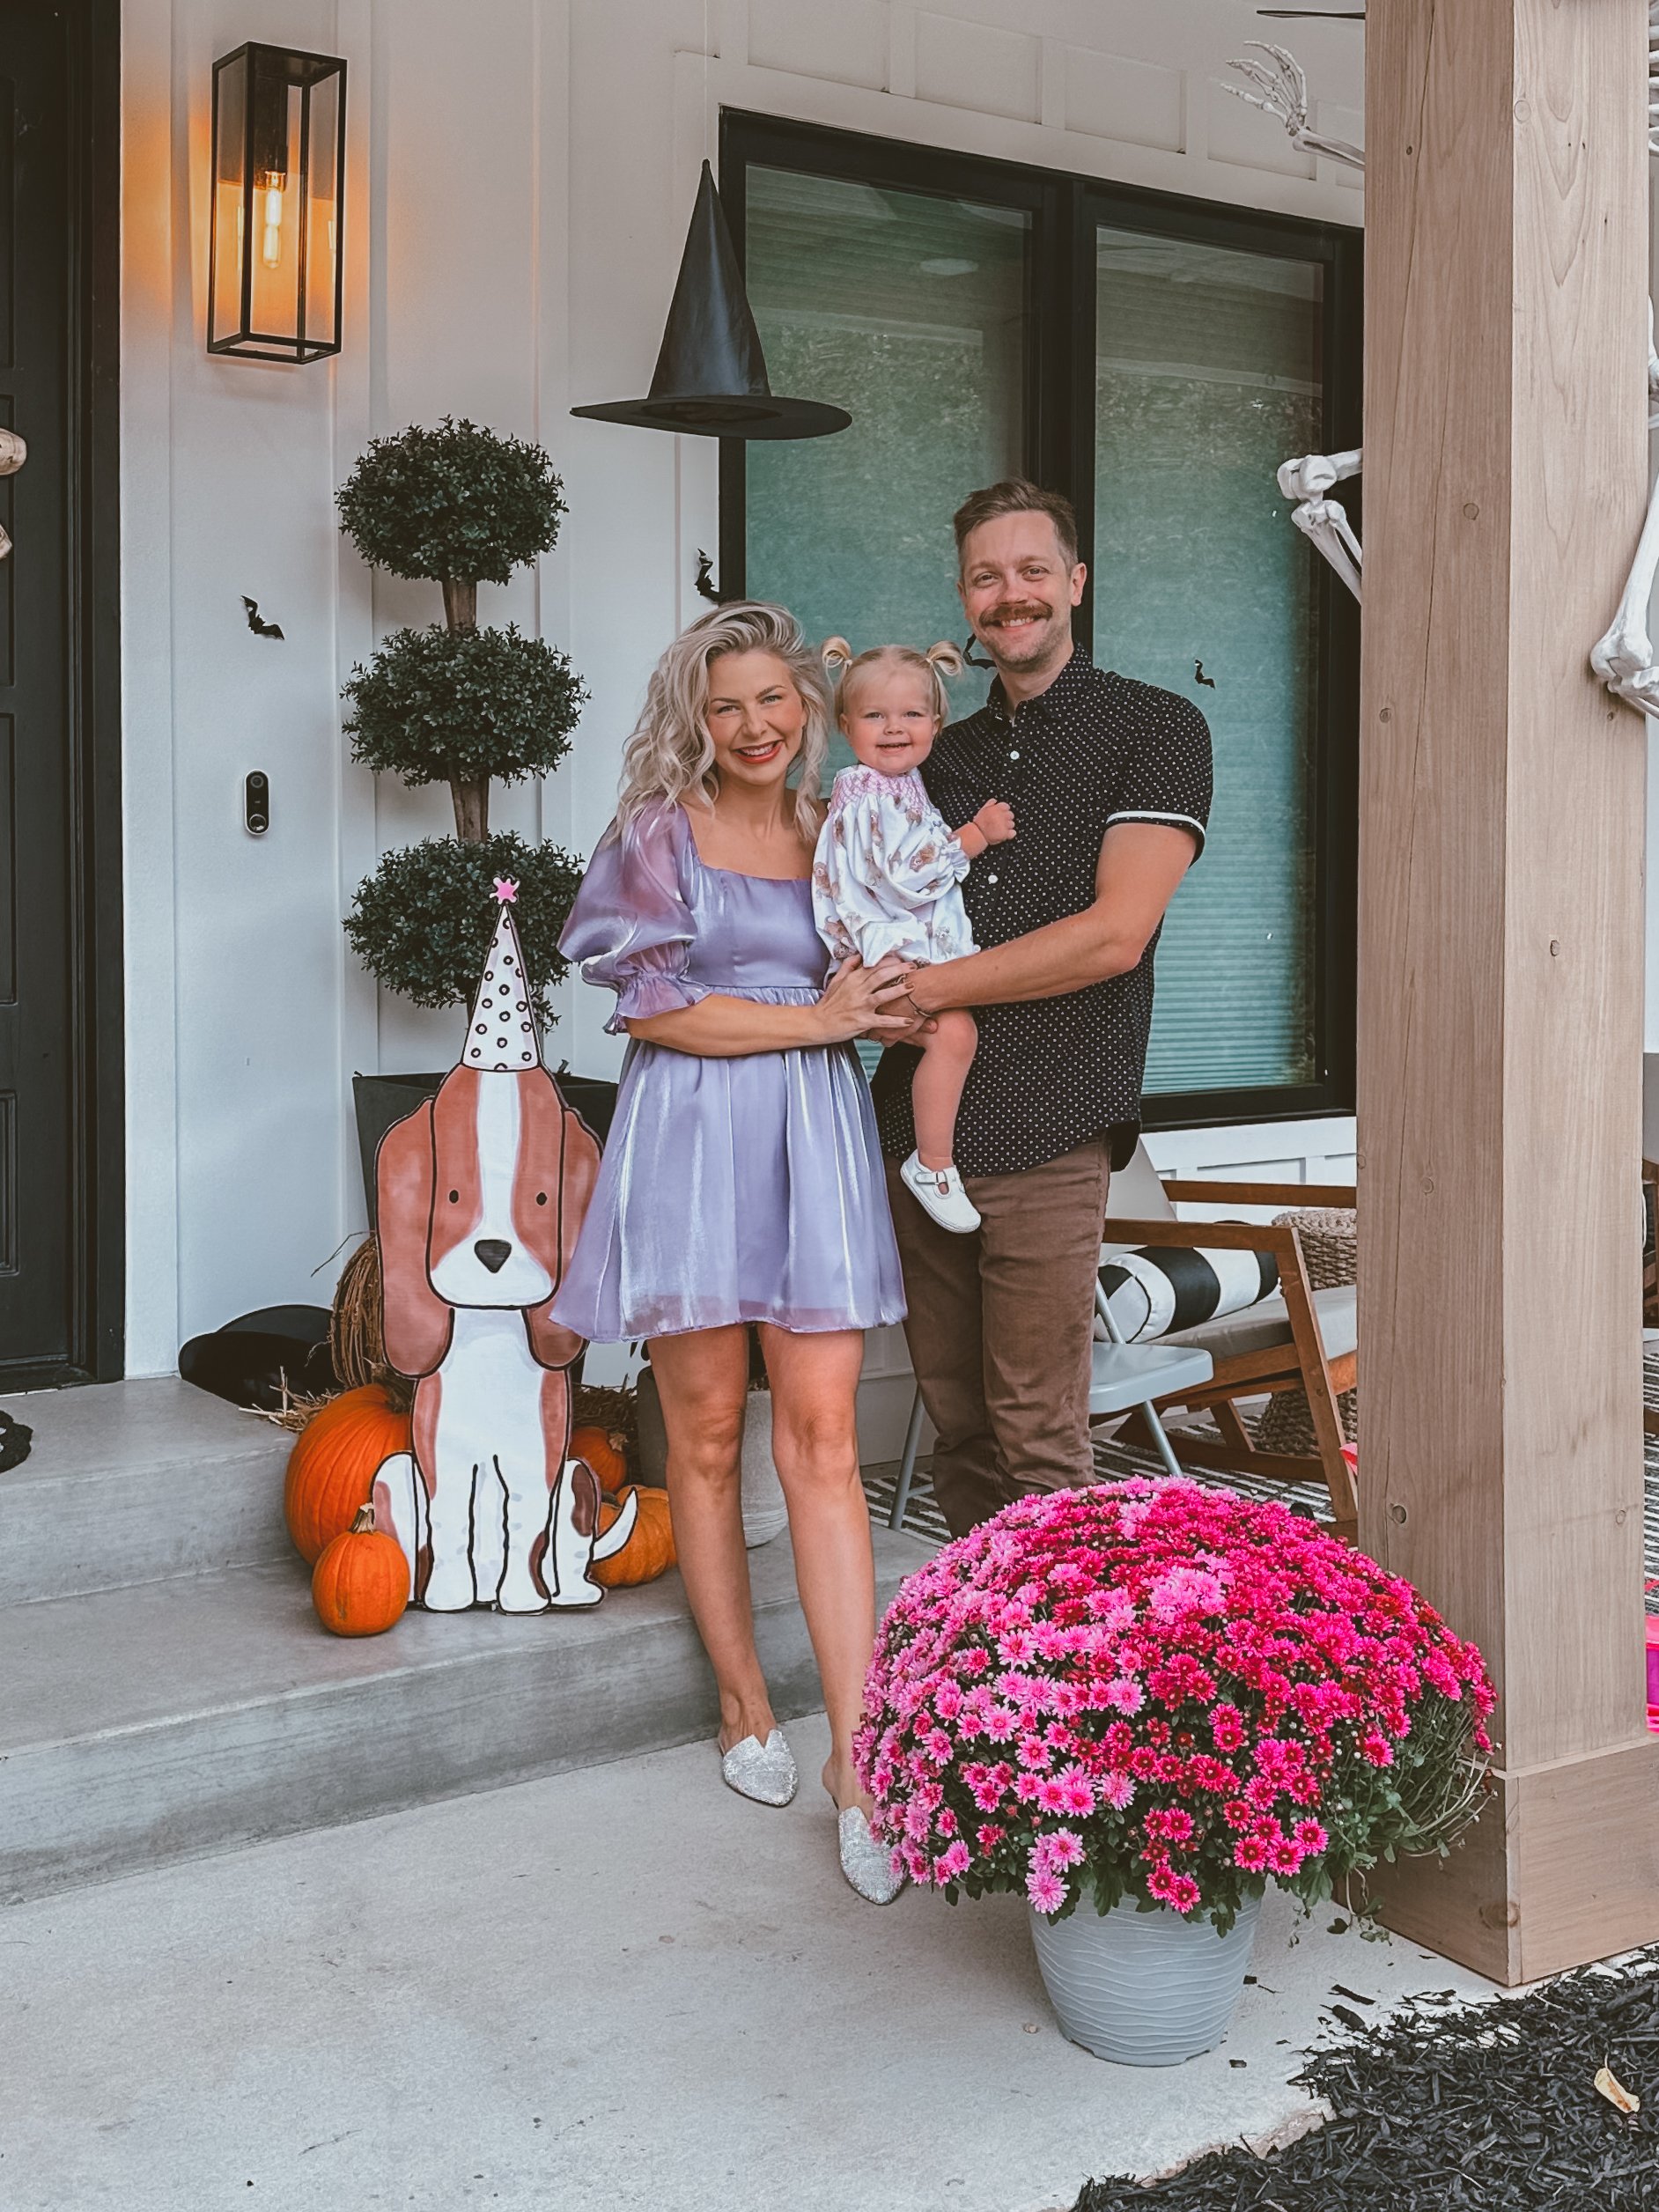
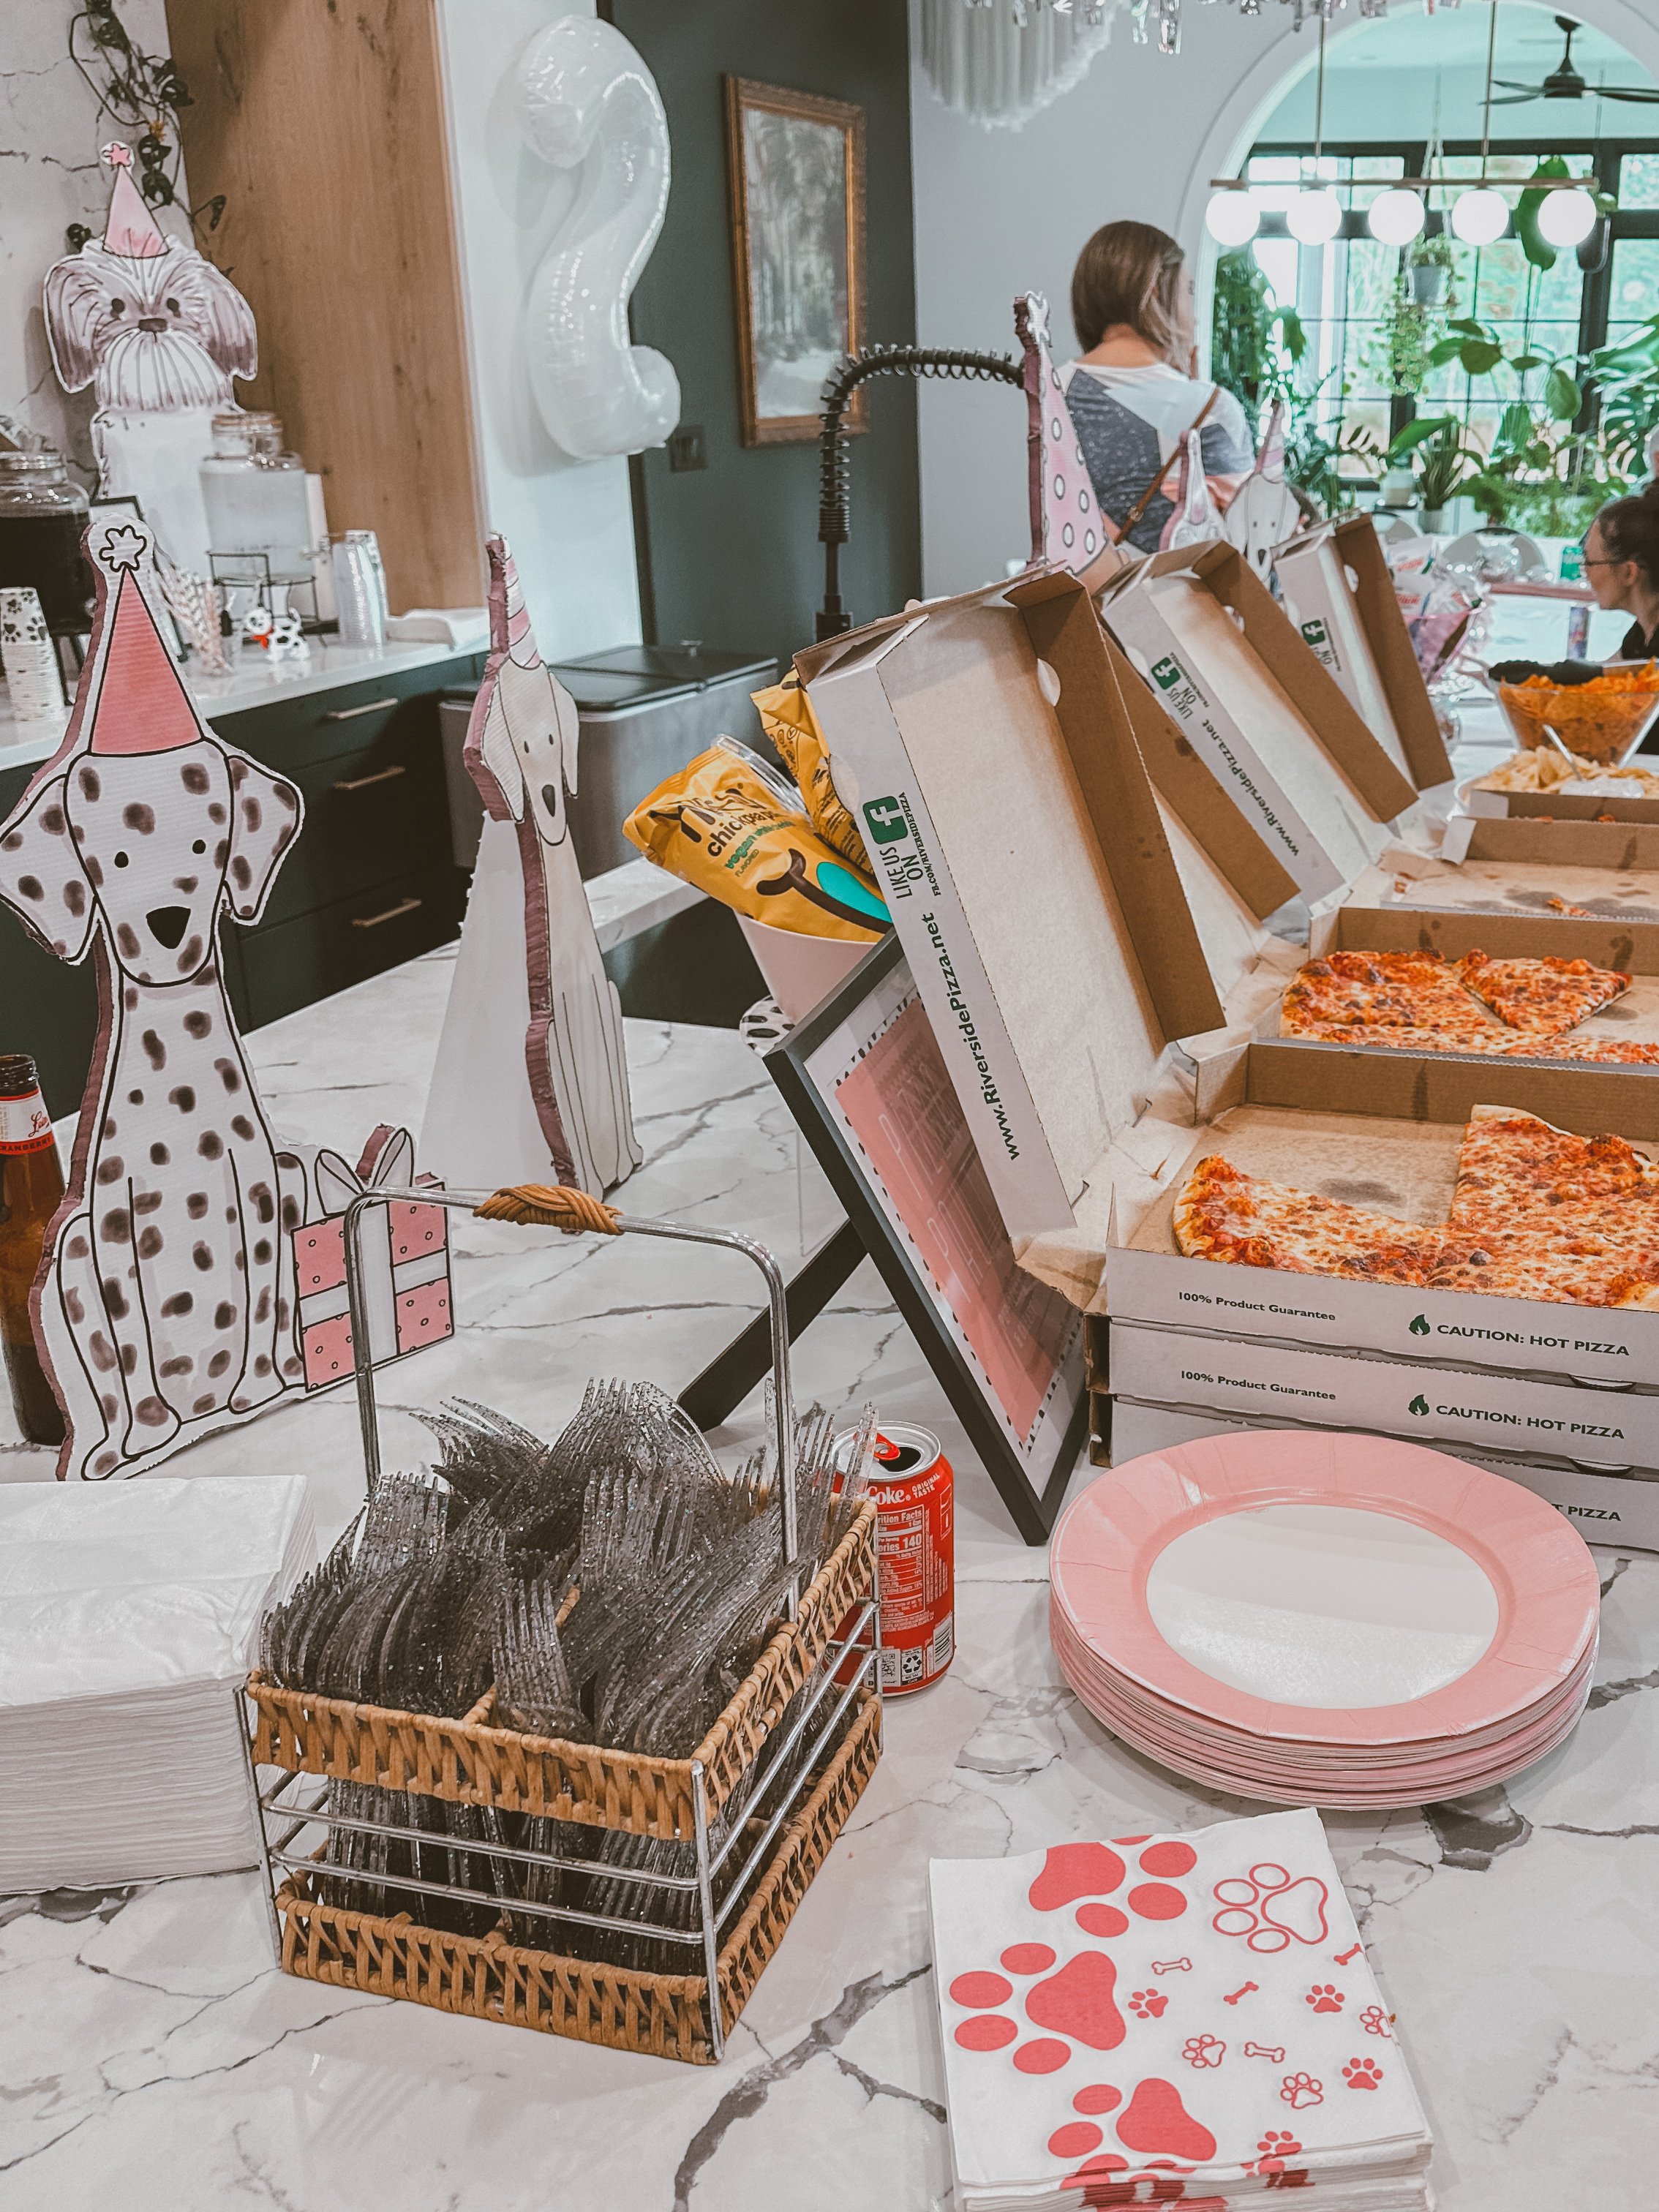
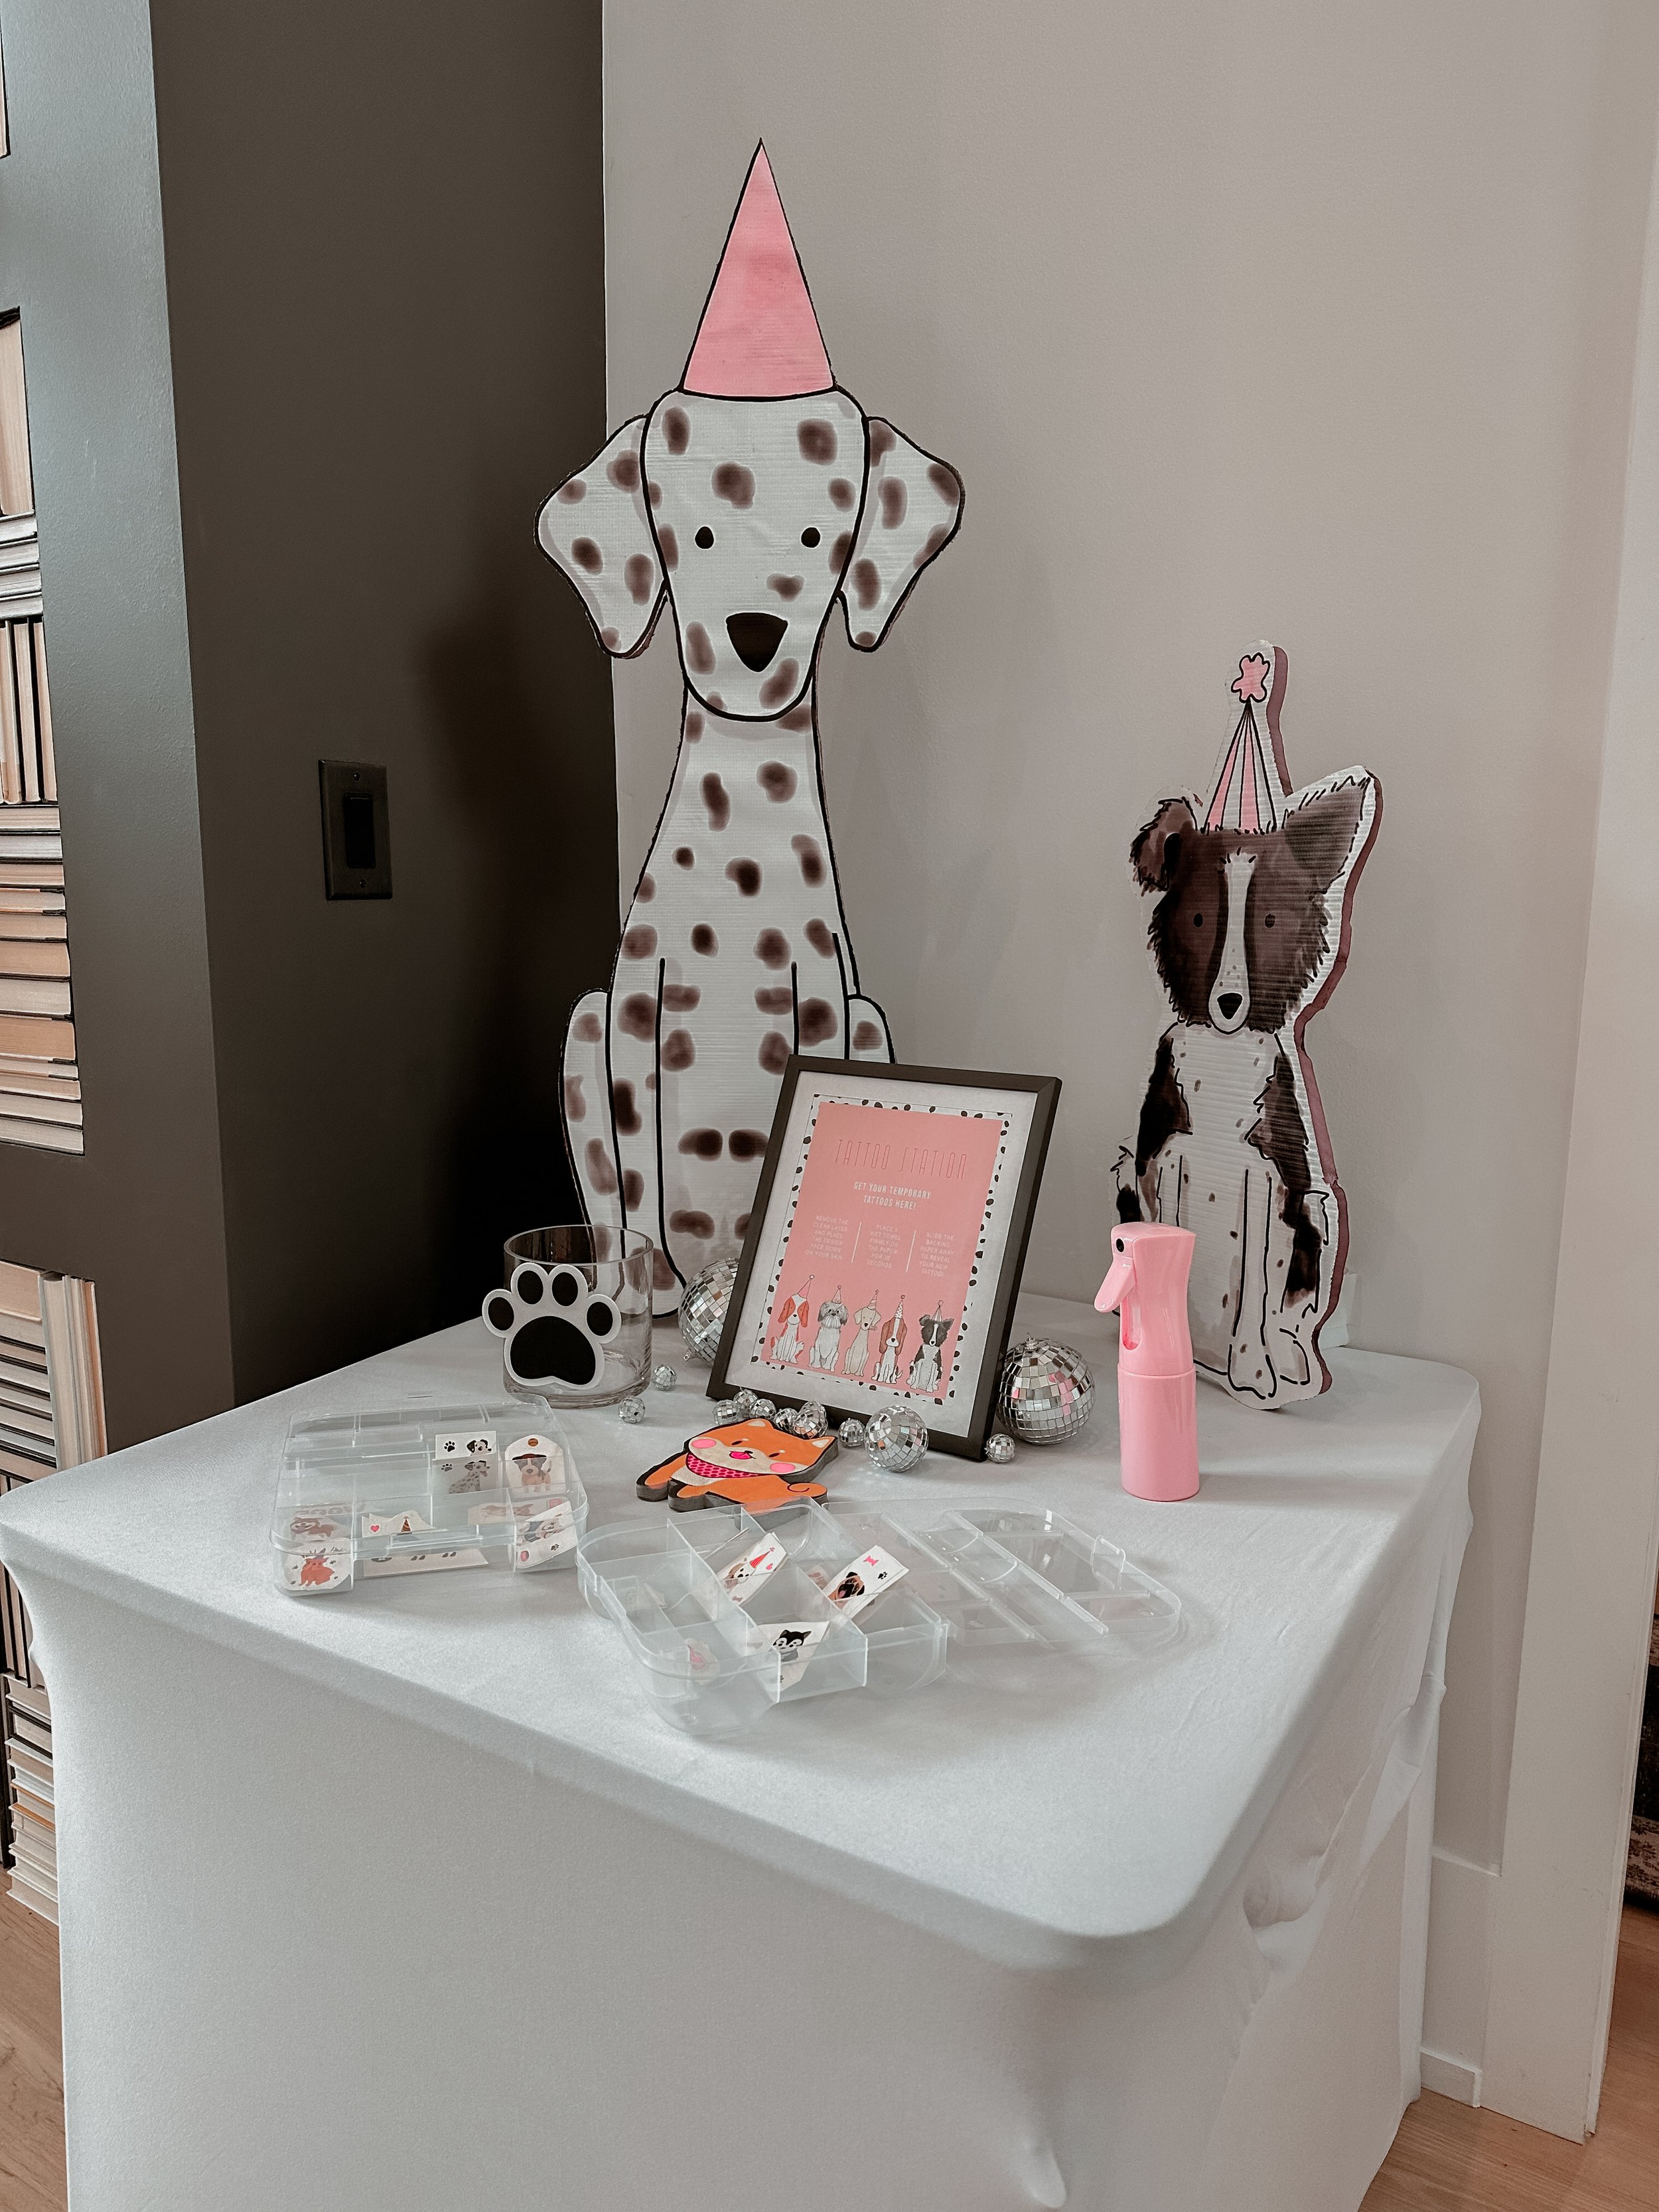
DIY dog cutouts

I custom made dog cut outs for my daughters 2nd Puppy Pawty! Here is the tutorial on how I did it.
SUPPLIES:
8’ x 8’ vinyl banner
2x pieces of 4’ x 8’ insulation board
Foam hot knife and replacement blades
regular white foam board from Dollar Tree
INSTRUCTIONS:
Purchased artwork from Etsy and changed the blue hats to pink in Photoshop. I’m sure for a small fee the seller could do this as well.
Created an 8’ x 8’ TIFF file in photoshop and arranged the dog graphics to fit as many as I needed and in various sizes. TIP: don’t make any small ones or anything that has a lot of detail. The larger ones were MUCH easier to cut out. The biggest dogs are roughly 40” x 18” and they were the easiest and the smaller dogs are roughly 10” x 20” and they were a pain.

3. Ordered an 8’ x 8’ step and repeat banner from https://www.stickersbanners.com/8x8-step-and-repeat.html with no hem, no grommets, no stand, and no carpet. I did local pickup because I live near one of their locations but they also ship.
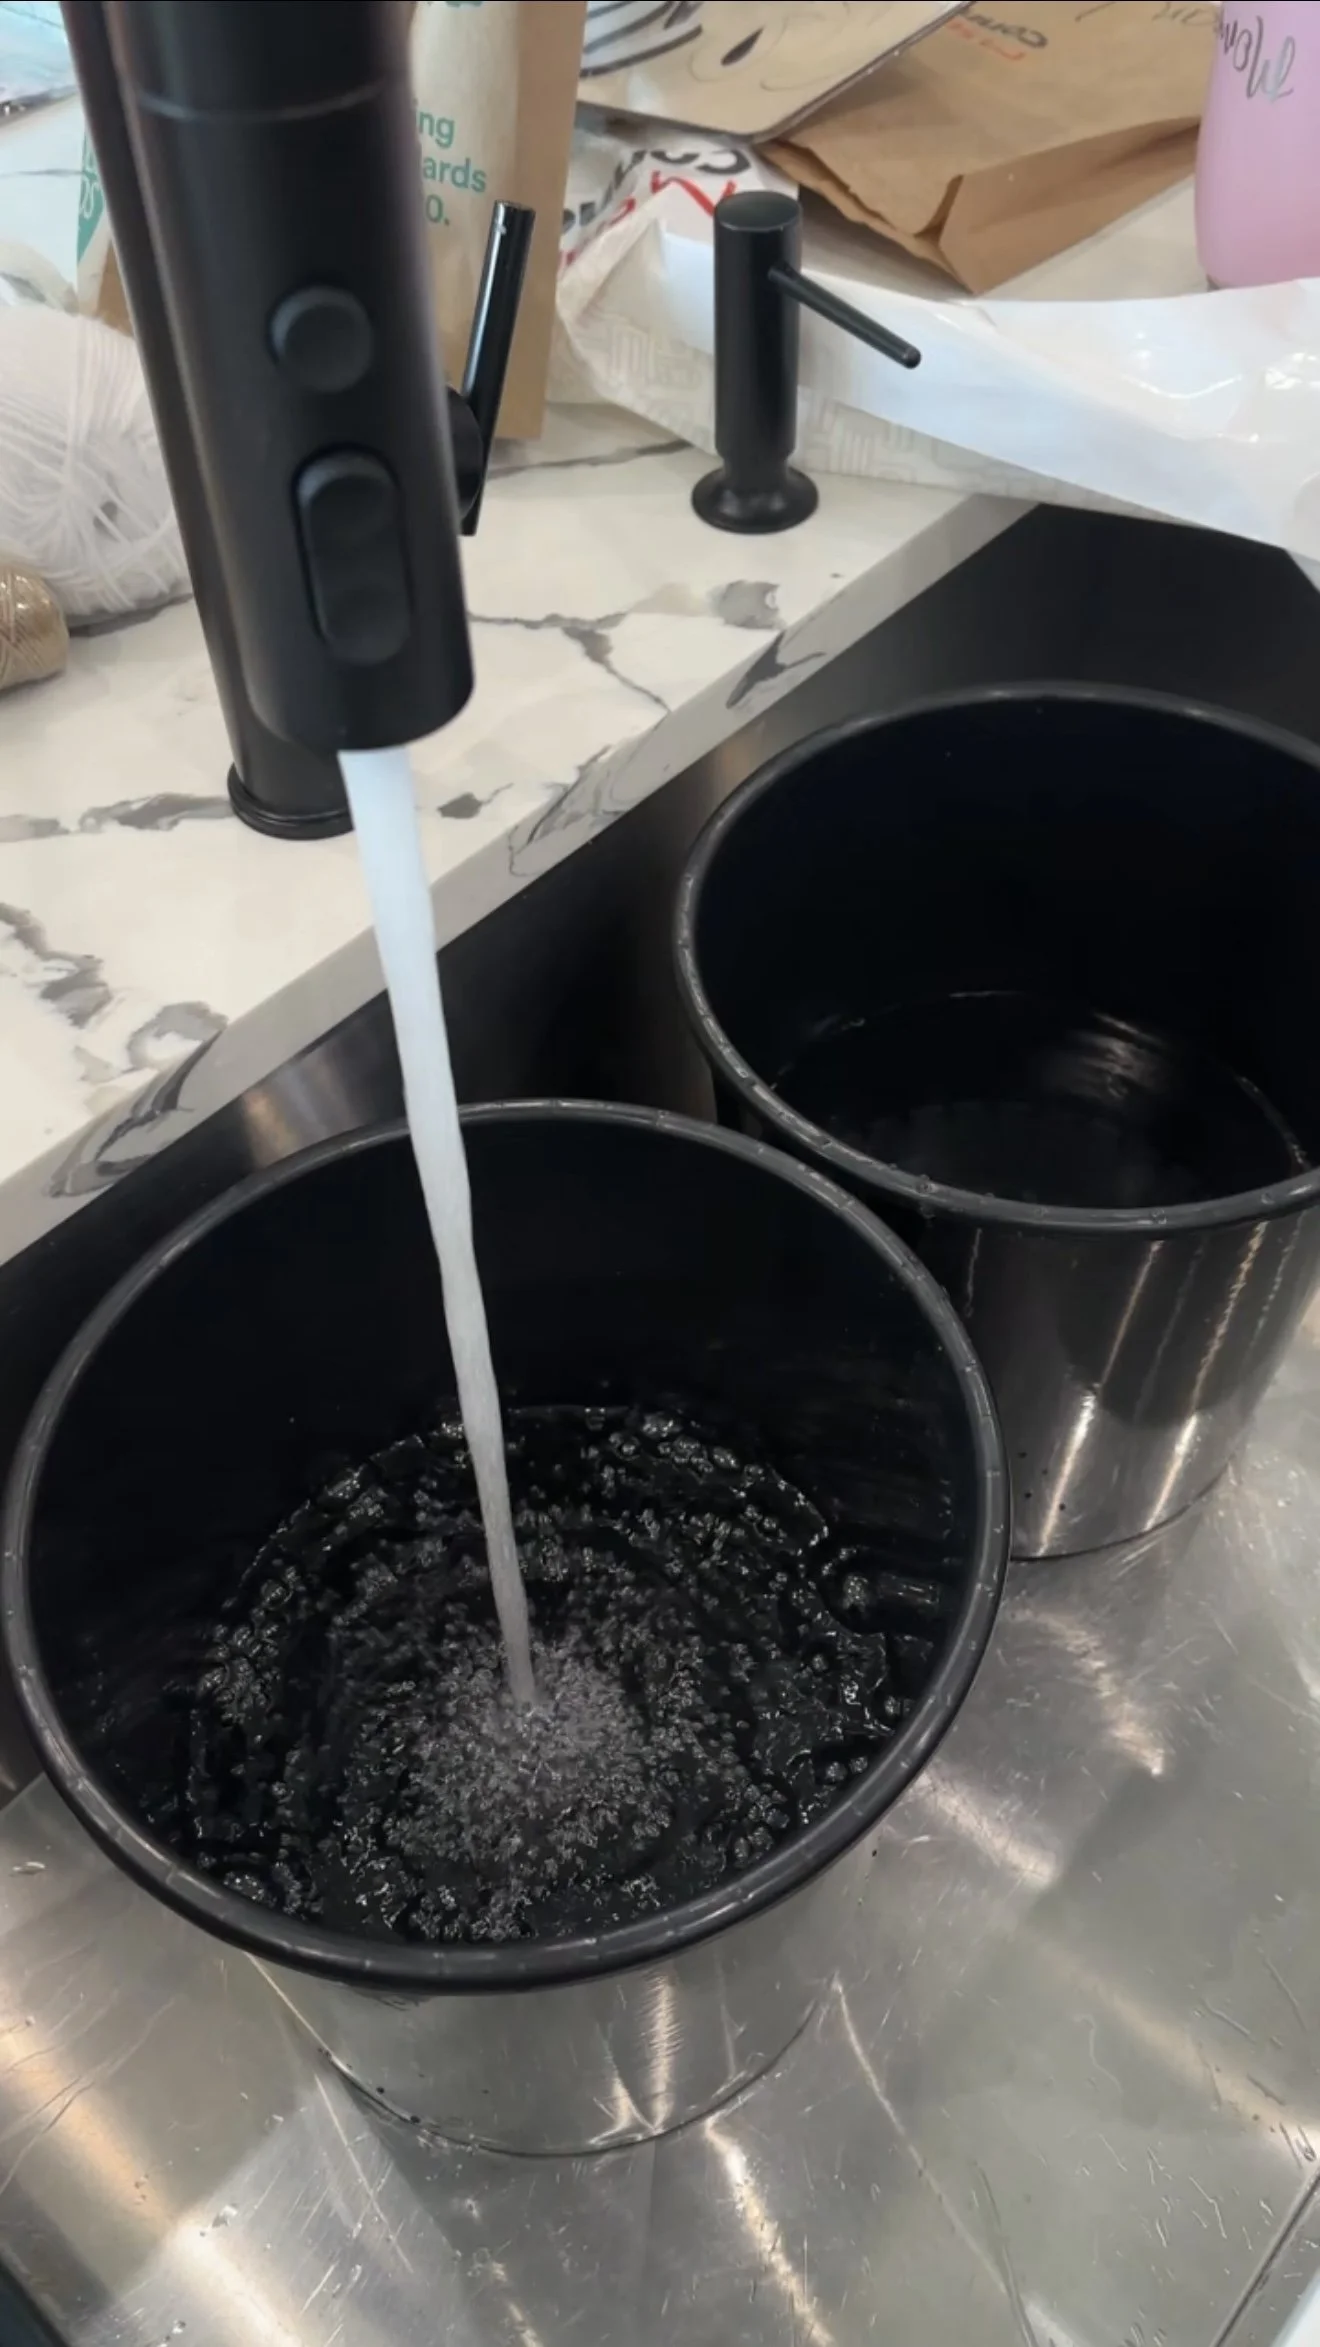
4. Purchased (2) panels of insulation board that were 4’ x 8’ each and glued the banner to the insulation board using spray adhesive.

5. Cut out the dogs with a foam hot knife. You’ll need to wear a mask because these fumes are so intense and so toxic.


6. Attached a triangular piece of regular foam board from the Dollar Tree to the back of the dogs using white duct tape so that they stand upright on their own.


Here is how they looked at the party!