
Halloween Headboard Sign DIY
This project started when I found an old headboard on Facebook Marketplace. It was the perfect shape for what I imagined: a spooky little “Broom & Breakfast” sign for Halloween, the kind of thing you’d see outside a haunted inn in Salem.
Here’s how I turned a used headboard into a custom Halloween decoration that’s now one of my favorite DIYs ever.
What You’ll Need
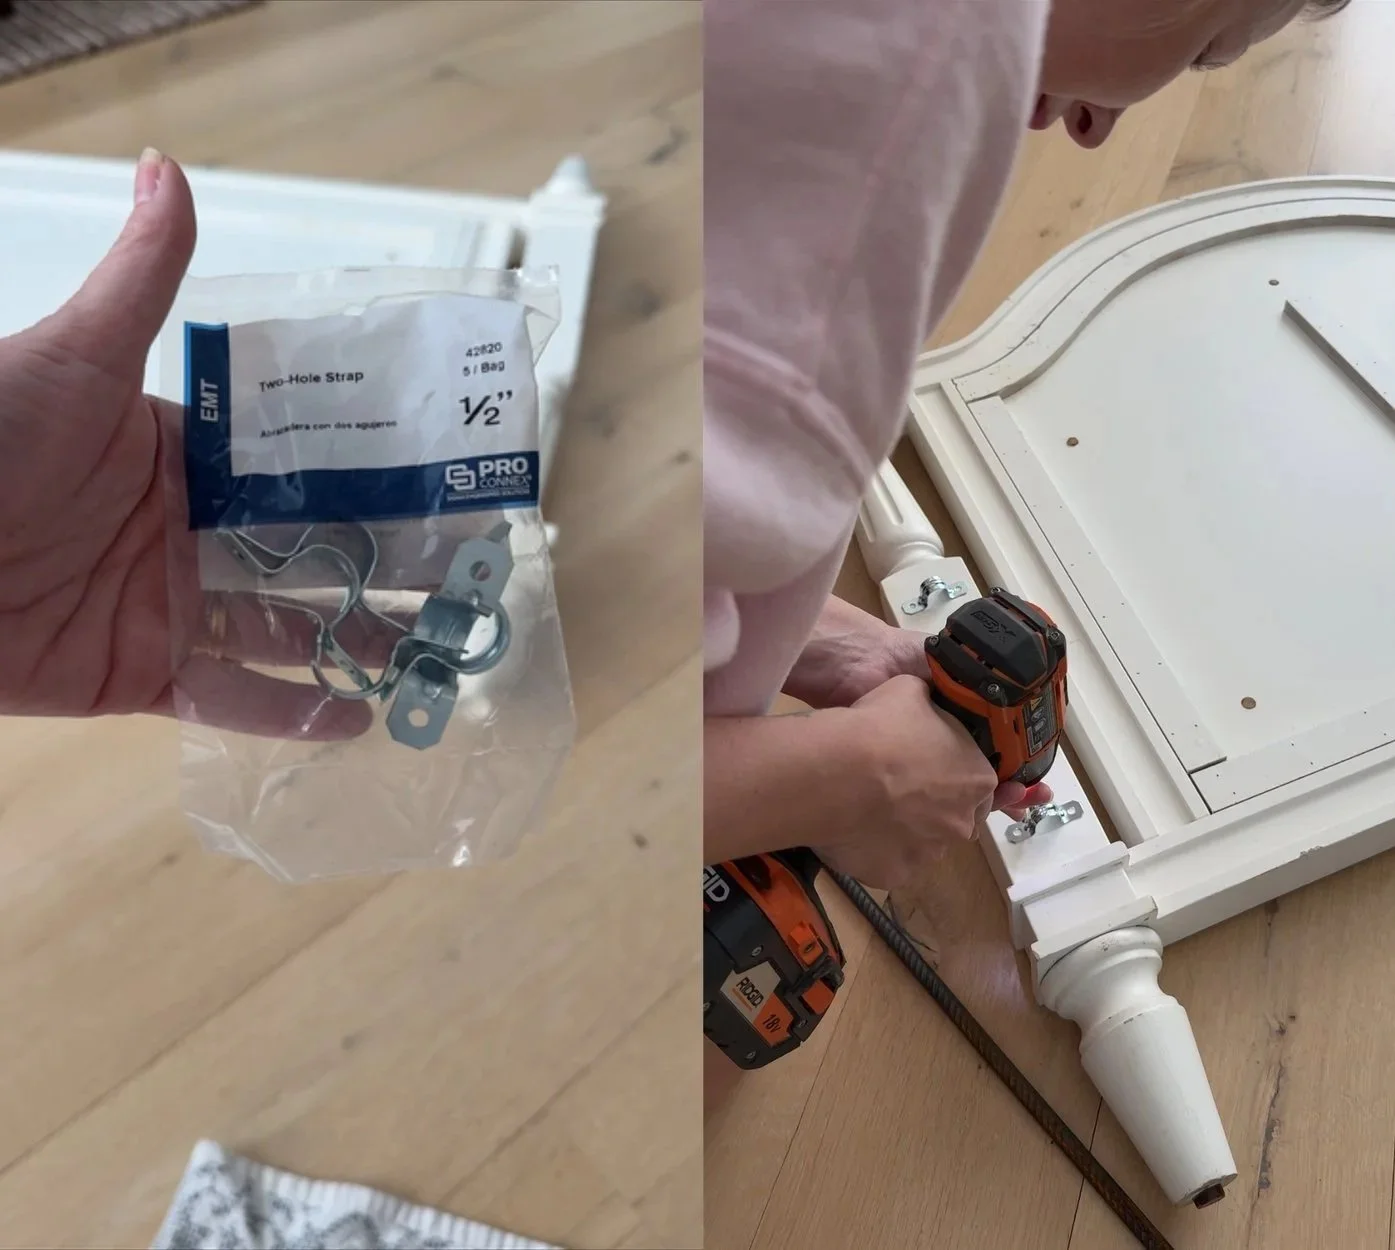
Step 1: Add Pipe Brackets
Before I started painting, I screwed on four pipe brackets to the back of the headboard. We will use these to make it stand in the yard later.
Step 2: Prime It
First things first, prime your headboard. I didn't and I regret it! Alwaysss prime!
Step 3: Paint It Black
Next, I painted the entire thing black. I wanted a moody, witchy vibe and two coats did the trick for me

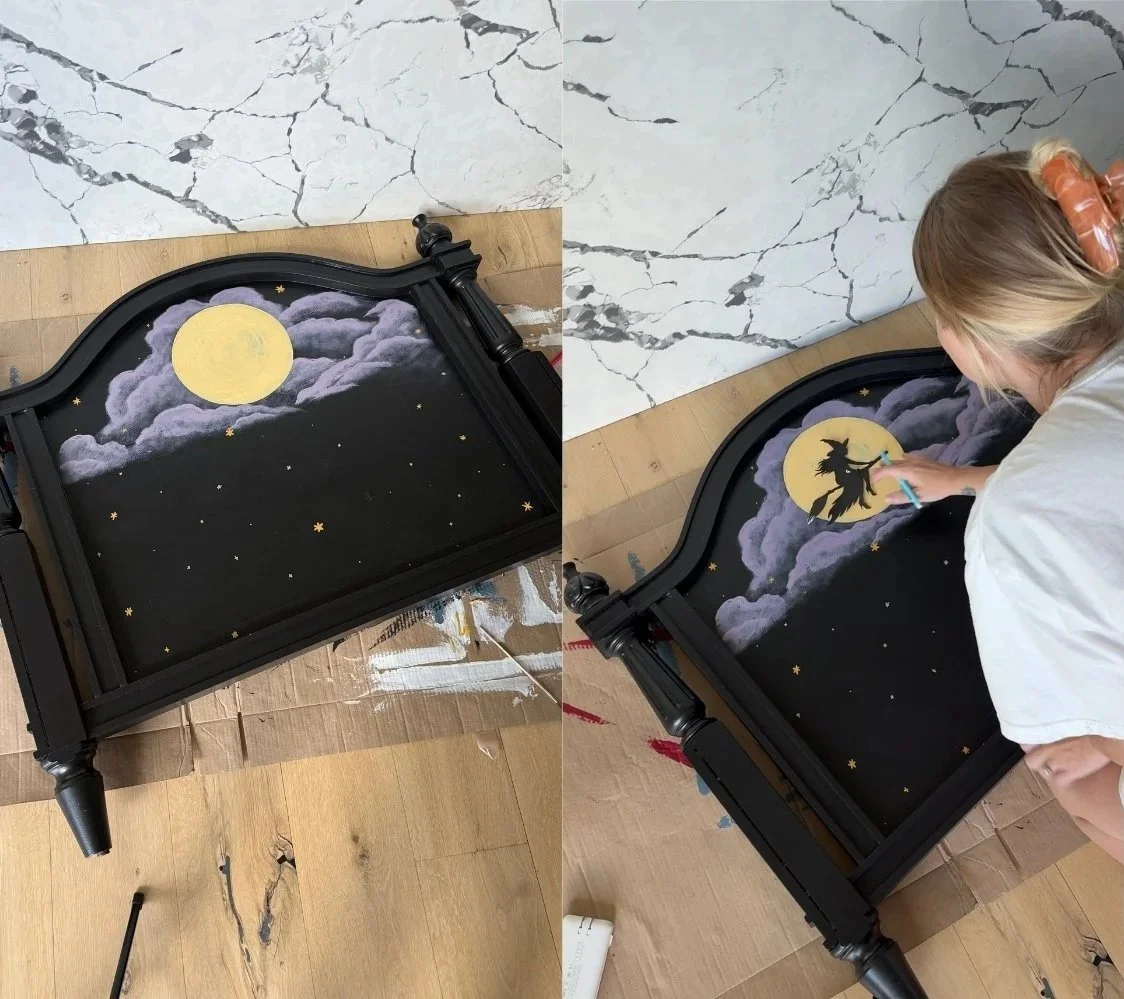
Step 4: Hand Paint the Clouds and Stars
To make the sign feel more dimensional, I hand-painted soft purple clouds around the moon and the witch. This part was super fun. No rules, just a youtube tutorial and blending until it looked right. I also added yellow stars around the entire front.
Step 5: Add the Moon and the Witch
Once the base coat was dry, I painted in the round yellow moon. Then I printed out a photo of a witch, cut it out, and used it to trace the outline. Then I filled it in with black paint.
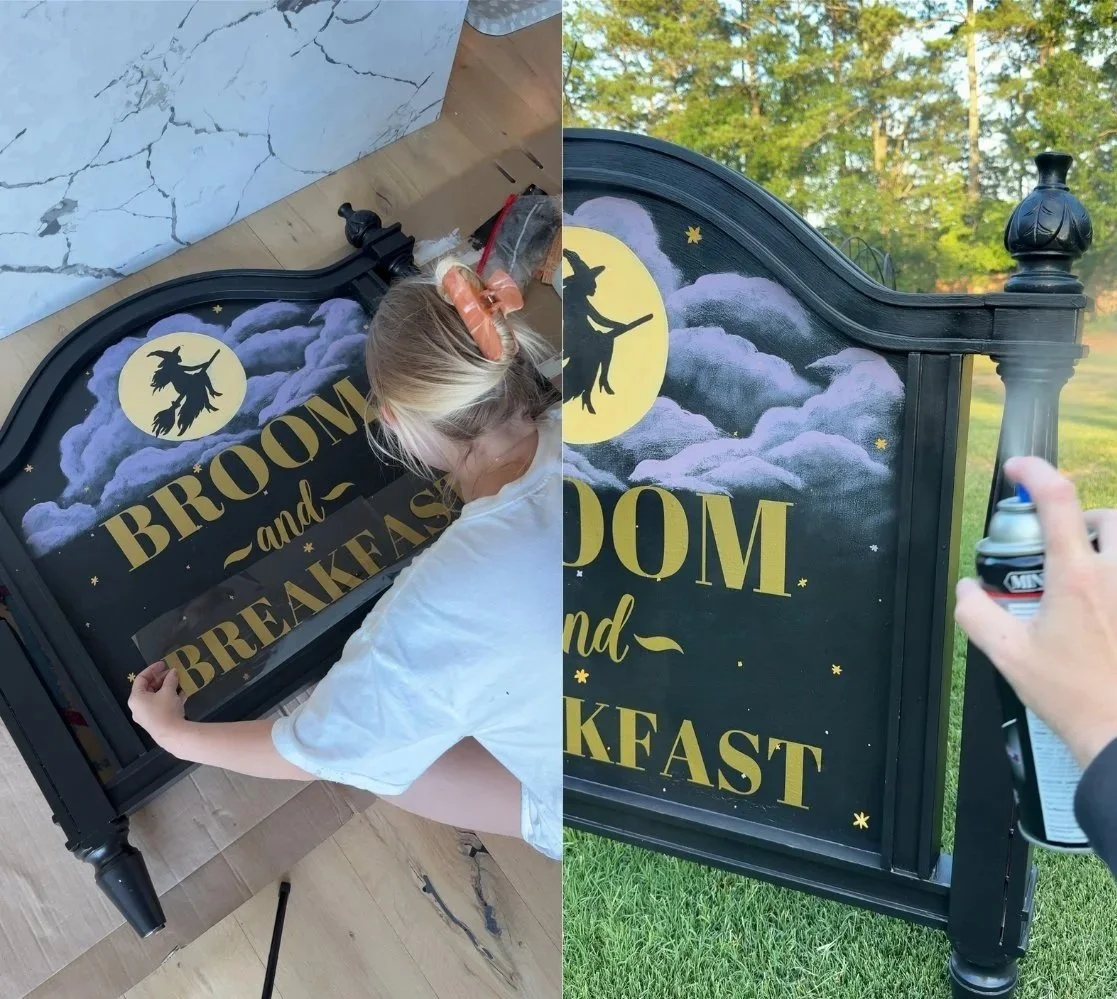
Step 6: Add the Lettering
I used my Silhouette vinyl machine to cut out the “Broom & Breakfast” letters. You could use pre-made vinyl letters or stencils too. Once the letters were positioned where I wanted them, I carefully applied them to the headboard.
Step 7: Seal It
Since this piece will live outdoors, I sealed it with multiple coats of polycrylic. Don’t skip this step because it protects your hard work from the elements and keeps the finish looking crisp.
Step 8: Make It Sturdy
To make sure the sign could stand up in the yard, I slid rebar through the pipe brackets and hammered them into the ground. It’s super sturdy and stands perfectly without tipping.
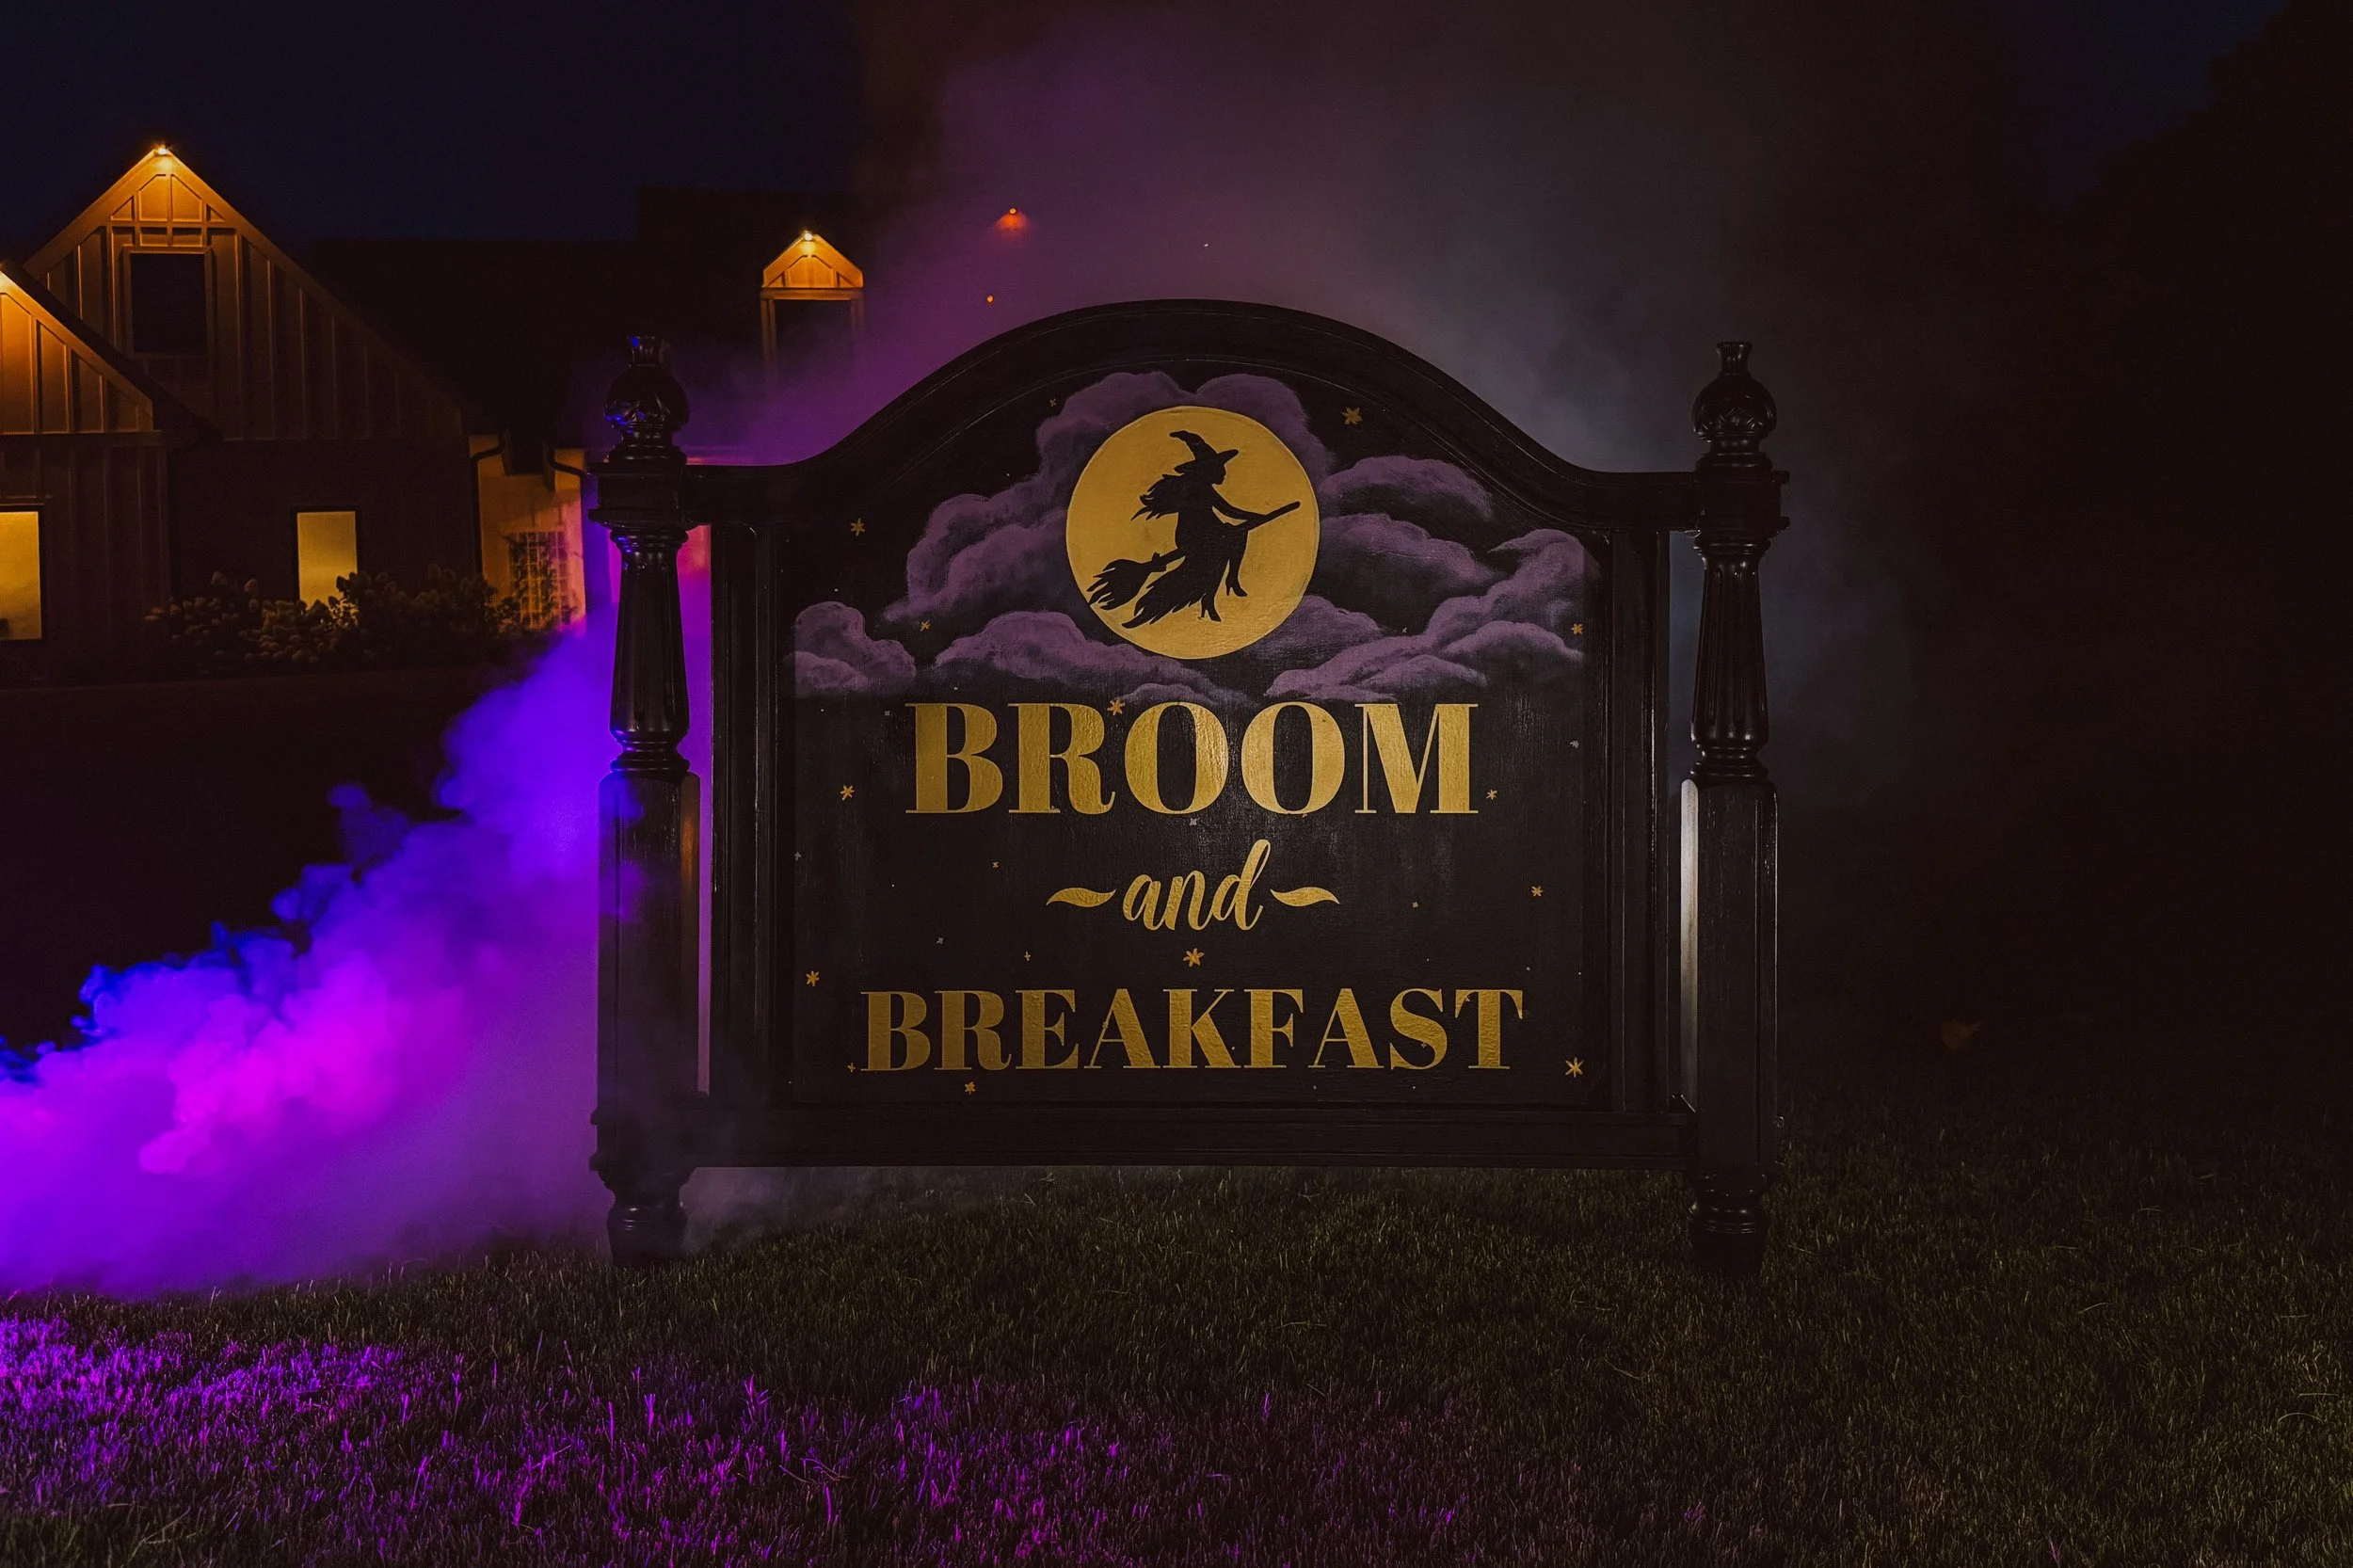
The Final Result
What started as a random Marketplace find is now a statement Halloween piece that looks like it belongs outside a spooky old inn. It’s playful, a little eerie, and totally unique.
If you’re thinking about making one yourself, do it. You can customize the design, color, or theme for any holiday or season.

If you like this, you might be interested in my Halloween String Light DIY!

DIY Halloween String Lights with Plastic Jack-o’-Lantern Pails
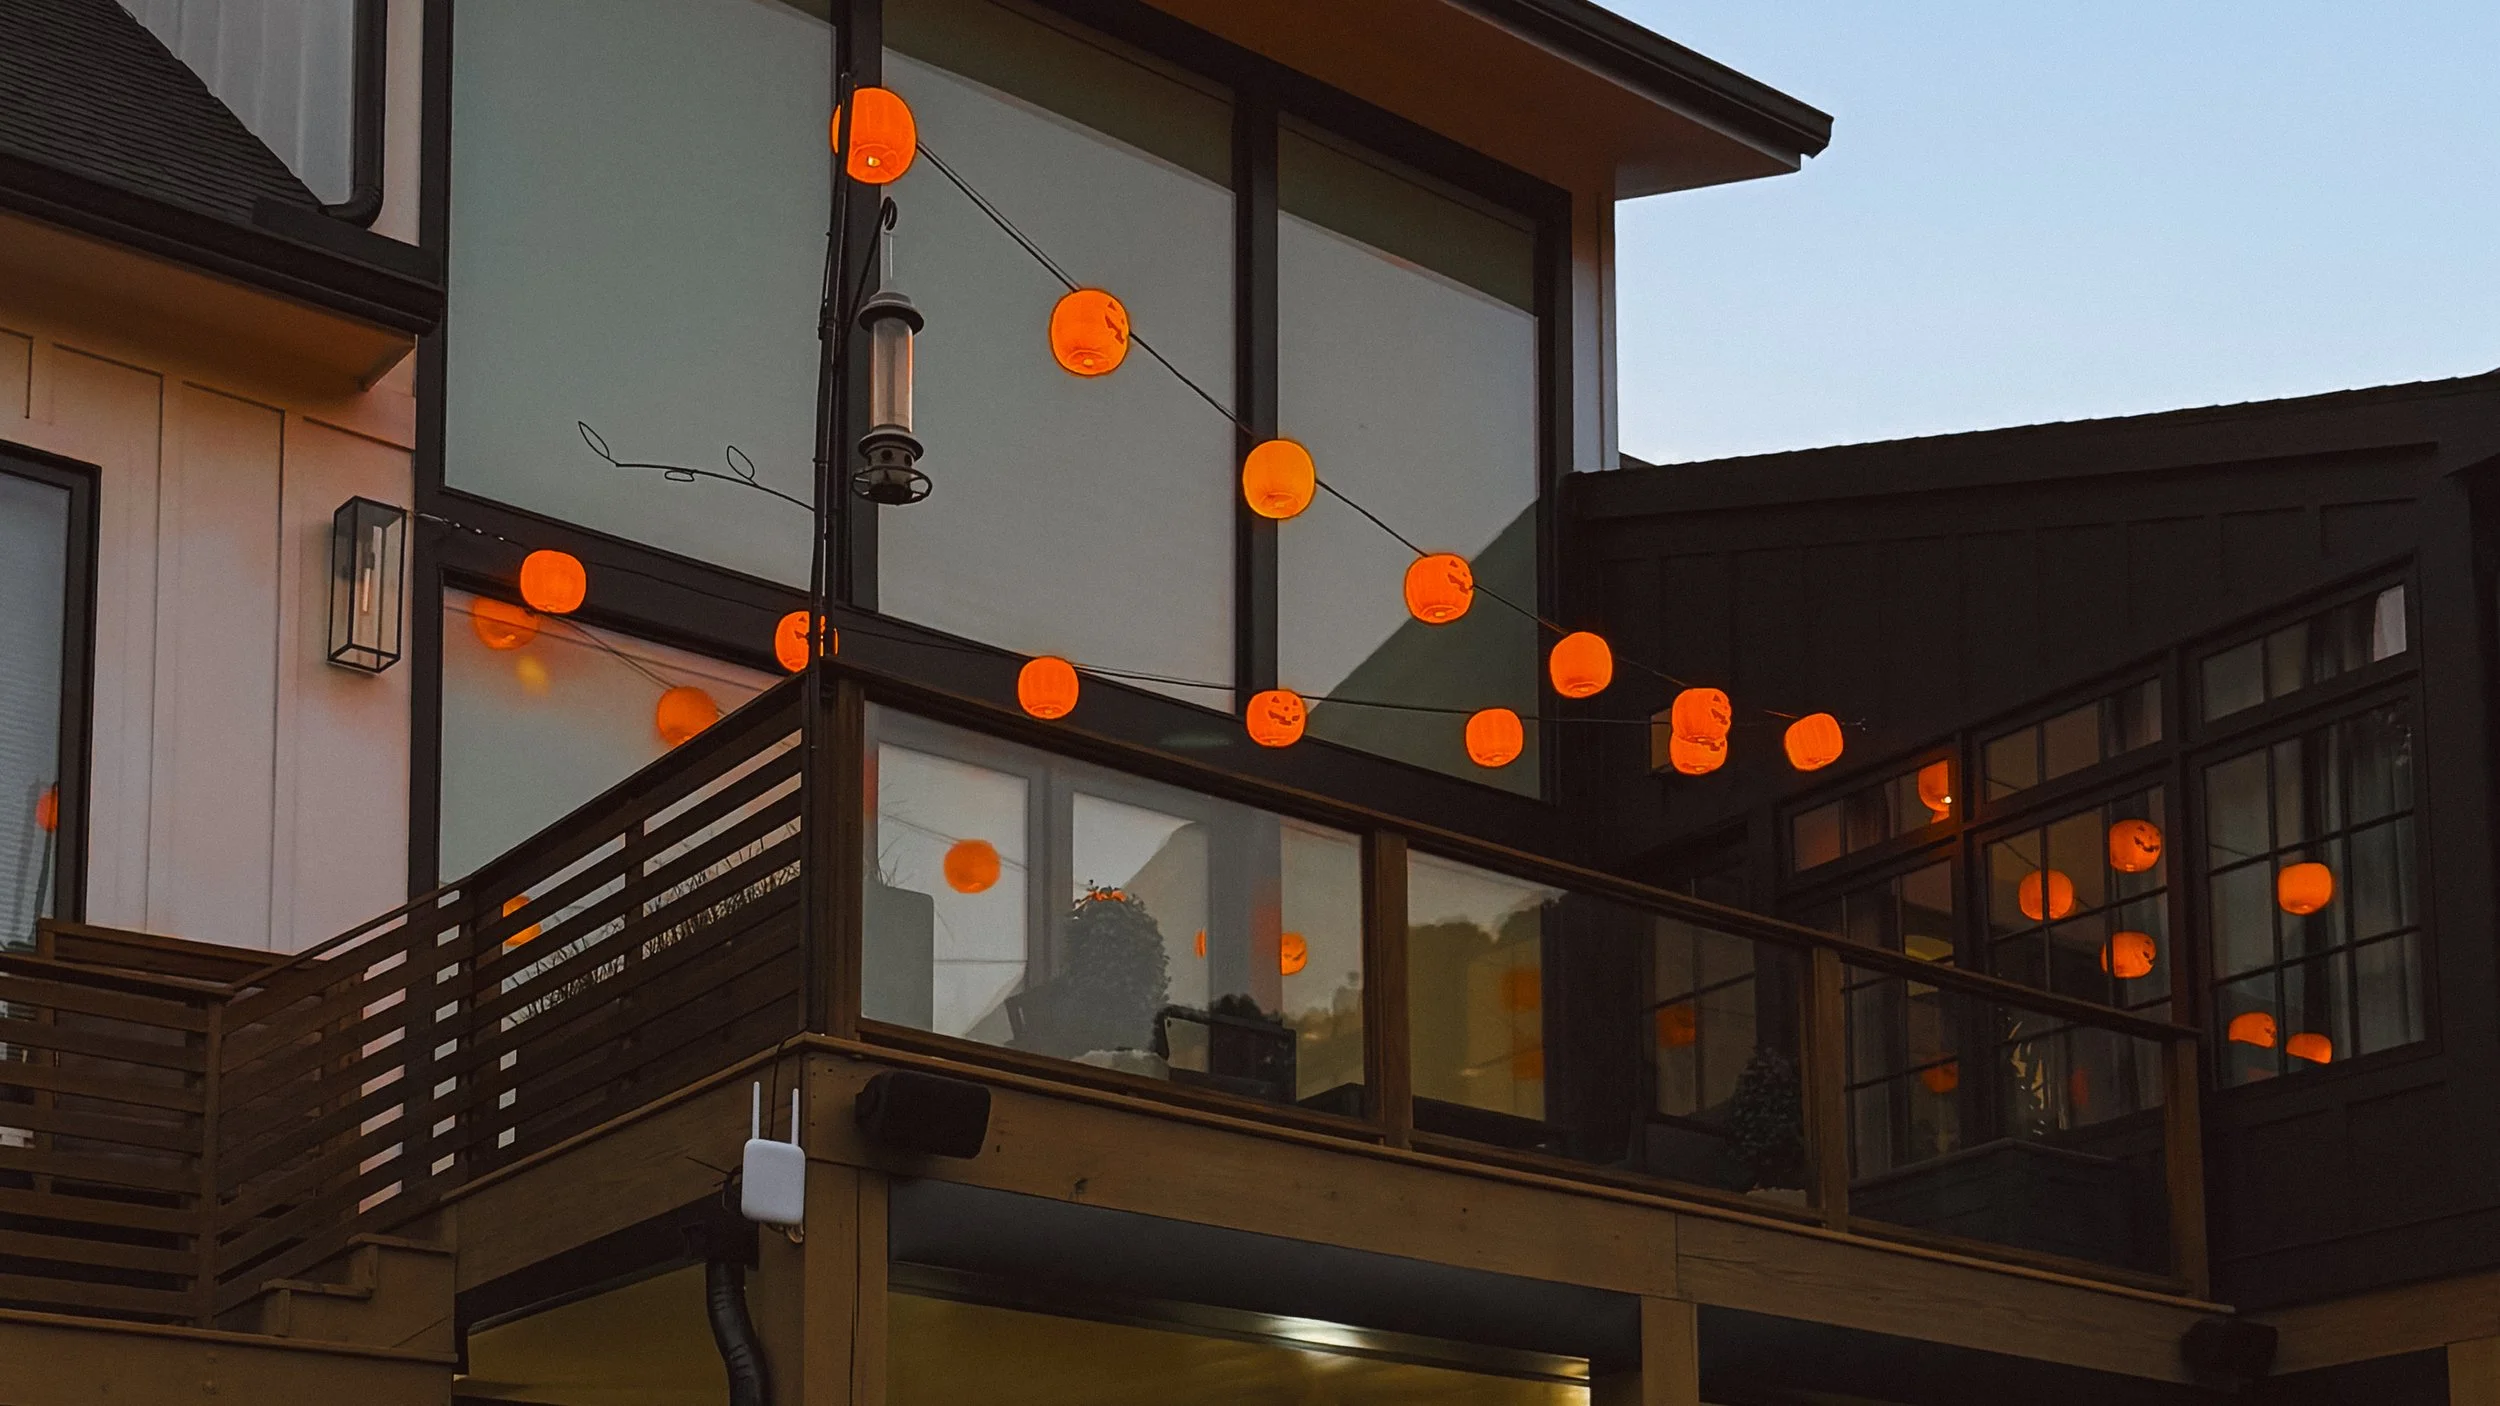
If you’re looking for a budget-friendly way to add some spooky charm to your outdoor Halloween setup, this DIY is for you. With just a few tools and those classic plastic Jack-o’-Lantern trick-or-treat pails, you can turn an ordinary set of string lights into a glowing row of pumpkin lanterns.
What You’ll Need
A box (for easy cleanup)
Step-by-Step Instructions
Step 1: Peel off any stickers from the bottom of the Jack-o’-Lanterns.
Step 2: Use your cutting pliers to carefully snip off the plastic handles. This will leave two small holes on the sides of each pumpkin that you’ll use later.
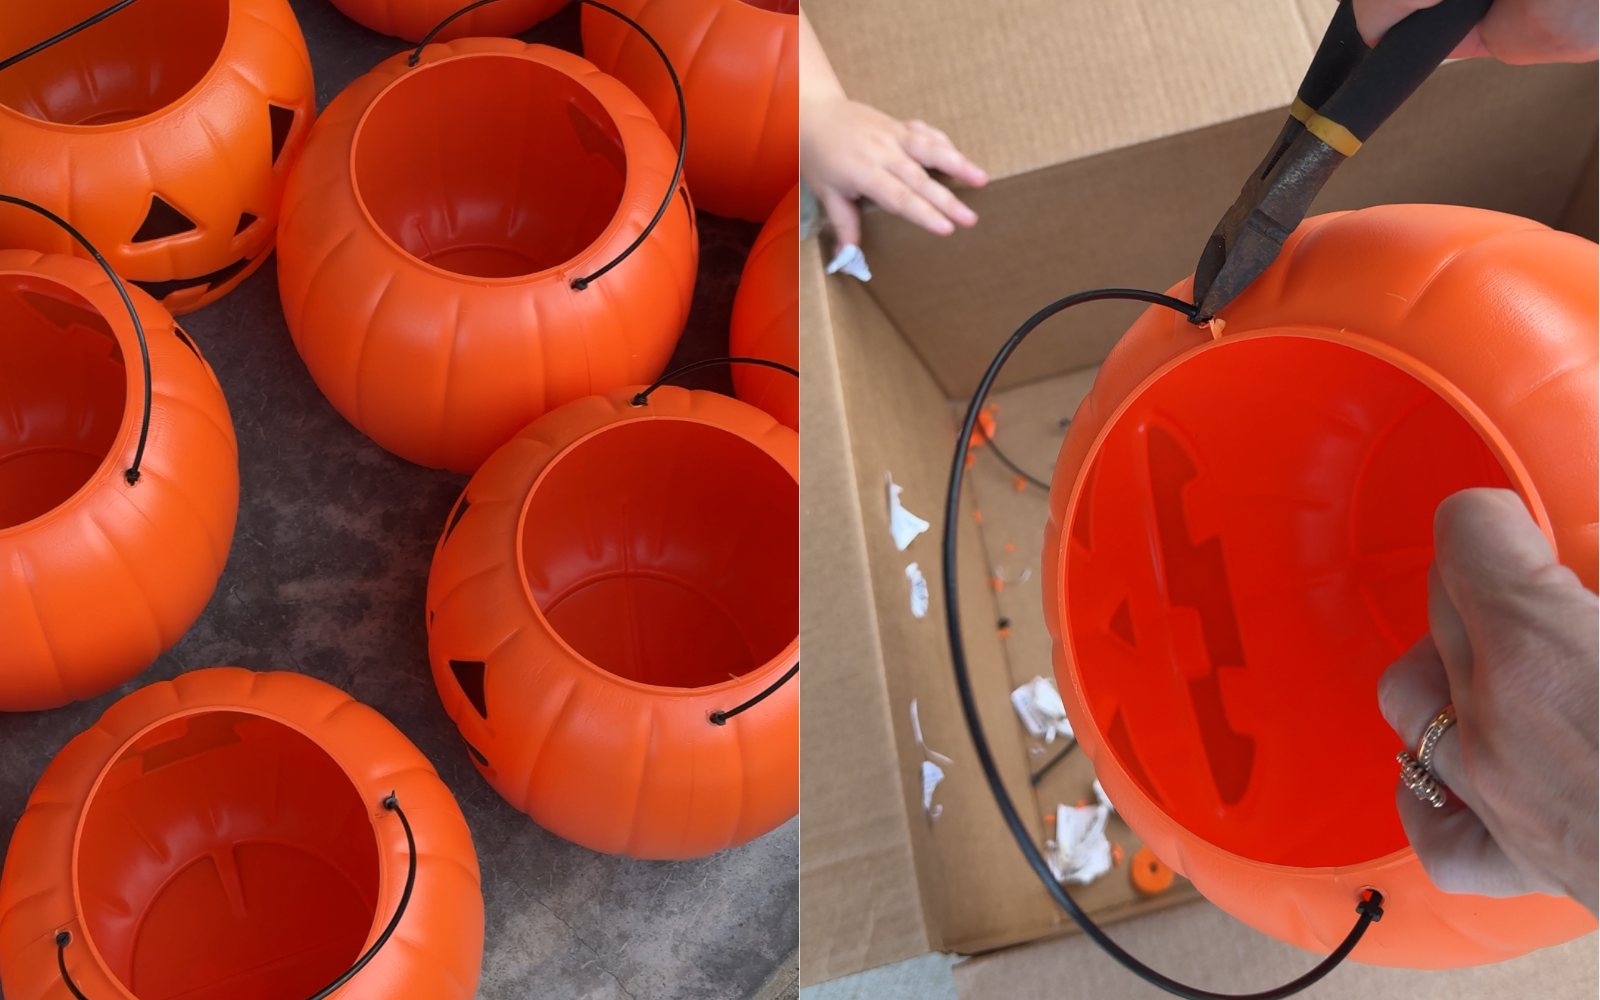
Step 3: Drill Drainage Holes. Using a 1 1/8" spade drill bit, drill a hole in the bottom center of each pail. This allows rainwater to pass through if your lights are outdoors.
💡 Pro Tip: Place the pumpkins over a box while drilling, removing stickers and cutting off handles so all the pieces and plastic shavings fall inside. It makes for an easy clean up!

Step 4: Feed a zip tie through each handle hole of each pumpkin. These will secure the pumpkins to your string lights.
Step 5: Attach to the Lights. Place each Jack-o’-Lantern over a bulb on your string lights. Once it’s centered, tighten the zip ties around the wire so the pumpkin stays in place. I alternated the faces so I could see them from both my living room and back yard.
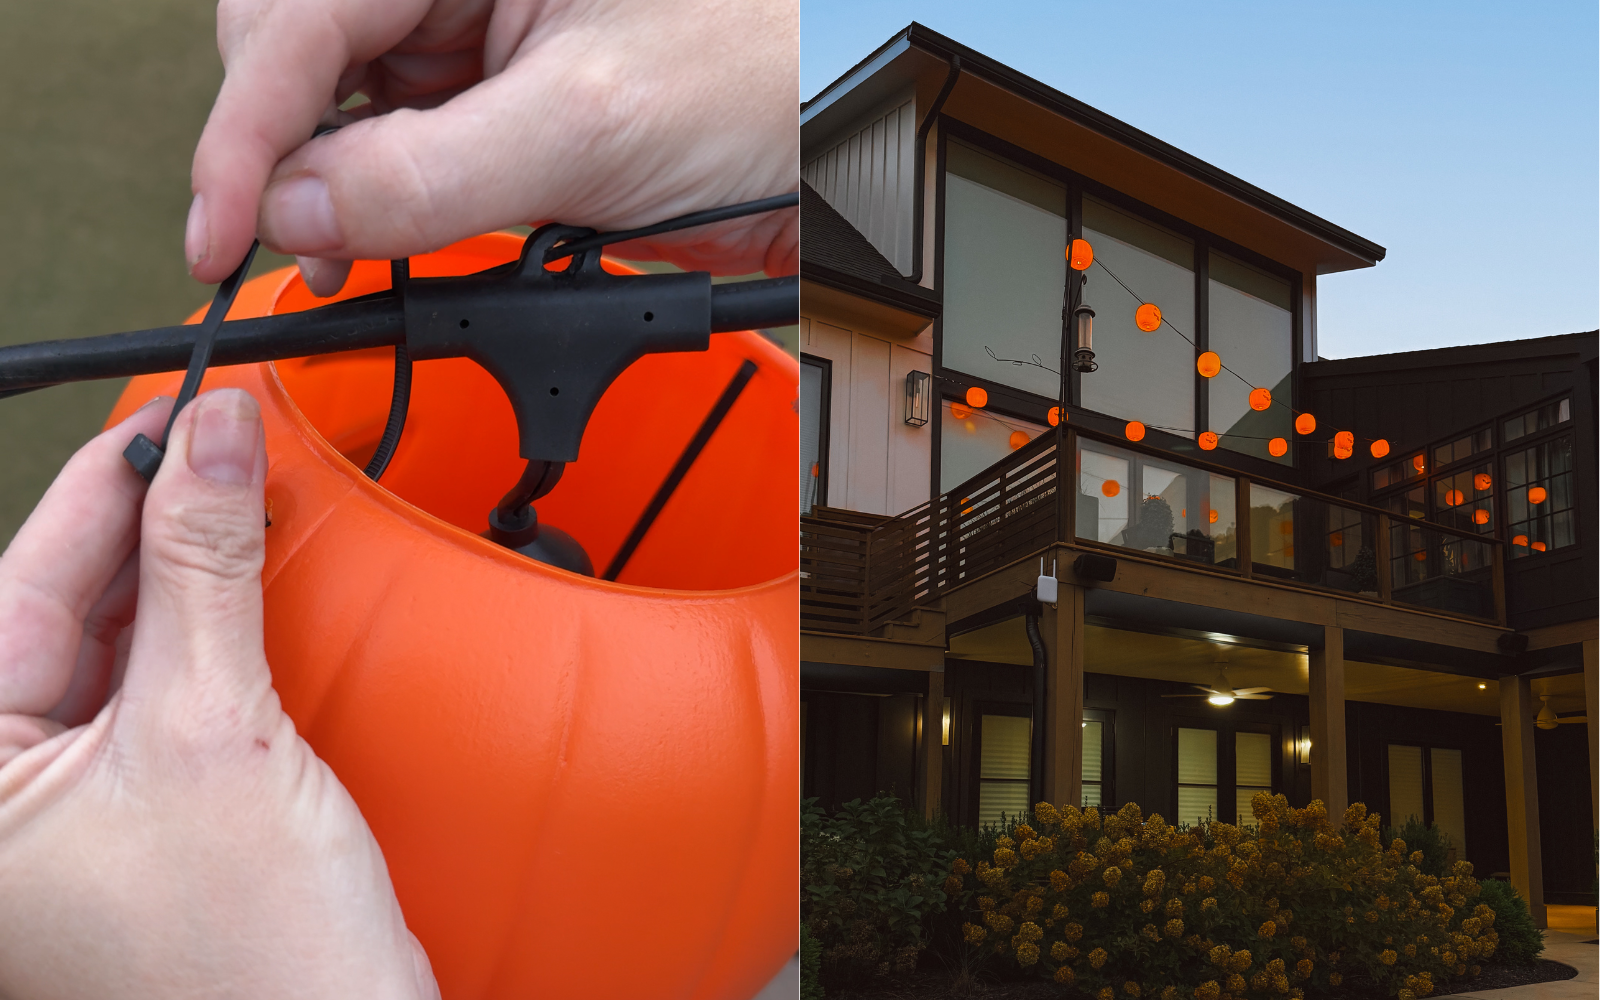
Step 6: Snip Off the Extra. Use your cutting pliers to trim off the excess zip tie for a clean finish.
And that’s it! You’ve got yourself a glowing line of cheerful (or spooky!) Jack-o’-Lantern lights perfect for Halloween.