
DIY Fringe banner
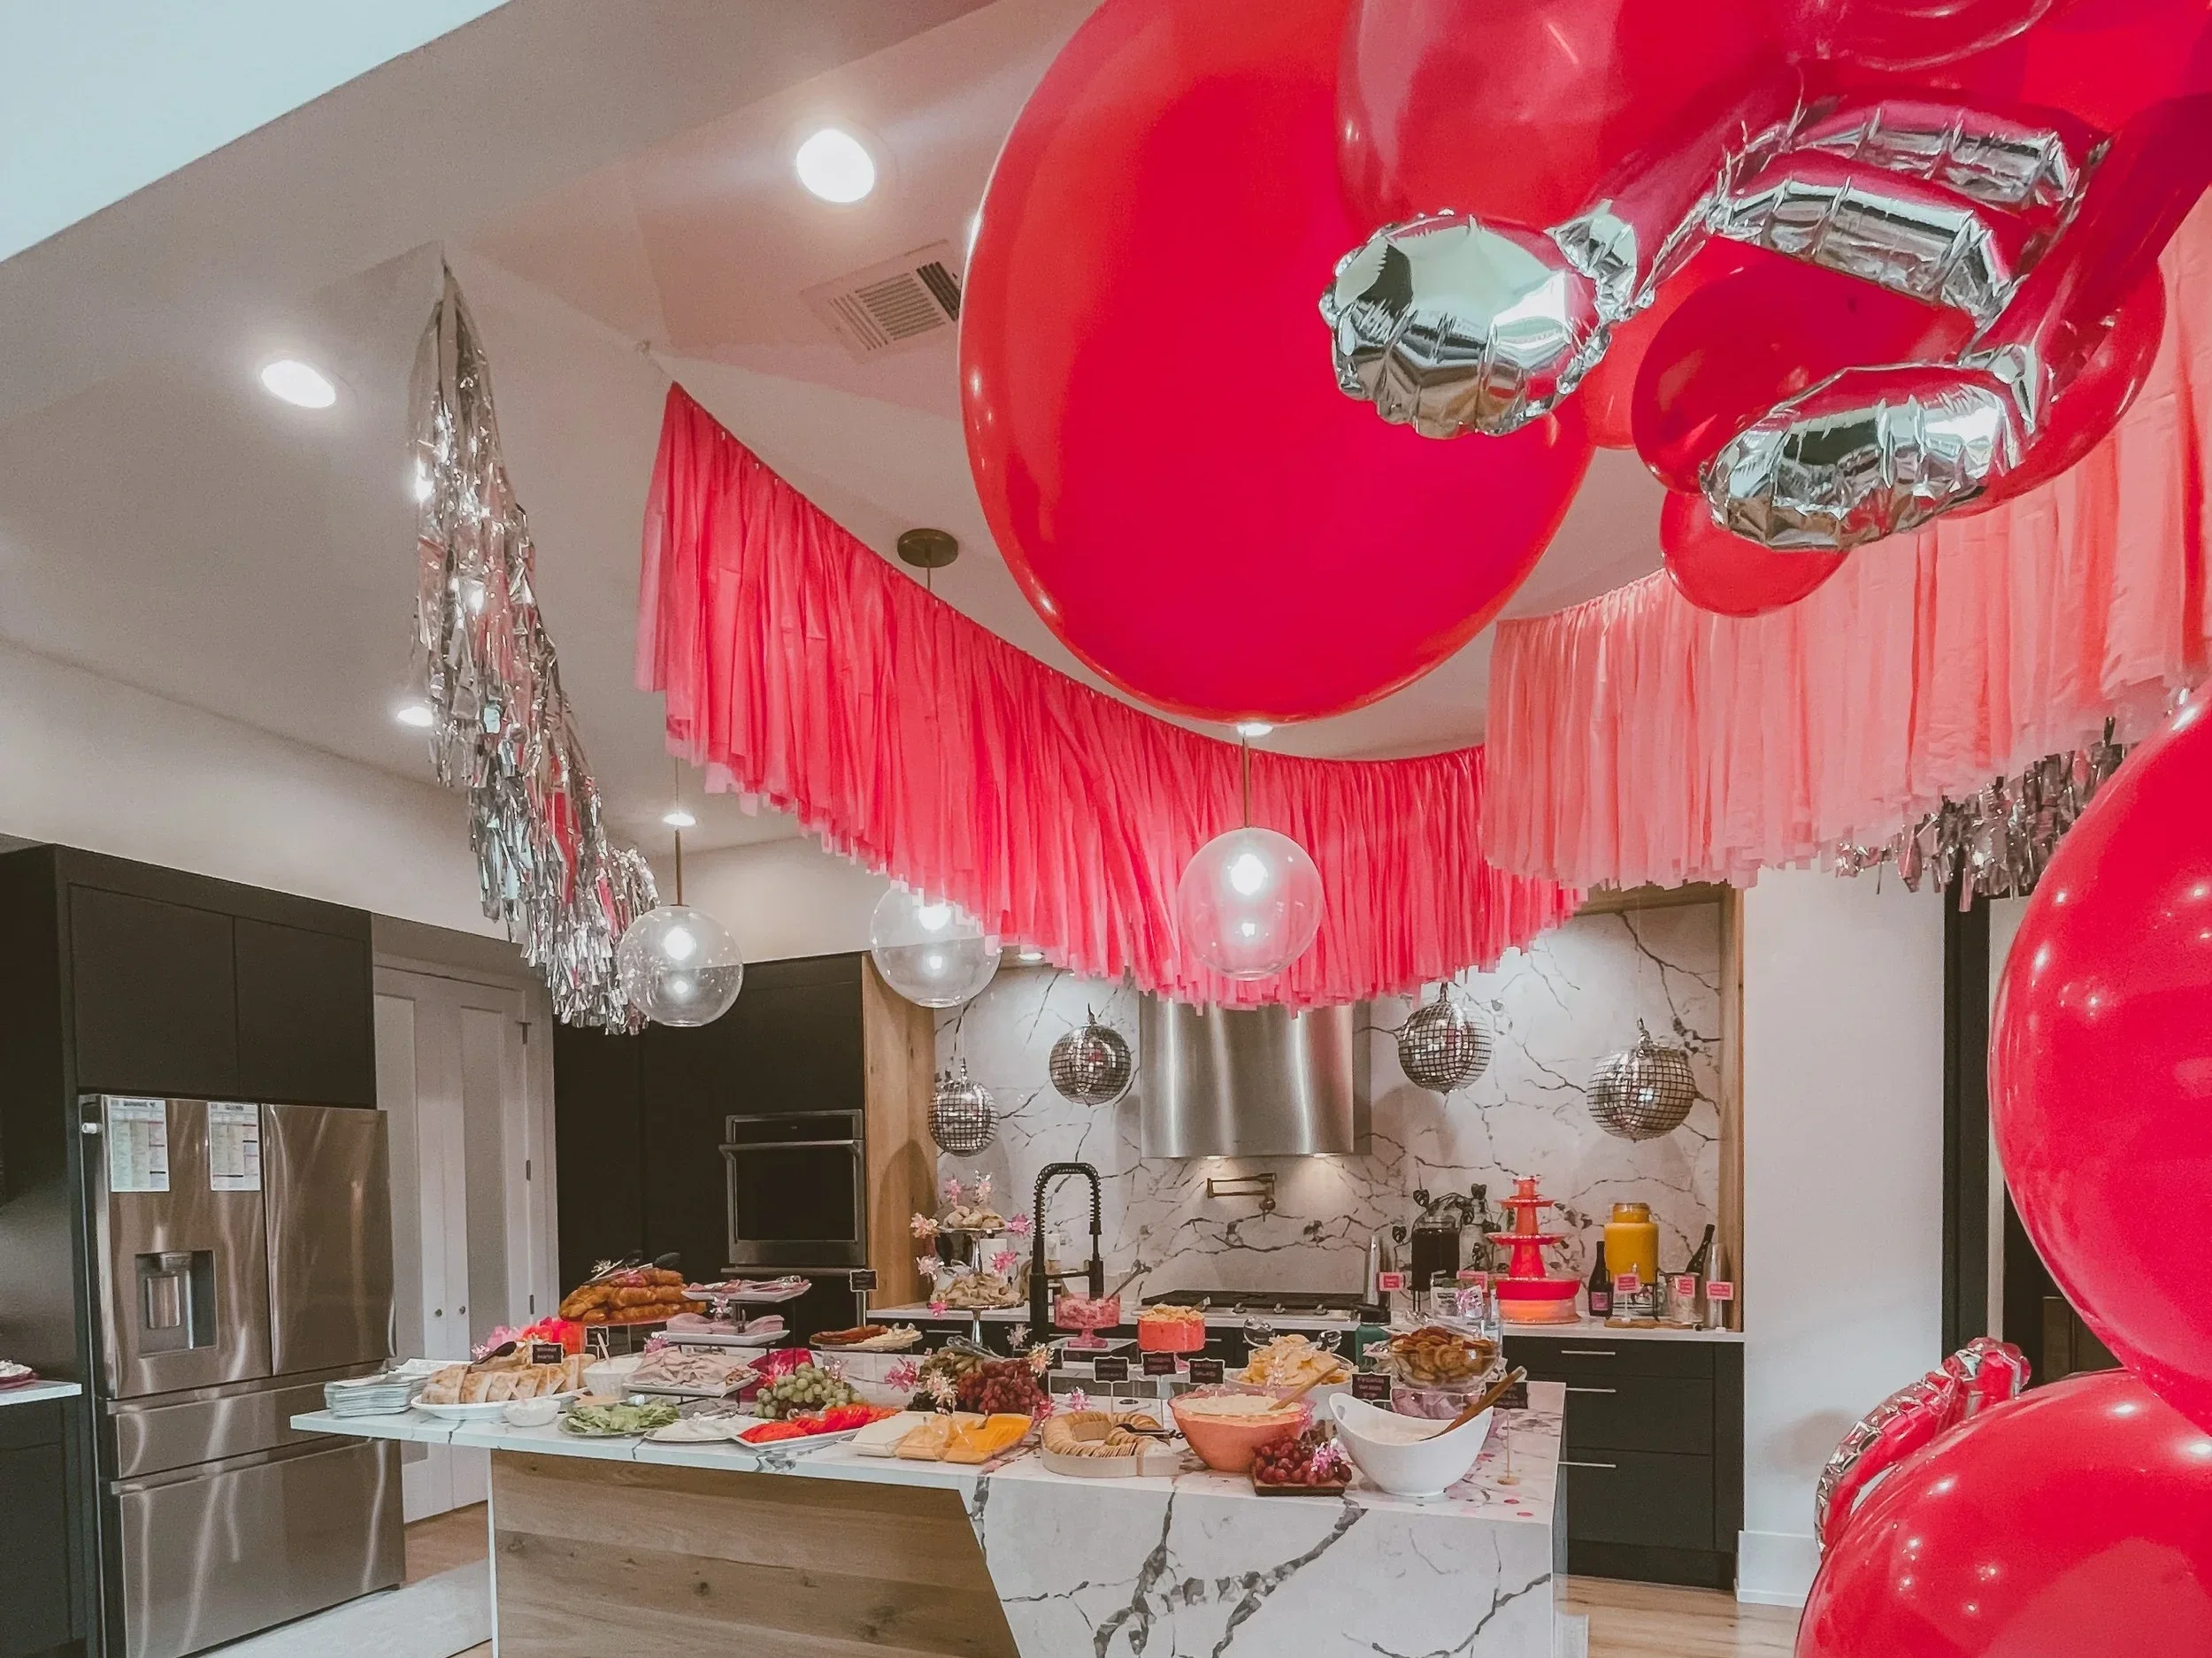
If you’re looking for an easy, budget-friendly way to make a party backdrop or decorate for a celebration, a DIY fringe banner is the way to go, and you only need a few supplies.
You’ll Need:
Here’s how to make one:
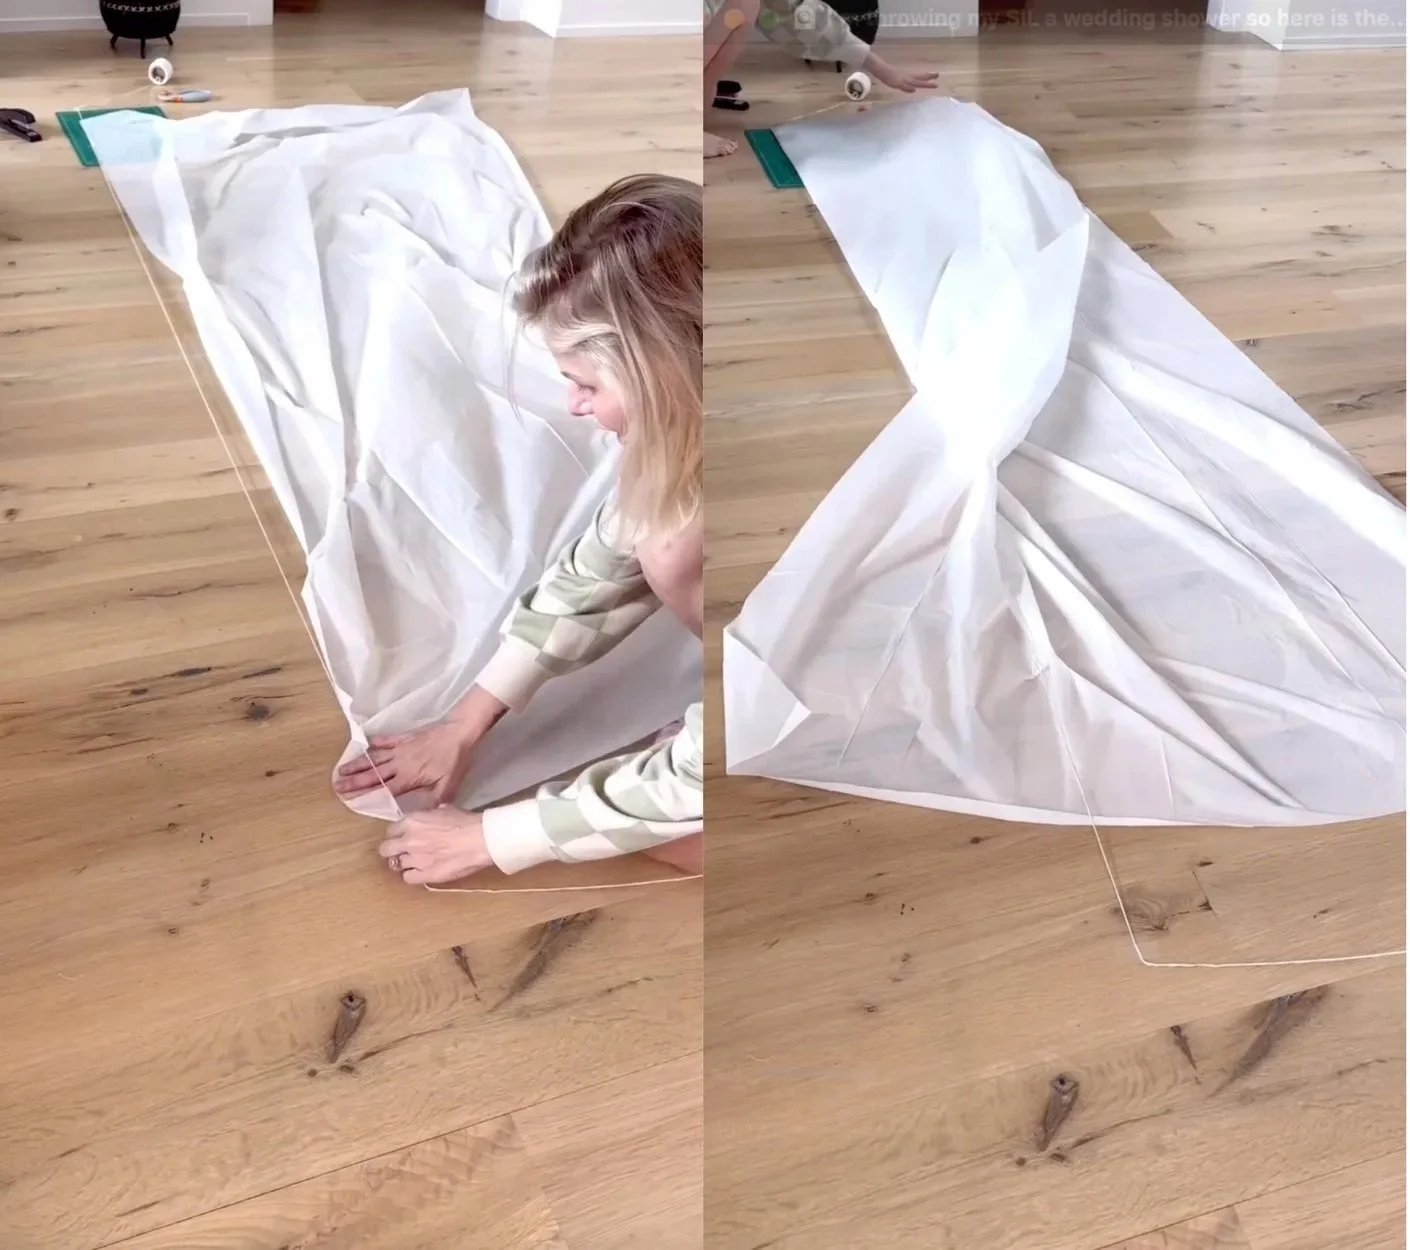
Start by laying out your string (or twine, ribbon, whatever you have) on the floor and tape it down so it stays in place. Then, spread out your plastic tablecloth on the floor and scoot it underneath the string. Fold the tablecloth in half over the string so it drapes evenly on both sides.
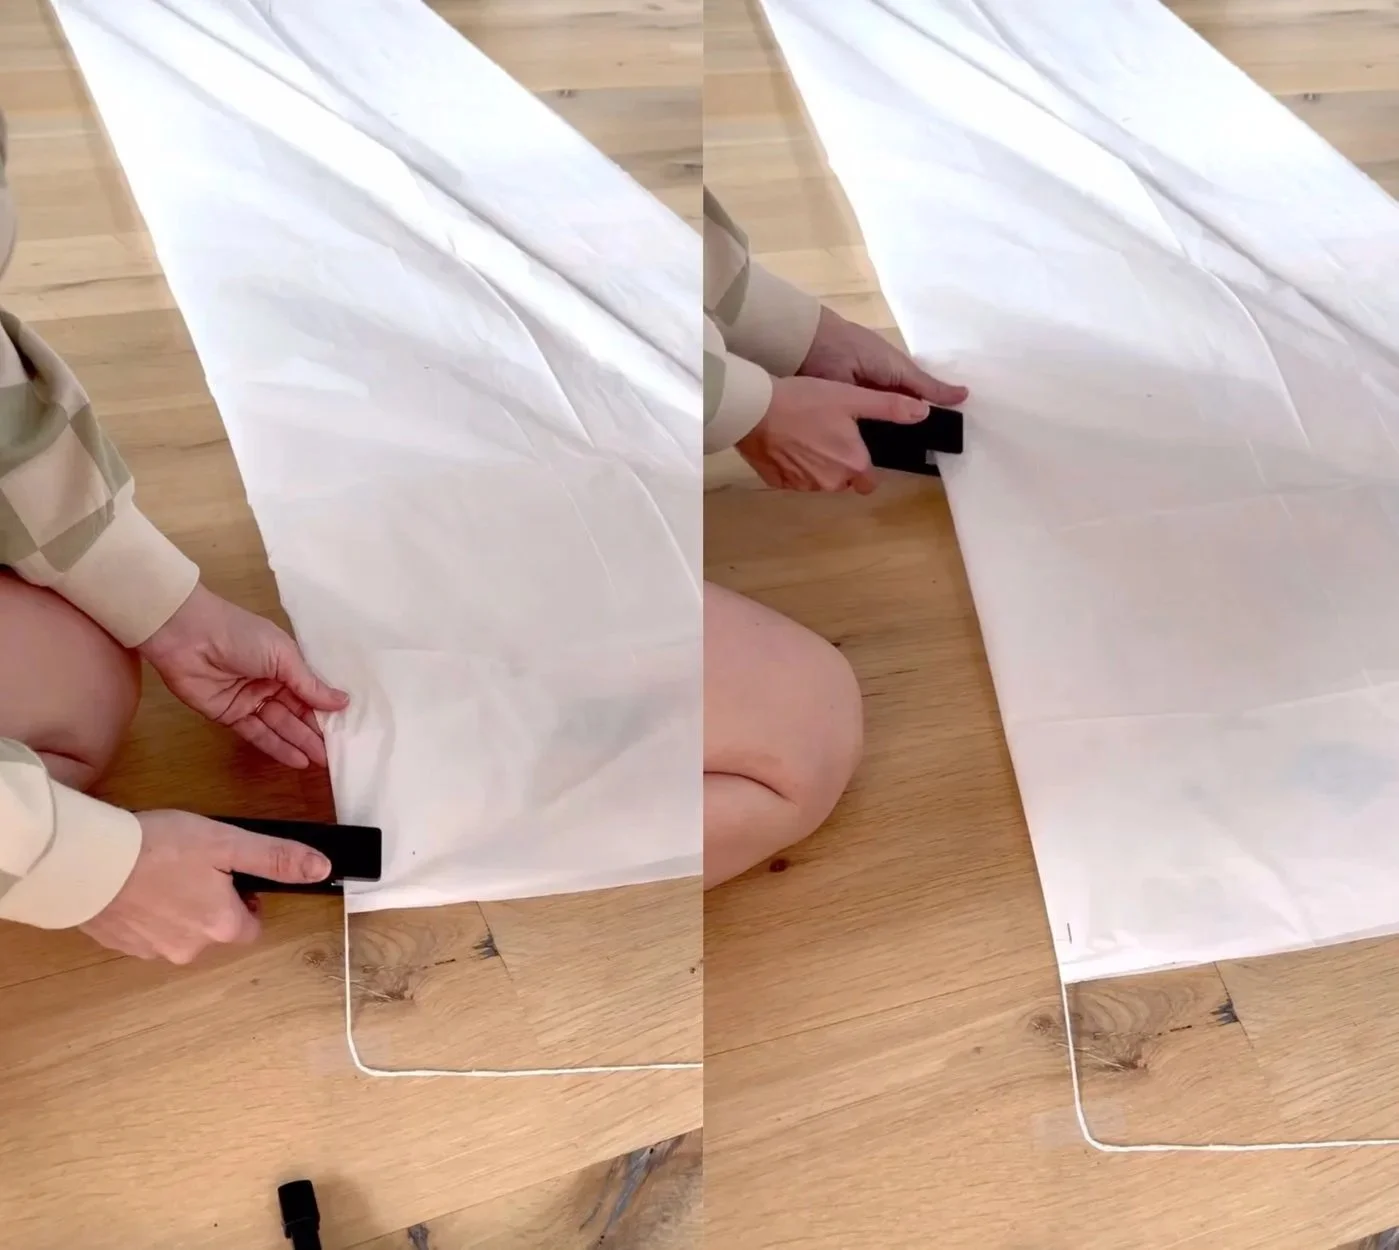
Next, grab your stapler and staple the folded edge right below the string every 6–8 inches. This will hold the tablecloth in place and give your banner a sturdy top edge to hang from.
Now it’s time to make it look fringy! Fold the tablecloth up about an inch and a half below the string, then fold it one more time the same way.

Using a rotary cutter or scissors, cut vertical strips into the tablecloth, just up to the bottom of the string, not through it.

Once you’ve cut the whole thing, lightly bunch the tablecloth together with your hands to fluff it up and give it some texture. Then repeat the whole process with more tablecloths until your banner is as long or as full as you want it.
How many tablecloths you’ll need depends on the length and fluffiness you’re going for, but honestly the more the merrier!
Hang it up, step back, and admire your DIY fringe masterpiece. Perfect for birthdays, showers, photo backdrops, or anytime you just want to make a space feel festive.
If you like this, you might be interested in my Music Themed First Birthday Party!

DIY Tutorial: Folding Kids’ Tables for a Party
When you’re hosting a big party for little ones, having kid-sized tables makes all the difference. I made six folding tables for my daughter’s party, and they turned out both practical and so cute. Here’s how you can make your own!

This tutorial will make (six) 48x32" wooden tables with folding legs.
Materials:
(2) sheets of ¾" thick 4'x8' sanded plywood (~$65 each)
(24) folding hairpin legs, 12.5" tall (4 per table)
(30) 15.75" floor cushions for seating
Tools:
Step 1: Cut the plywood into table tops
Each 4’x8’ sheet of plywood makes three 48"x32" tables.
Use your circular saw to cut the plywood sheets into thirds

Step 2: Smooth the edges
Run a router along all edges so the tables are smooth and safe for little hands.
If you notice any rough spots, lightly sand with sandpaper until the surface feels soft.

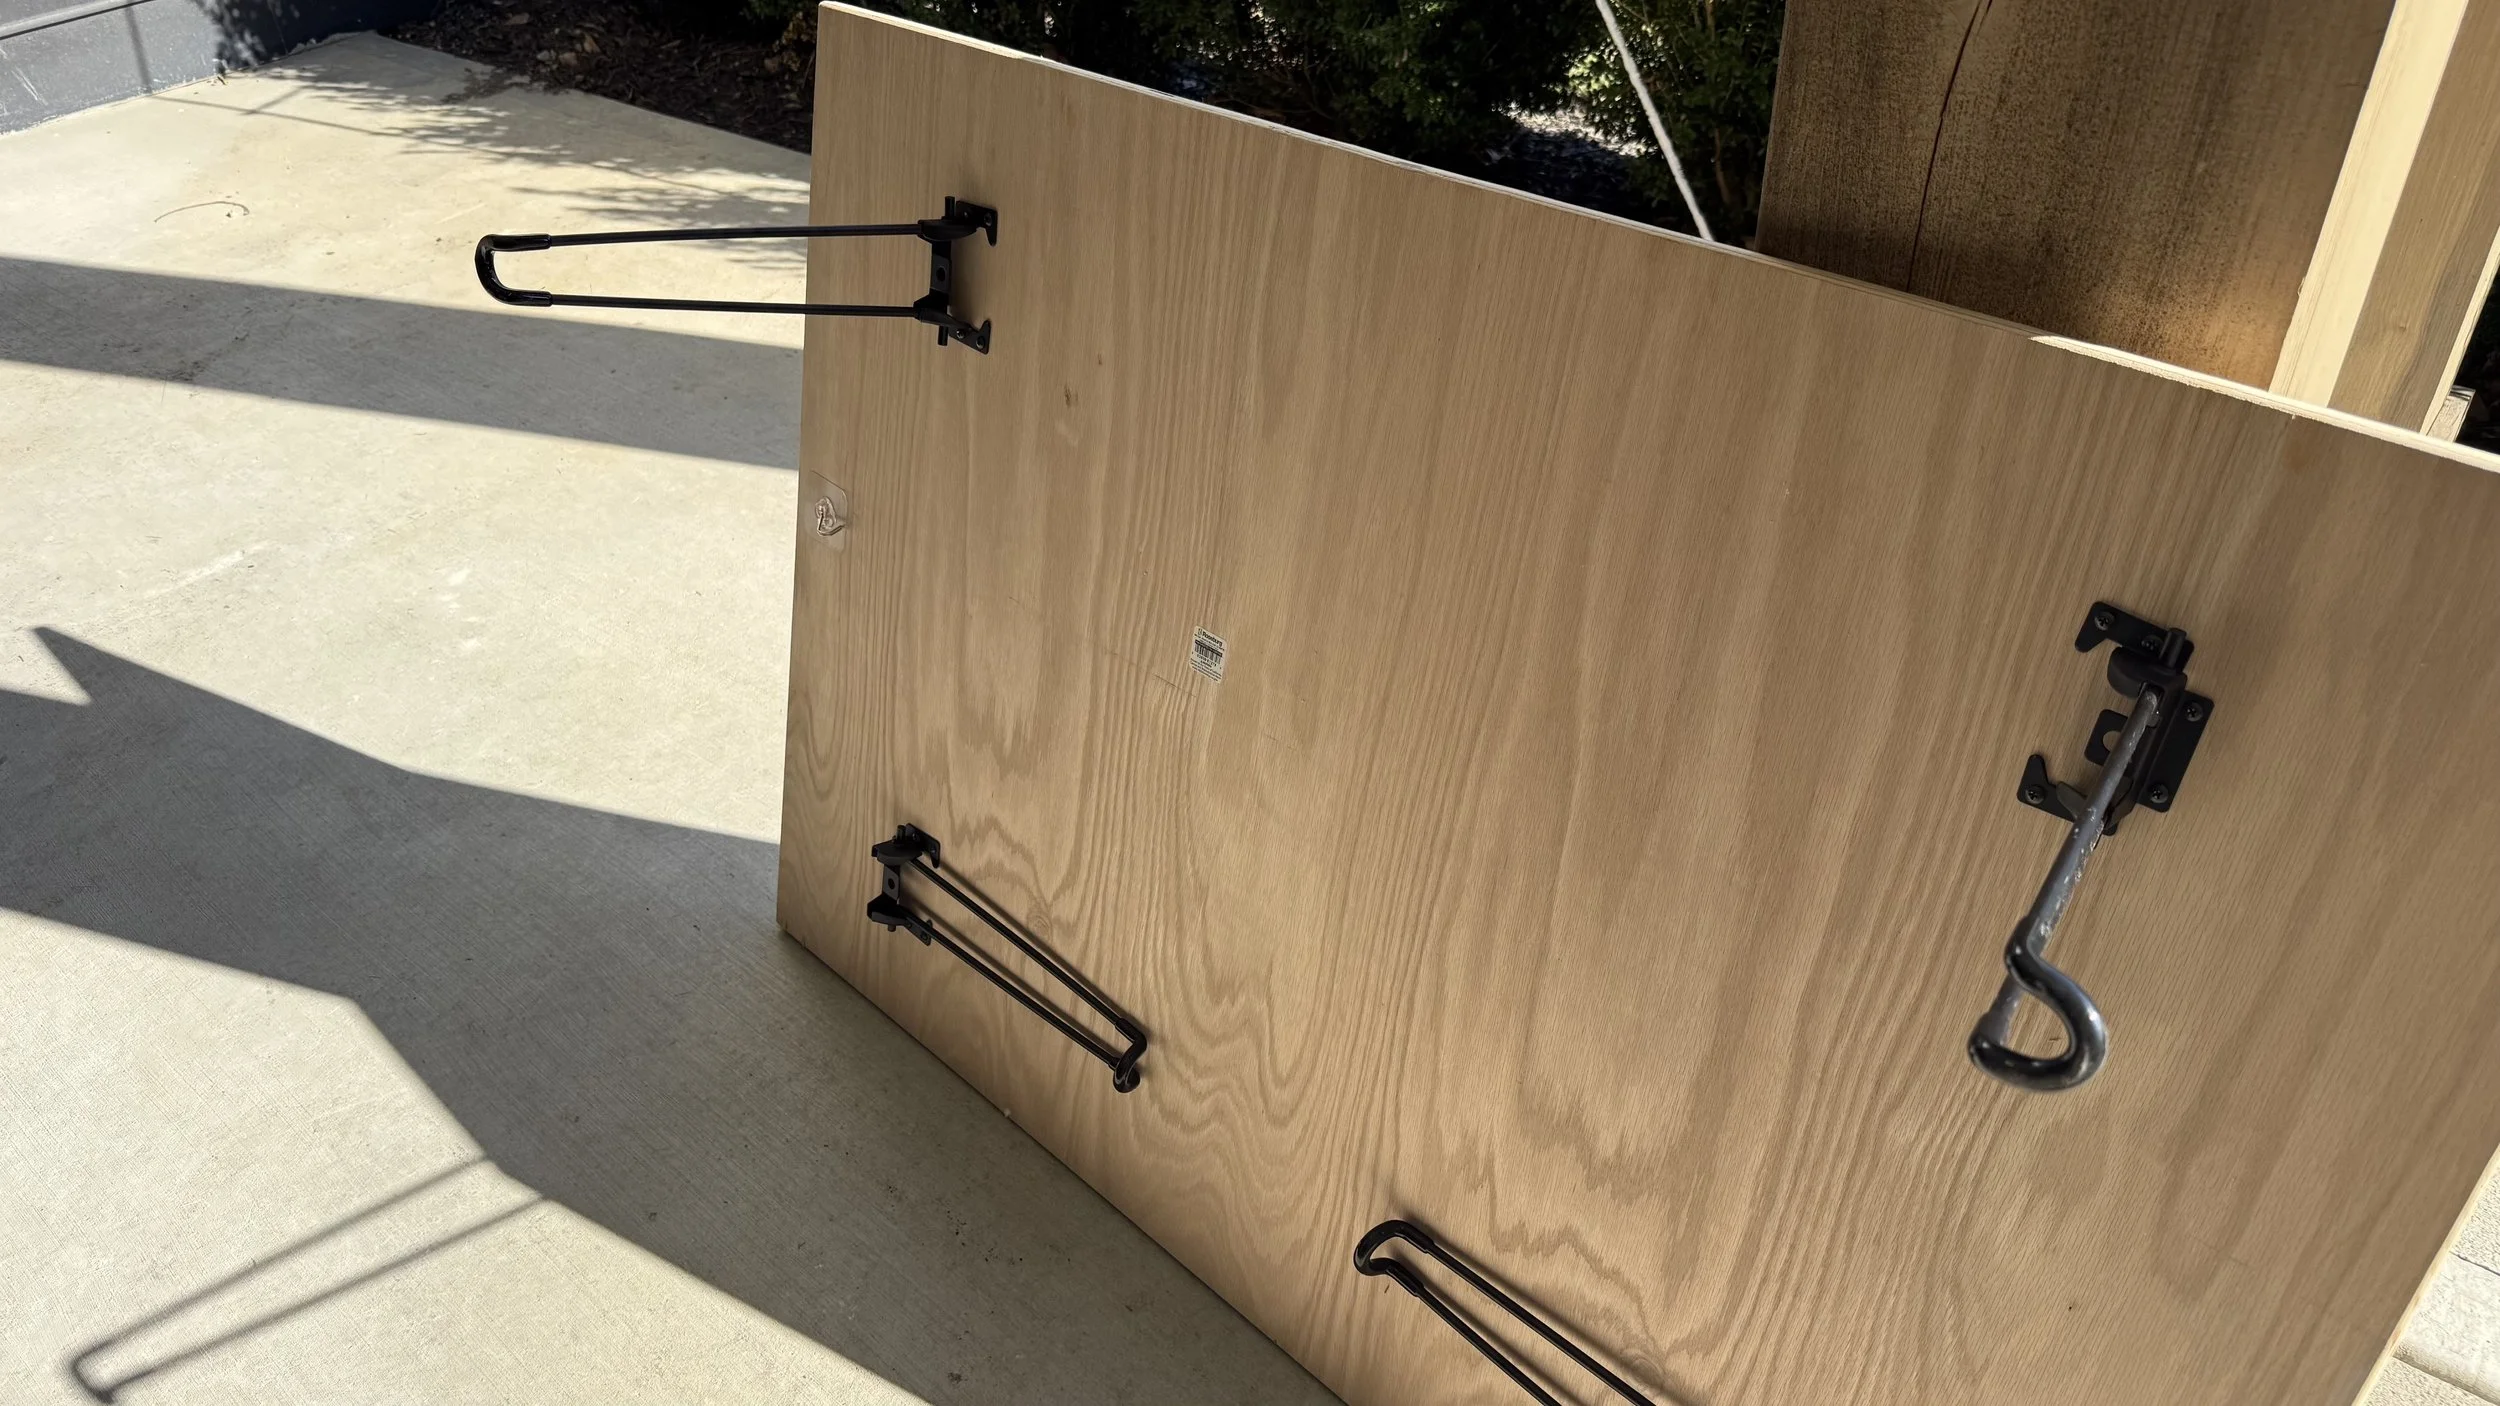
Step 3: Attach the legs
Flip each tabletop upside down.
Position four folding hairpin legs (12.5" tall) in the corners, leaving about 6-7" inset from each edge.
Drill pilot holes to avoid splitting the wood.
Secure the legs with screws.
Step 5: Add seating
I used 30 soft floor cushions so all the kids had a comfy spot to sit around the tables.
Final Results
Each table is low to the ground, folds flat for storage, and can easily seat several kids with floor cushions. They worked perfectly for crafts, snacks, and games at the party!
Pro tip: You can paint or seal the tabletops if you want them to match your party theme or to protect from spills, but I left mine natural for a clean, timeless look.
Links At A Glance
If you like this, you might be interested in the Fairy Birthday Party Recap!