
Estate Sale Tips
Welcome back to Mae’s Thrift Tips! If you love a good bargain and hunting for hidden gems, then estate sales are a must. But I know what you’re thinking—how do you even find them? Well, today I’m spilling the secret that the gatekeepers don’t want you to know. (Sorry, guys!)
The number one question I get asked is: How do you find out about estate sales? And the answer is so simple… it’s an app!

The Estate Sale Secret: EstateSales.net
Yes, you heard that right. The easiest way to find estate sales near you is by using EstateSales.net. This app is a total game-changer for thrift lovers, antique hunters, and deal-seekers alike. Here’s why I love it:
✔ Customized Searches – You can filter estate sales by location, so you only see the ones closest to you. No more aimless driving around!
✔ Sale Schedules – The app shows you exactly when and where sales are happening, so you never miss out on a good one.
✔ Photo Previews – See pictures of what’s available before you even leave the house. This helps you decide if it’s worth your time.
✔ RSVP Options – Some sales require you to RSVP, and the app makes it super easy to do that.


Pro Tips for Estate Sale Success
Now that you know where to find estate sales, here are a few tips to make the most of your treasure hunts:
1️⃣ Arrive Early – The best items go fast! If you see something good in the preview photos, be there when the doors open.
2️⃣ Bring Cash – While some sales accept cards, cash is always a safe bet and can sometimes help with negotiating a better price.
3️⃣ Be Respectful – Remember, estate sales often happen due to major life transitions, so be kind and courteous.
4️⃣ Negotiate Wisely – Prices are usually firm on the first day but may be more flexible later in the sale. Day two is usually 25% off, and the last day is typically 50% off—so be there at opening! If you want the absolute best deal, go an hour before the sale ends on the last day. That’s when sellers are most willing to make amazing deals.
So there you have it—the inside scoop on how to find the best estate sales near you! Go download EstateSales.net and start planning your next thrift adventure. Happy hunting! 🛍️✨


Have you scored any amazing finds at an estate sale? Share your best thrifted treasures in the comments below!
IF YOU ENJOYED THIS POST, YOU MIGHT BE INTERESTED IN my Upscaling Plants post.
FOLLOW ME ON MY SOCIALS!
Upscale Your Plants
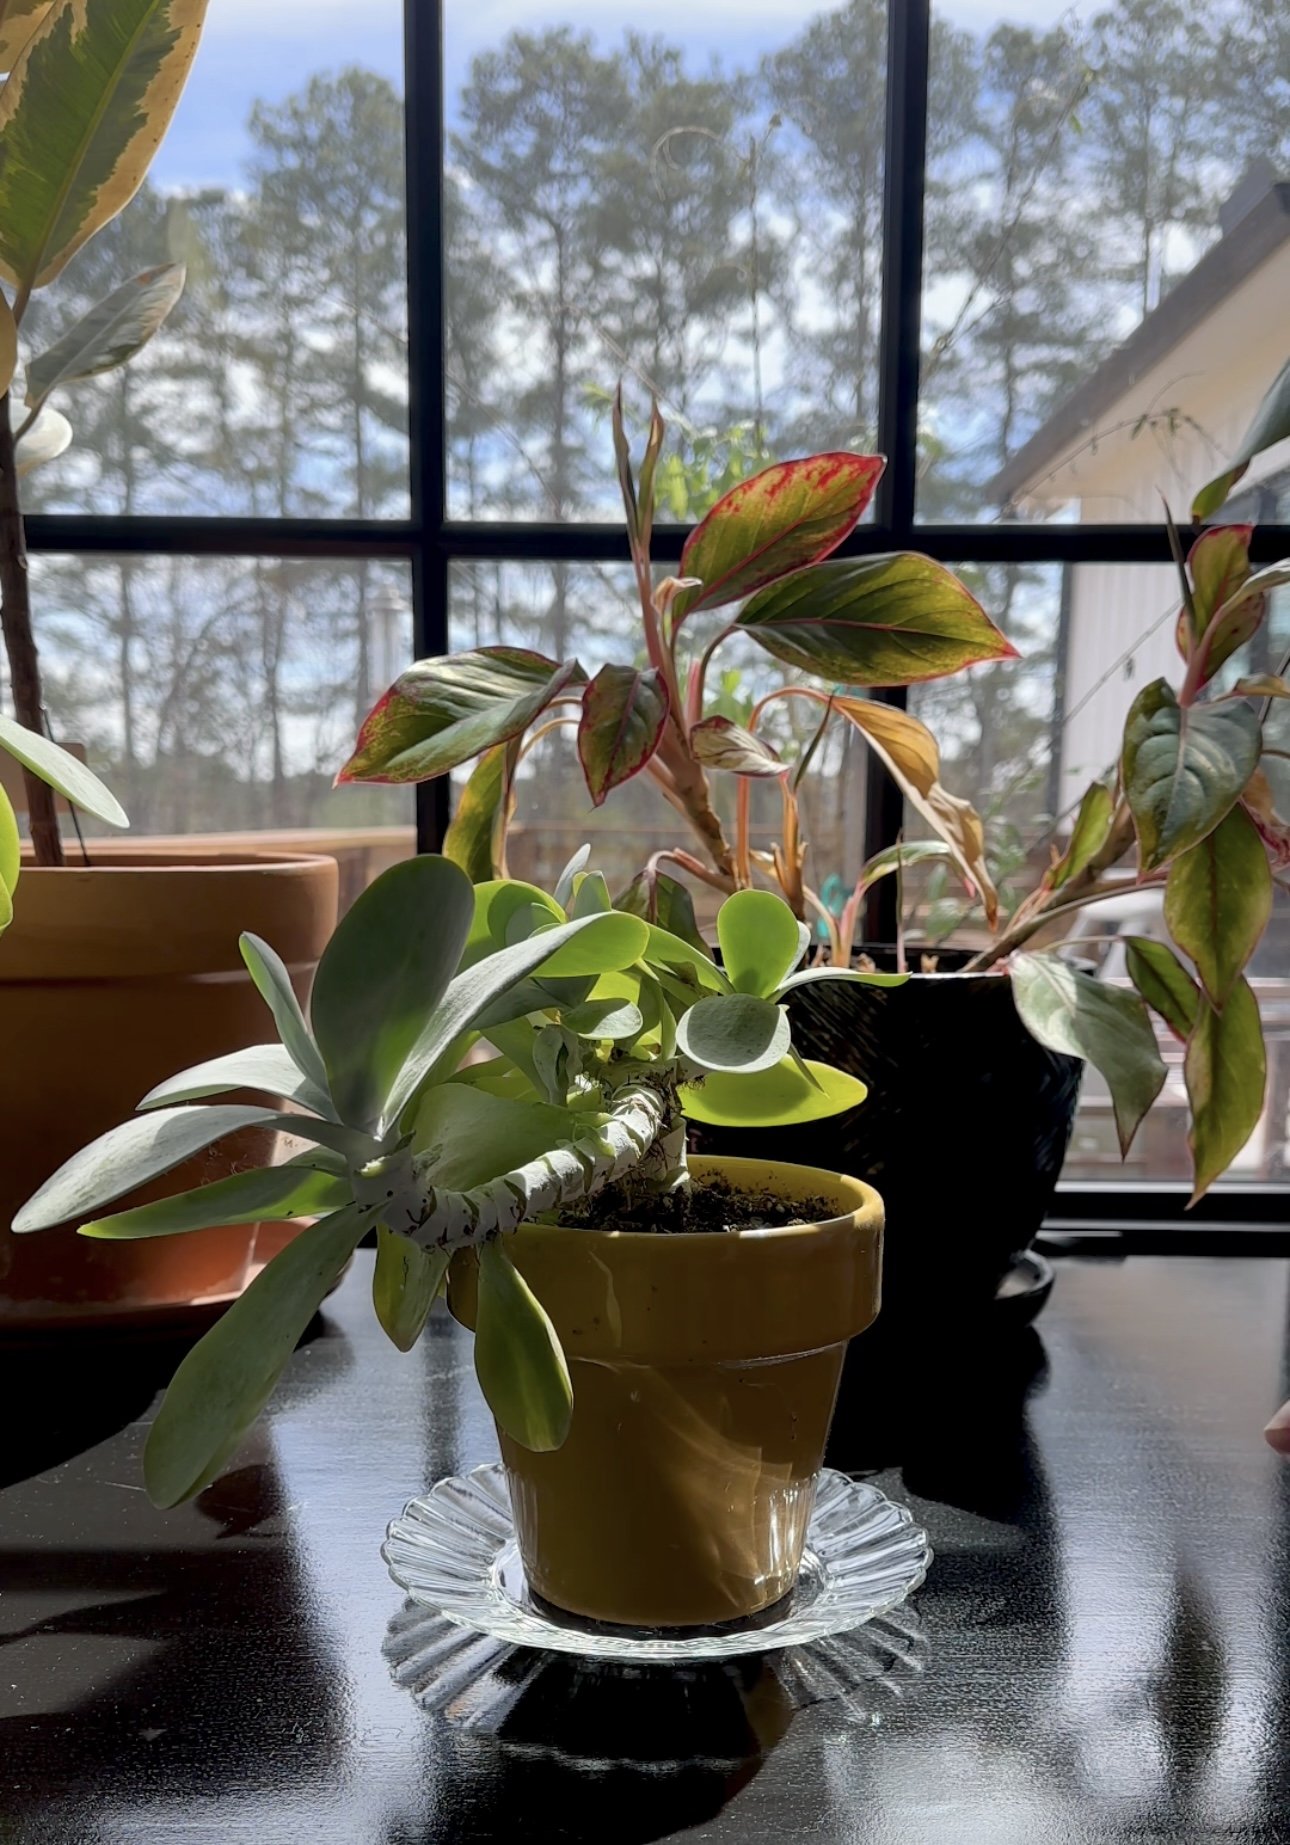
Spring is the perfect time to breathe new life into your home — and your indoor plants deserve a little refresh too! If you’re looking for a quick and inexpensive way to elevate your plant game, I’ve got a simple trick that makes a big difference: clear thrifted plates.
That’s right. For anywhere between 50 cents and $2, you can thrift beautiful clear plates that will instantly give your plants a chic new look. All you need to do is swap out those boring plastic saucers for these elegant glass pieces, and ta-da! Instant upgrade.
The beauty of this hack lies in its simplicity. The clear plates let the focus stay on your gorgeous greenery while adding a polished touch to your plant display. Plus, it’s a sustainable option that gives new life to secondhand treasures. Win-win!
So, next time you’re at the thrift store, keep an eye out for those glass gems. Your plants will thank you, and your space will feel a little more refined — all without breaking the bank. Happy upscaling!


IF YOU ENJOYED THIS POST, YOU MIGHT BE INTERESTED IN my DIY Flower Bar post.
FOLLOW ME ON MY SOCIALS!

DIY Flower Bar
How to Create a DIY Flower Bar for Your Next Event
A flower bar is a fun and interactive way to let guests create their own bouquets to take home as a party favor. It’s a beautiful addition to any event, from birthdays to bridal showers. Here's a step-by-step tutorial, complete with a price breakdown, to help you set up your own flower bar with ease.

Materials Needed for 20 guests
Fresh flowers/greenery in a cohesive color palette (purchased from Trader Joe’s)
Buckets and/or vases for flowers (we used the free buckets from Trader Joe’s and several clear vases)

Step 1: Buying the Flowers
I purchased my flowers from Trader Joe’s at opening the day before the event. There was already a line of people, all there for flowers, and the best selections go fast! I highly recommend arriving at opening to get the best options.
Since I had 20 guests RSVP, I calculated how many flowers I needed based on the recommended 8-10 stems per person including a “thriller, some filler, and a spiller of greenery” guideline. This ensured I had enough for everyone while preventing guests from taking too many stems and leaving others without enough options. Planning this way made budgeting easier and kept the flower bar fair for all attendees. I also recommend using a cohesive color palette so no matter what each guest chooses or what is left towards the end of the event, all of the flowers are usable together.
I would also recommend buying more “thriller” flowers than I did, as people will gravitate to them first.
Flower Selection & Cost (Spring 2024):
Premium Assorted Greens – $3.99 each (bought 7) → $27.93
Eucalyptus – $3.99 each (bought 3) → $11.97
Raffine Dianthus – $4.99
Tulips (Seasonal, Big Bunch) – $9.99 each (bought 2) → $19.98
Rose DZ Yellow/Orange – $9.99
Chrysanthemums (Big Bunch) – $4.99
Carnation Mini Novelty – $4.99
Rose DZ Pink/Purple/Bicolor – $9.99
Baby’s Breath (Gypsophila) – 4 @ $3.99 → $15.96
Jumbo Mum Balls – $4.99 each (bought 2) → $9.98
Lily Calla Mini – $5.99 each (bought 2) → $11.98
Total flower cost: $131.75


Step 2: Setting Up the Flower Bar
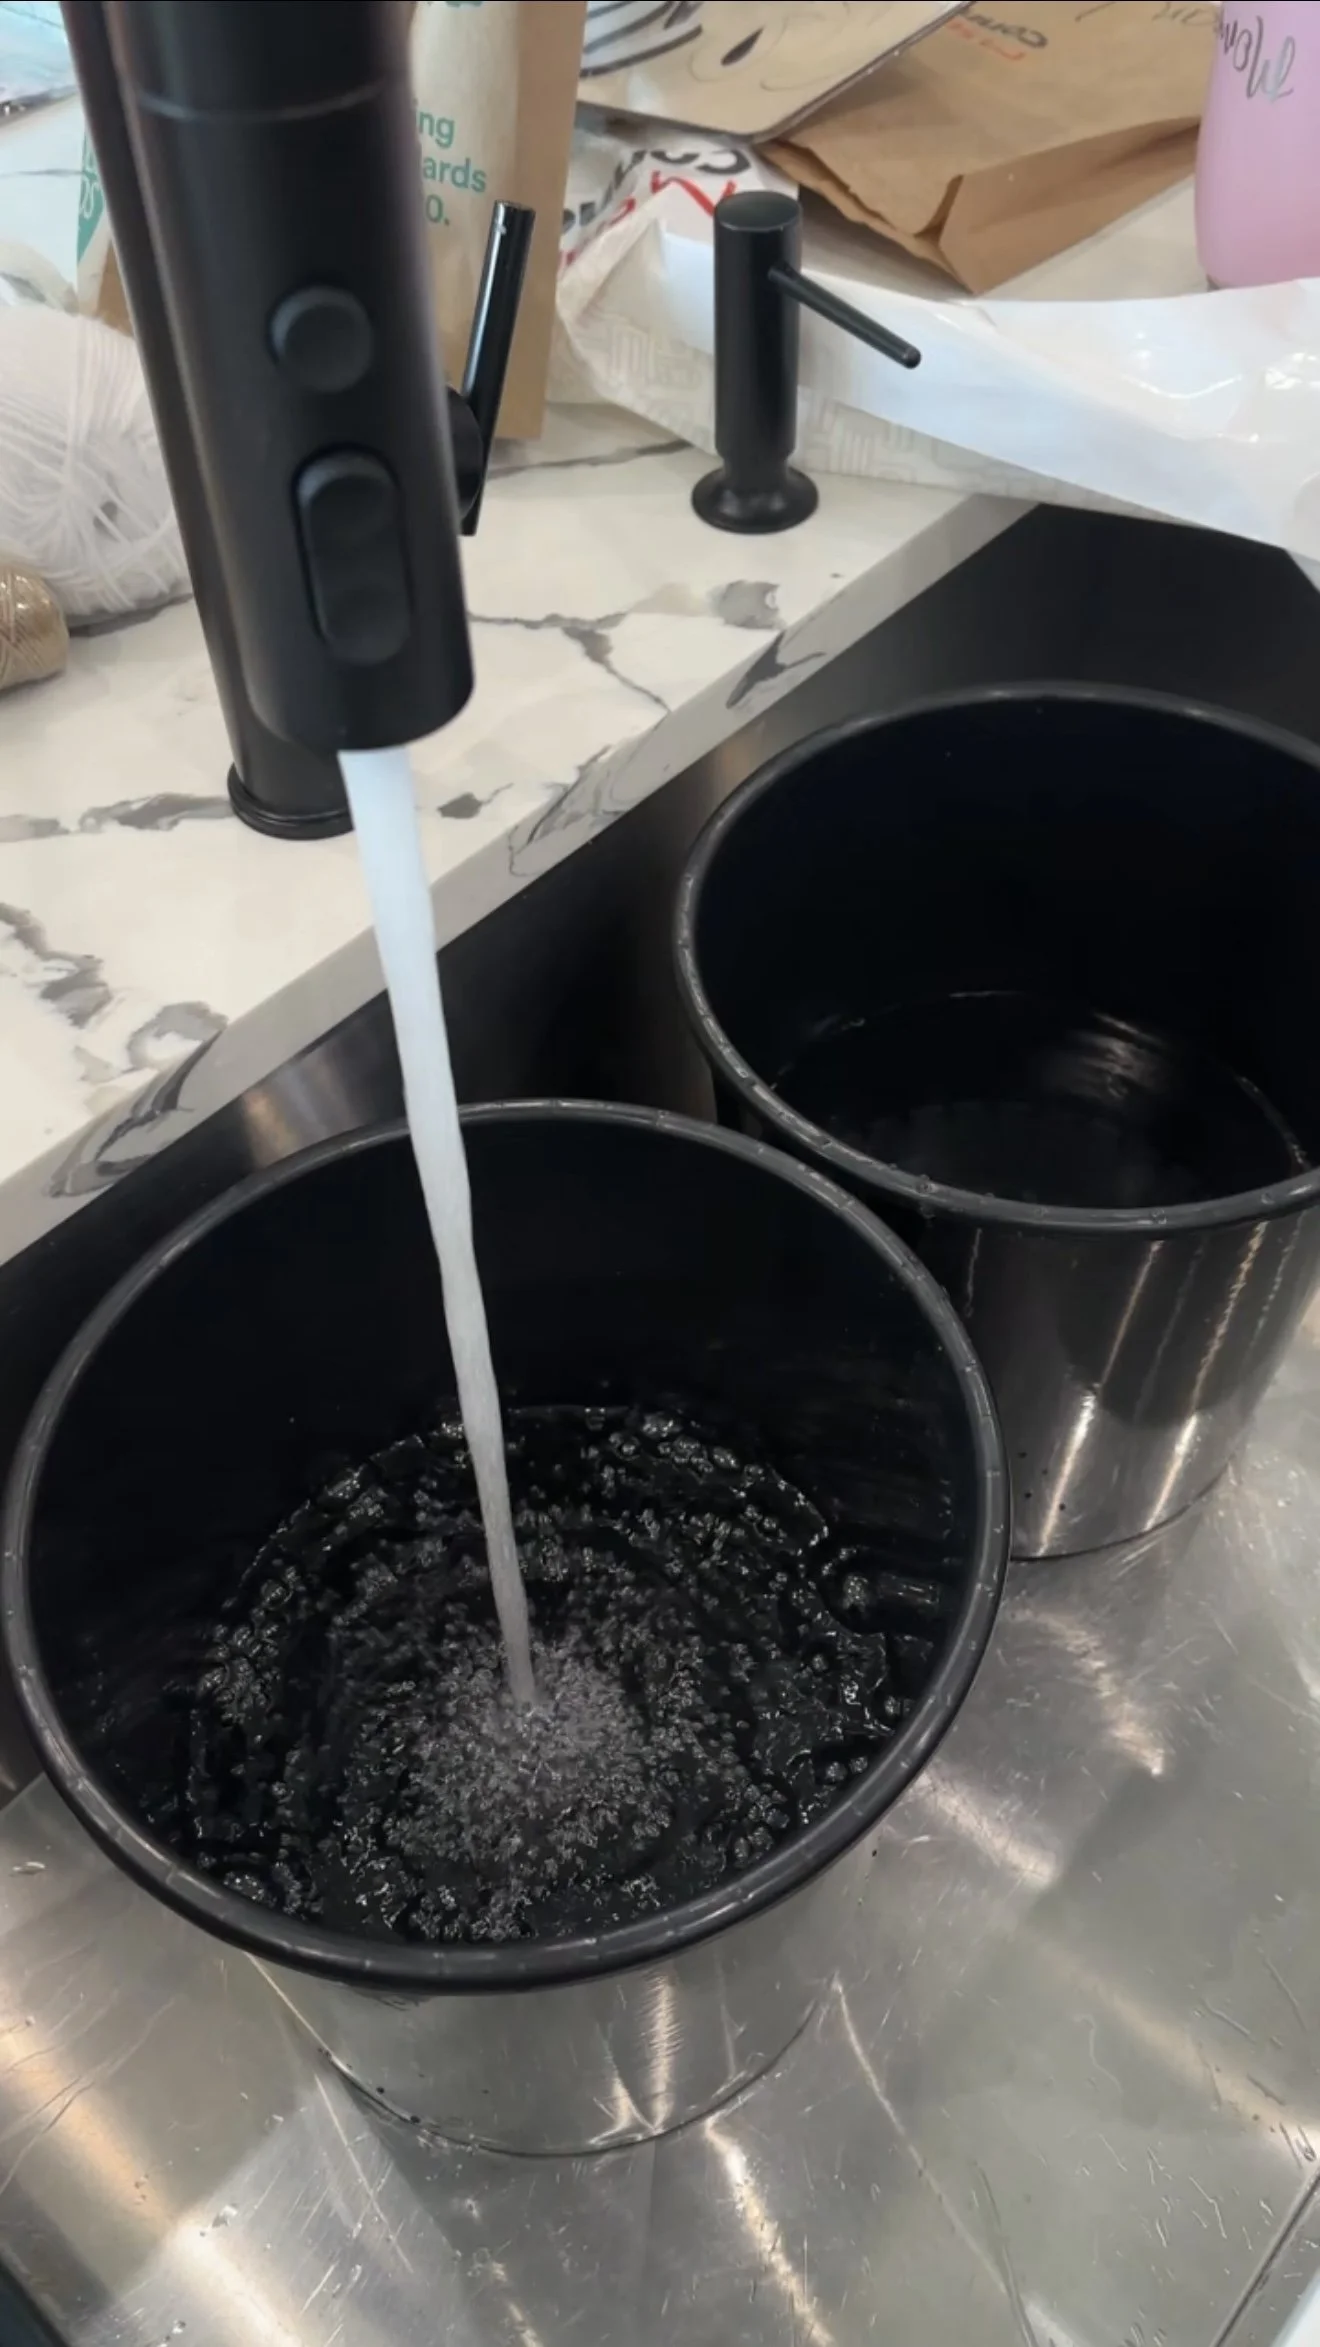
Prep the Flowers – Trim the stems at an angle and place them in buckets of water to keep them fresh.
Organizing the Table – Arrange the flowers in separate vases or buckets, grouping them by type to make selection easy.
Precut Materials – Cut kraft paper and twine in advance to make wrapping easy.
Display & Signage – I purchased a themed sign from Etsy to guide guests. The sign suggested:
Choose 8-10 stems, including a thriller, some filler, and a spiller of greenery.
Wrap in paper and tie your bouquet up.
Take it home to enjoy!
Wrapping Station – Set up a space with kraft paper, twine, and scissors so guests can wrap their bouquets.
Again, I loved that the 8-10 stem recommendation on the sign helped guide people on how many to take, preventing anyone from making oversized bouquets and ensuring there were enough flowers for everyone to enjoy.


Step 3: Assembling Bouquets
Guests can mix and match stems, following the signage suggestion for how many stems to take.
Suggested Bouquet Formula :
2-3 focal flowers (like roses or peonies)
2-3 filler flowers (like daisies or carnations)
3-4 greenery stems (like eucalyptus or ferns)
After picking their flowers, guests can wrap them in kraft paper and secure them with twine or ribbon
Final Tips
Buy flowers a day in advance and keep them in water overnight.
Use an Etsy sign to guide guests on the amount of flowers to use.
Have plenty of scissors and twine so multiple guests can wrap their bouquets at once.
Buy more “thriller” flowers and less greenery than I did. No matter what your sign says, people gravitate to the prettiest flowers first.


This DIY flower bar was such a hit at my event and added a special touch. Have you ever tried a flower bar? Let me know in the comments!
IF YOU ENJOYED THIS POST, YOU MIGHT BE INTERESTED IN my Dining room refresh post.
FOLLOW ME ON MY SOCIALS!

Dining Room Refresh

Cozying Up My Dining Room
My dining room has always been one of the smaller spaces in my house, and for the longest time, it felt a little neglected. I knew it had potential, though — it just needed some love and attention to bring out its charm. So, I decided it was time to cozy things up and make it a space that felt inviting, warm, and just a little bit special.
First up was the rug. To get it in place, I used some heavy furniture movers to easily slide the dining table out of the way — honestly, a total lifesaver! It might seem like a simple addition, but wow, what a difference it makes! The soft, neutral tones ground the space beautifully, adding warmth and texture. Plus, it helps define the dining area, making it feel more intentional and put-together.


I’ve had these gorgeous green washable chairs from Anabei for a few months now, and they’ve been a total game-changer. I wanted something practical but stylish, and these hit the mark perfectly. The rich green color adds a touch of drama and elegance, while the washable fabric means I don’t have to stress about spills — a total win-win.
Of course, no dining room refresh is complete without a little something special on the table. I put together a fun centerpiece that adds height and visual interest without overwhelming the space. (If you want to see all the details on that, check out my blog post about it here!)
The result? A dining room that feels cozy, inviting, and totally refreshed. It’s amazing how a few thoughtful changes can completely transform a space. I find myself lingering here longer, whether it’s over a meal or just enjoying a quiet moment with a cup of coffee. Mission cozy-up: accomplished!


Links at a glance
Glass Table Top: custom 1/4”, made by local shower glass company
Clear Vase: Goodwill
Branch: my backyard
Wall Art: Goodwill
Floors: custom white oak live sawn 7 inch hardwoods that were stained on site
IF YOU ENJOYED THIS POST, YOU MIGHT BE INTERESTED IN my bringing the outdoors in post.
FOLLOW ME ON MY SOCIALS!

Bringing The Outdoors In
I don’t know about you, but I am so ready for spring. The sun is starting to peek out, the trees are waking up, and my seasonal allergies are making sure I don’t forget it. Naturally, I decided to channel my spring fever into a little project: bringing some of that outdoor magic into my dining room.
Armed with my trusty saw, I ventured out to snag a few blooming branches and I may or may not have picked a tree where the flowers smell... questionable. Can’t say I nailed that part, but hey, we’re here for the vibes.
Once I got my new leafy friend inside, I realized she was a big girl and needed a little trim to fit the space.


After a bit of snipping and adjusting, I plopped her into the perfect spot in the dining room. The vase? A $6 Goodwill find. The tree? Absolutely free. The satisfaction of pulling this off? Priceless.


Now, my dining room has this fresh, organic feel that makes me smile every time I walk by. The branches are wild and a little unruly, but honestly, that makes me love them even more — perfectly imperfect, just the way I like it.
Mission "Bring the Outdoors In" accomplished. And I have to say, I’m pretty darn pleased with myself.


Links at a glance
Glass Table Top: custom 1/4”, made by local shower glass company
Clear Vase: Goodwill
Branch: my backyard
Floors: custom white oak live sawn 7 inch hardwoods that were stained on site
IF YOU ENJOYED THIS POST, YOU MIGHT BE INTERESTED IN my facebook marketplace reveal post.
FOLLOW ME ON MY SOCIALS!

Facebook Marketplace Reveal

Facebook Marketplace Console Table Makeover
One of my favorite parts of any room makeover is finding those special pieces that tie everything together – and this time, Facebook Marketplace came through in a big way! I stumbled upon the most adorable console table and instantly knew it had to be part of my sunroom refresh. It was listed for $100, but I offered $80 and got it!

FBMP Listing photo

The first thing that caught my eye? The gorgeous scallop details. They added such a charming touch that I just couldn’t resist. Of course, I had to put my own spin on it, so a little DIY magic was in order.
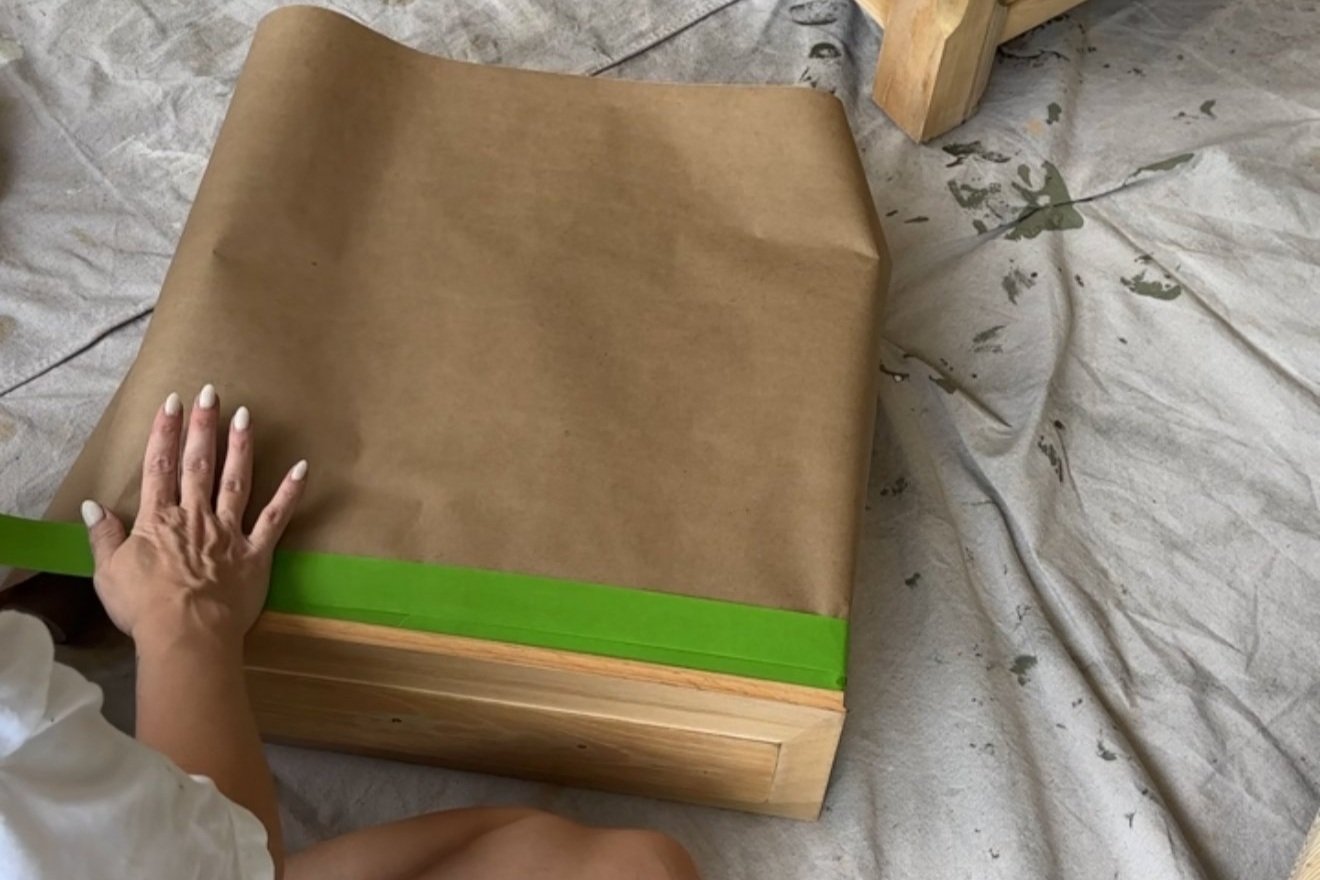
Step 1: Prepping for paint - After giving it a good clean, I removed the drawers, took off the knobs, and taped the inside of the table as well as the boxes of the drawers.
Step 2: Prime and sand – I started by applying one coat of HGTV Home by Sherwin-Williams Cabinet and Furniture Primer with my paint sprayer, ensuring smooth, even coverage. Once dry, I lightly sanded the surface with fine-grit sandpaper for a flawless finish. To remove any residual dust, I wiped everything down with a clean towel.


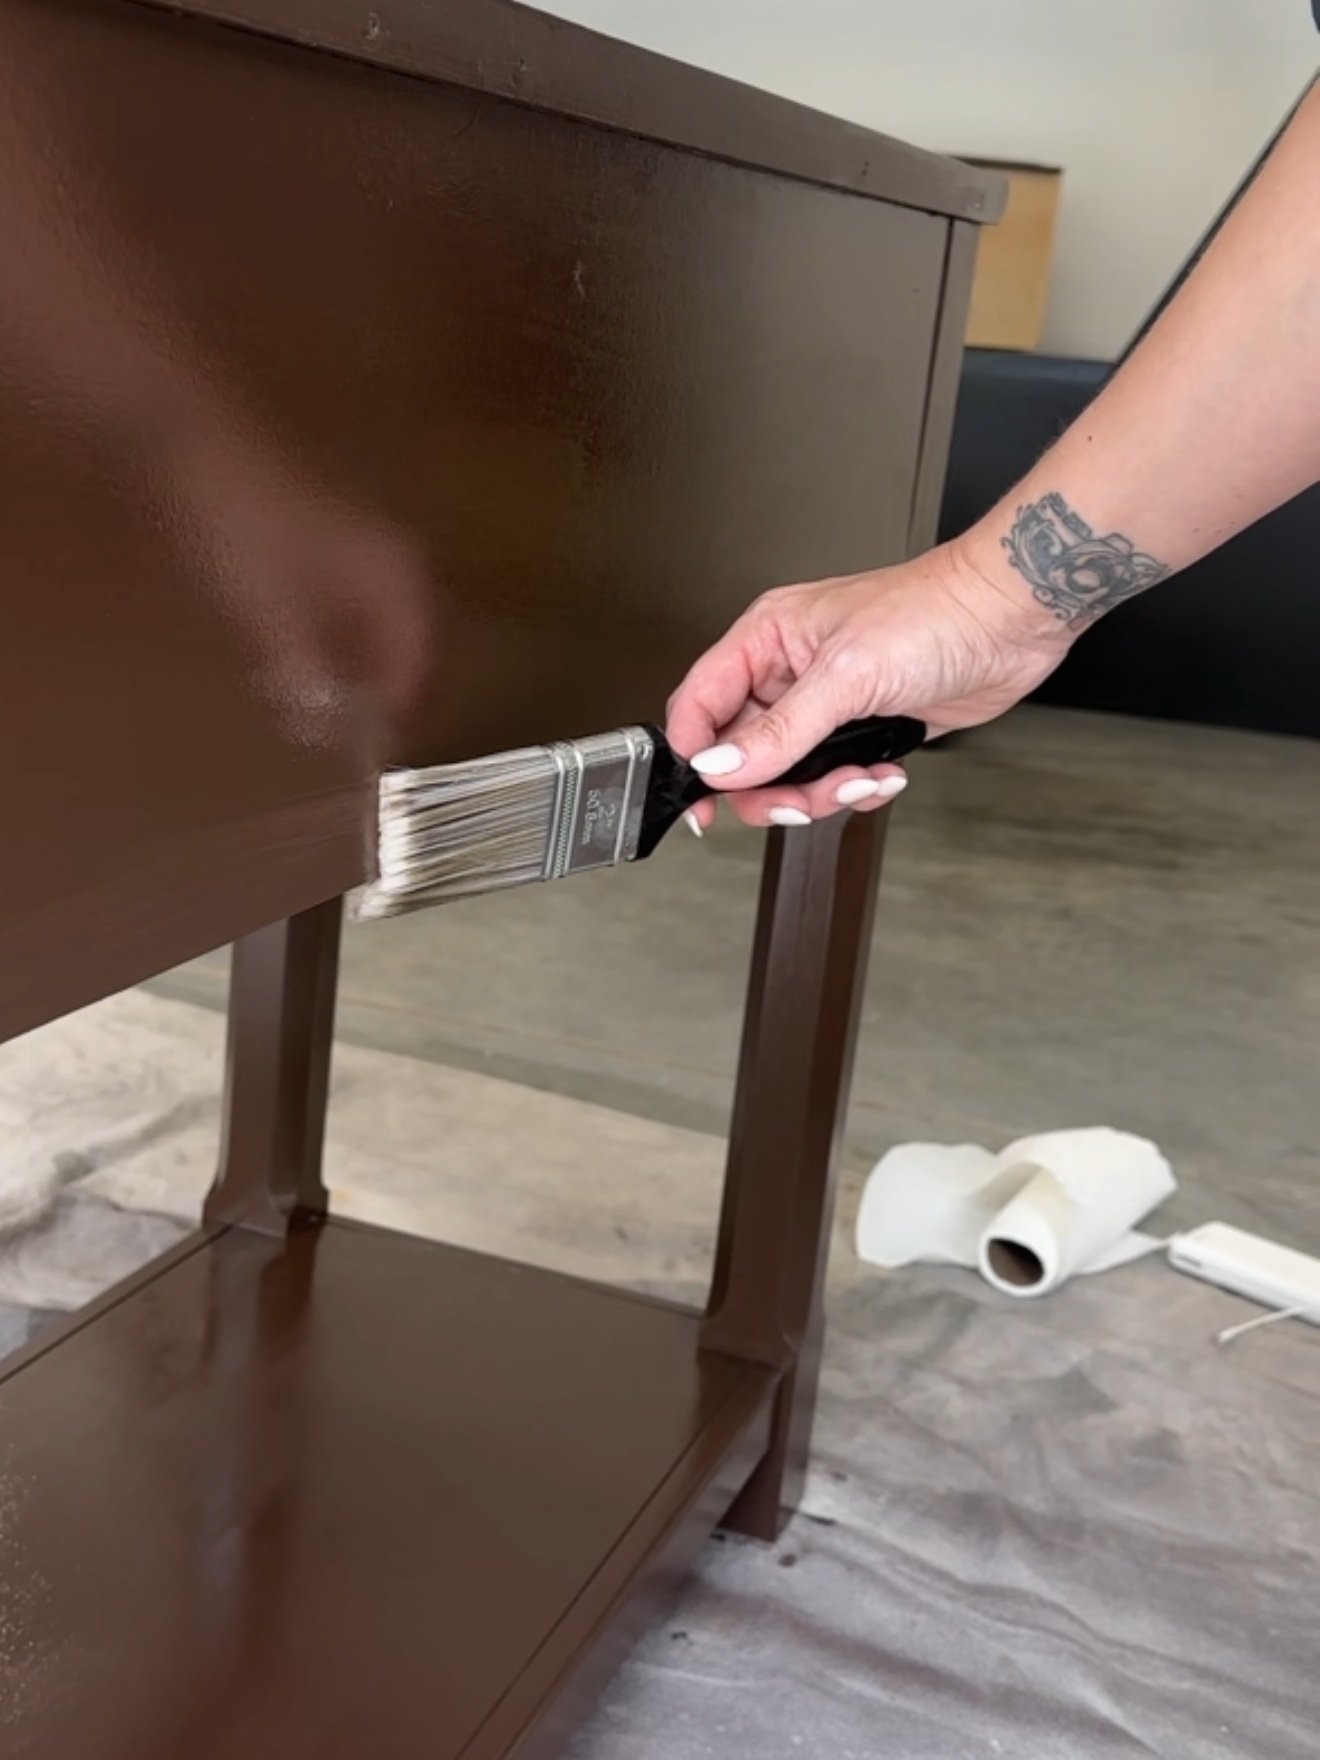
Step 3: Paint! Using my paint sprayer, I applied HGTV Home by Sherwin-Williams Cabinet and Furniture Paint in the shade "Otter." This paint is available in both satin and semi-gloss sheens, but I chose satin. Between each coat of paint, I lightly sanded with fine-grit sandpaper and wiped everything down to ensure a smooth finish.
Fun fact: I also used this same paint to transform my DIY coffee table, which now sits proudly in the sunroom alongside the console table.


Step 4: Clear Coat (Optional): To add extra durability (because I have a rambunctious toddler), I finished the piece with a coat of Minwax Fast-Drying Polyurethane in Satin. Since it’s oil-based, be sure to use a disposable brush—do not use your paint sprayer! It dries quickly, so work fast, and make sure your space is well-ventilated because the fumes are strong. Honestly, the poly coat ended up a bit glossier than I wanted, so if you prefer a more matte look, you can totally skip this step. The cabinet paint is durable enough on its own!

Step 5: Finishing Touches - Once the piece was completely dry, I swapped out the old knobs for some new ones that better fit my style. This small change made a big impact and really pulled the whole look together. Finally, I slid the drawers back into place, and just like that – my console table was complete!


This project was so simple but made such a big difference in the space. The new color and updated hardware were the perfect addition to my sunroom makeover. I couldn’t be happier with how it turned out.

Want to shop this room? Links here!
What do you think of the transformation? Have you ever scored a hidden gem on Facebook Marketplace? Let me know in the comments – I’d love to hear about your favorite finds and DIY projects!
IF YOU ENJOYED THIS POST, YOU MIGHT BE INTERESTED IN my sunroom makeover post.
FOLLOW ME ON MY SOCIALS!
Sunroom Makeover
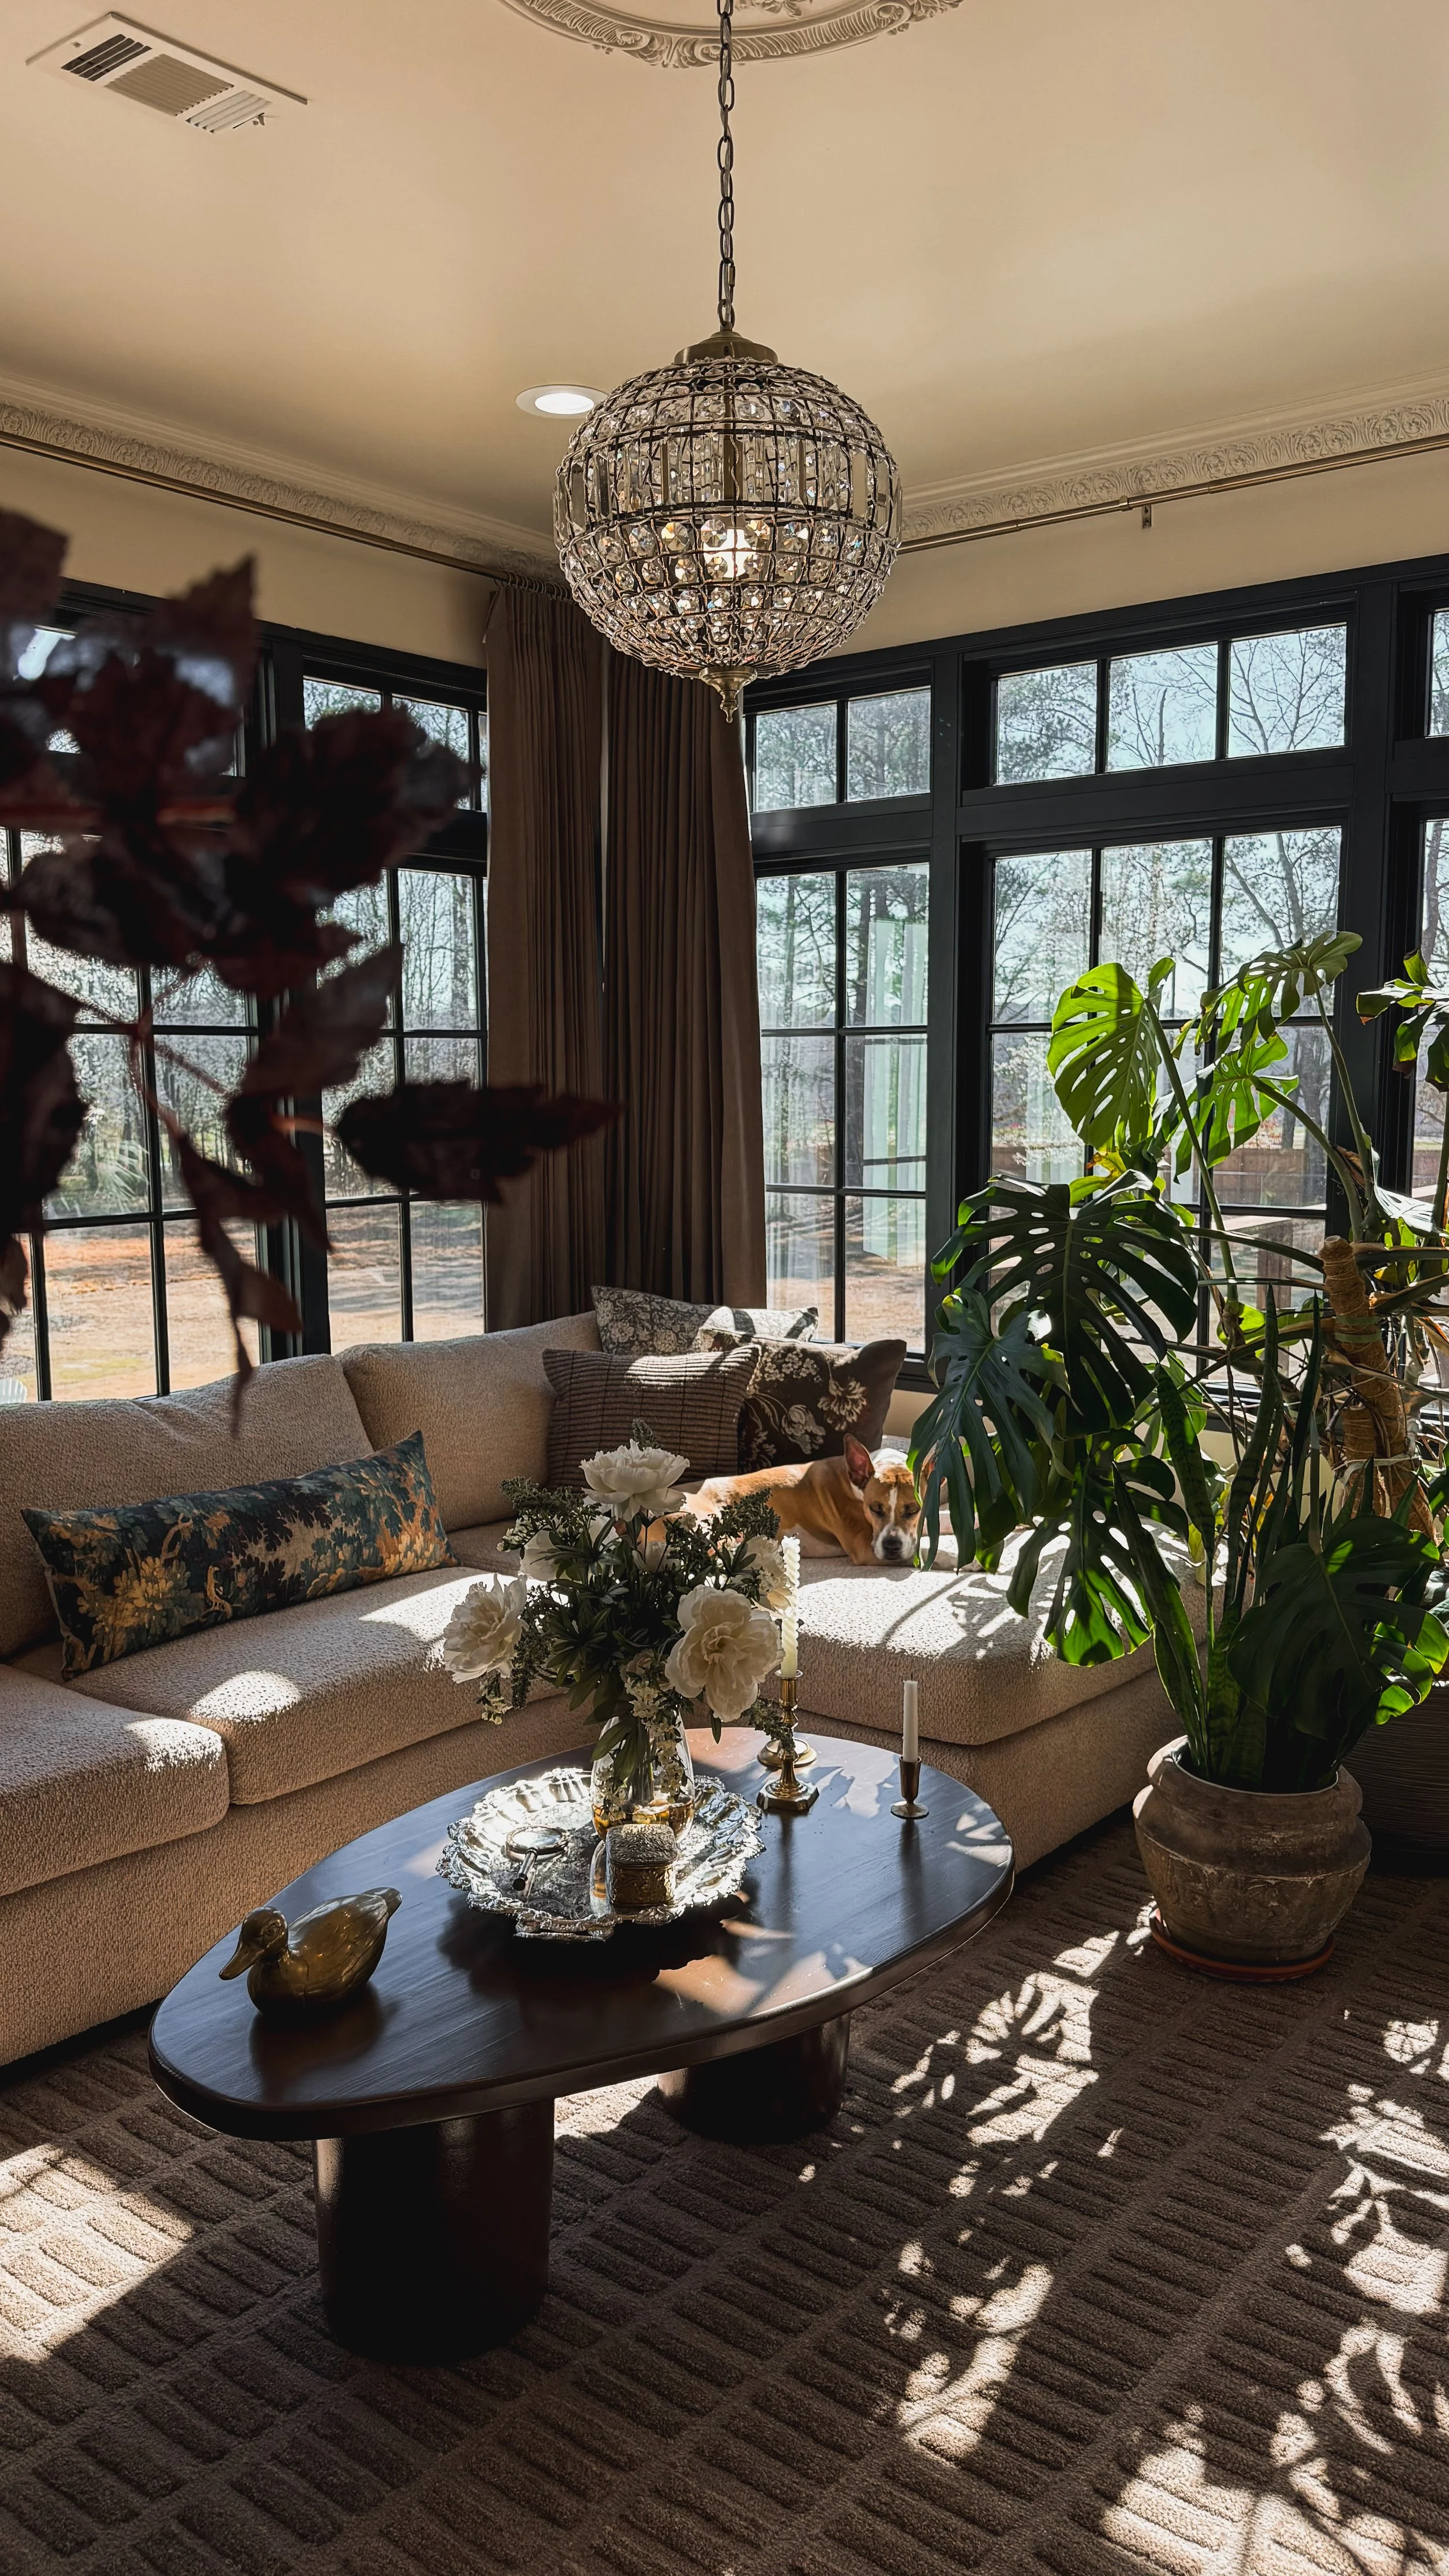
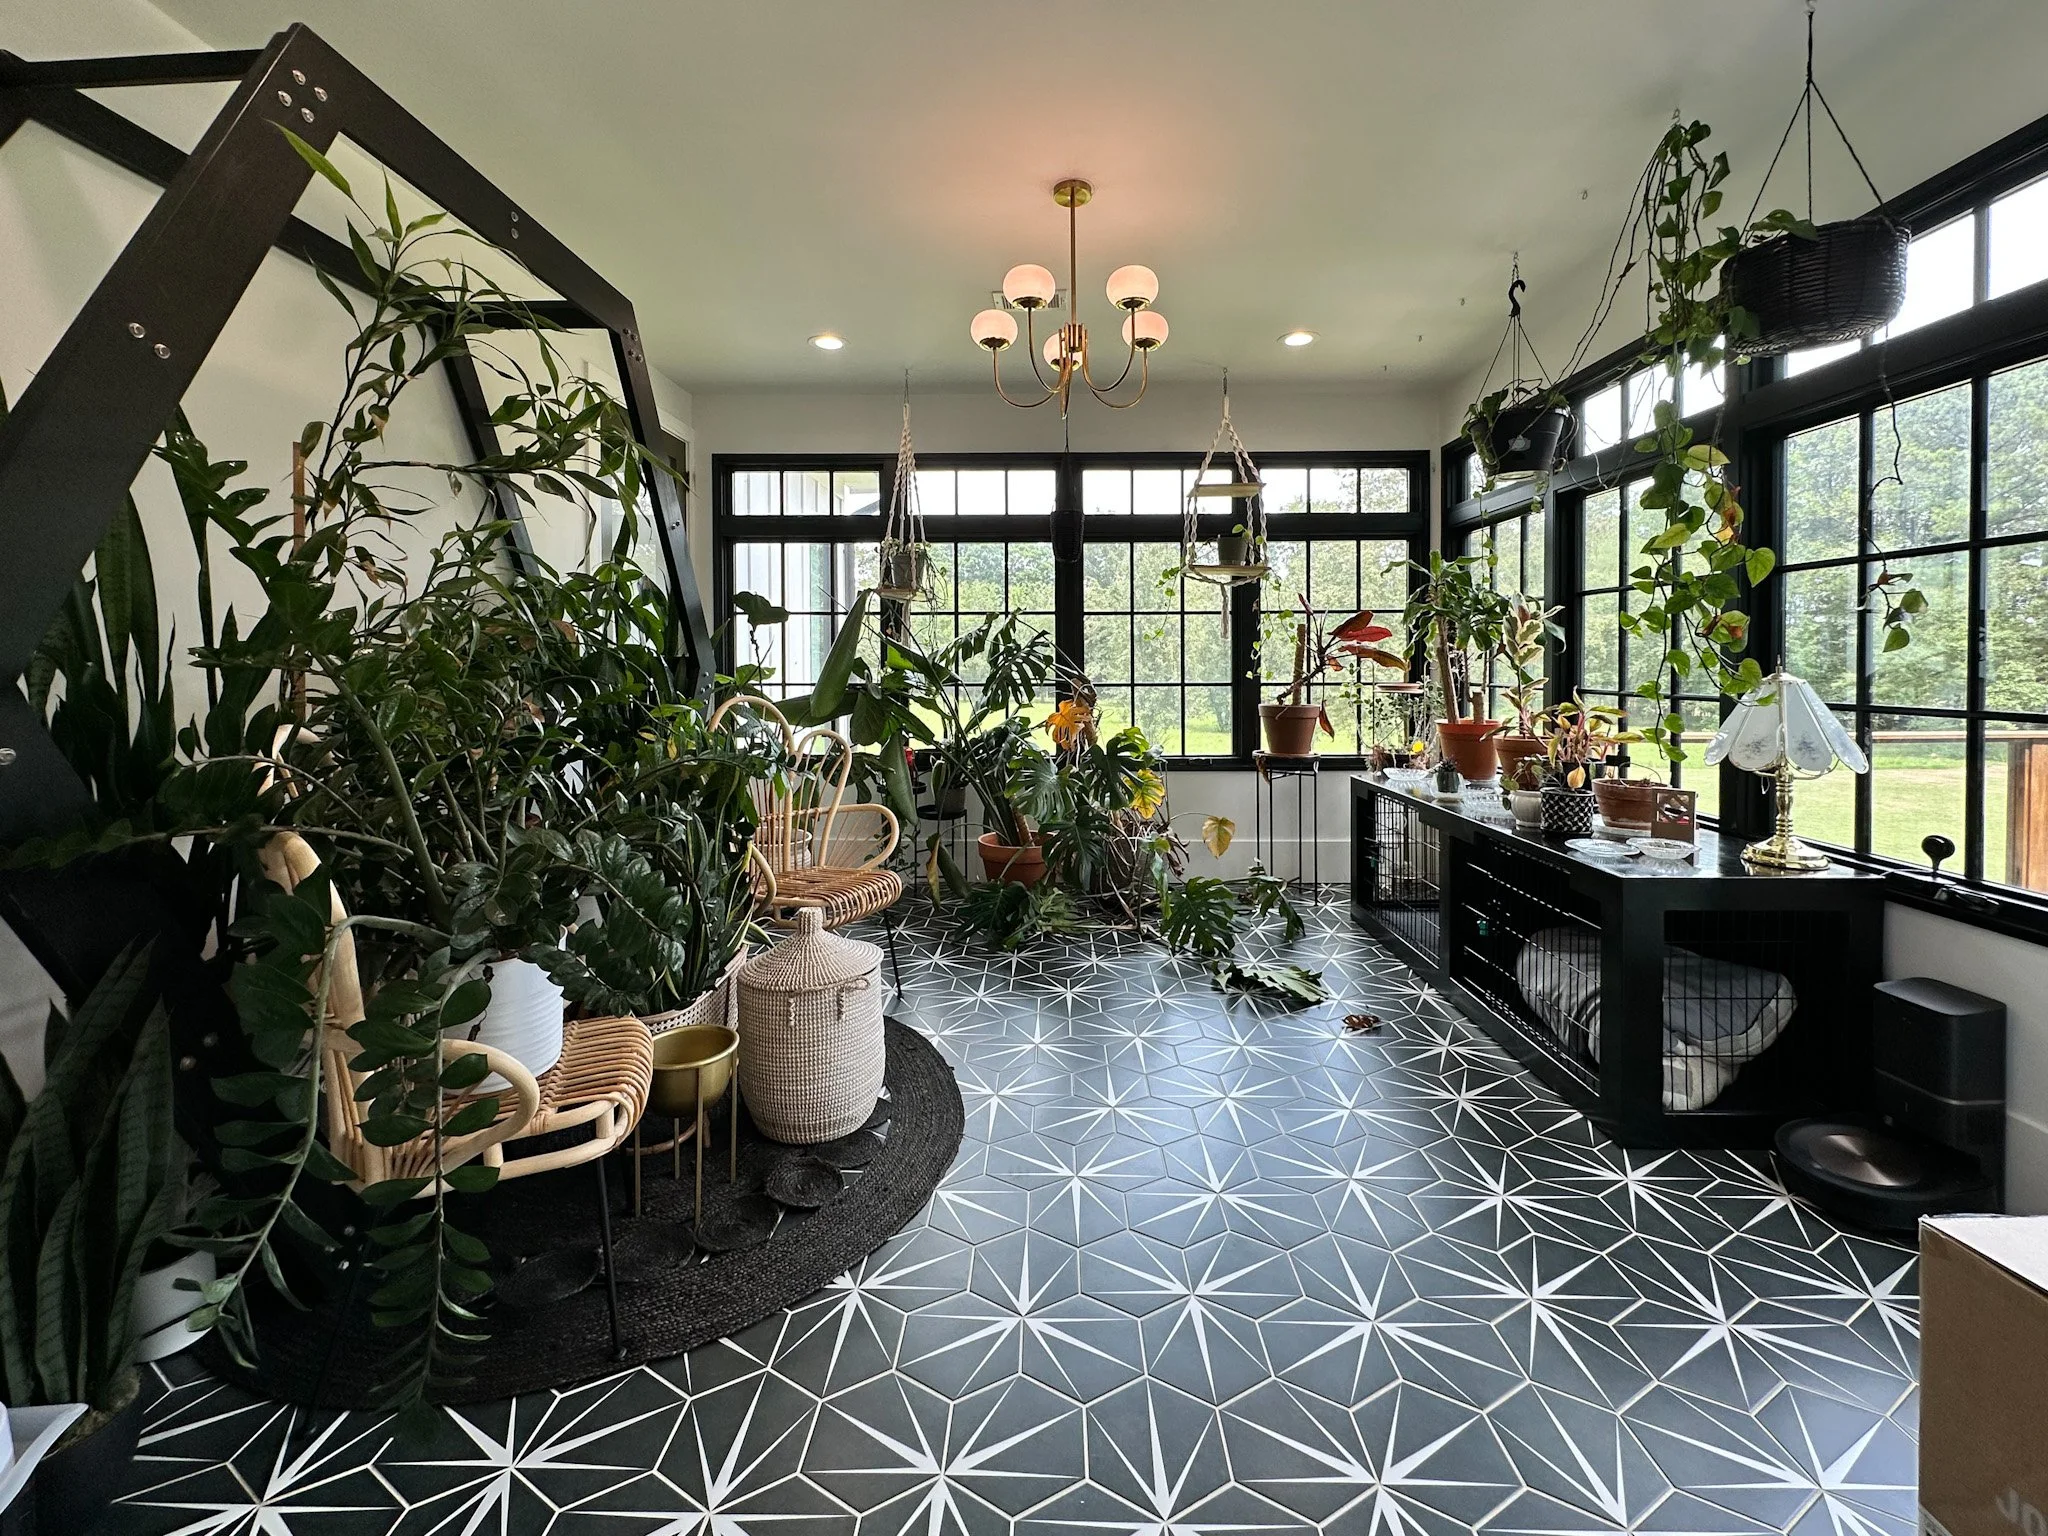
Welcome to my sunroom makeover! This space has always been a little paradise for my plant babies, but I figured it was time for me to enjoy it just as much as they do. Plus, I was over the plain white walls and ready to bring in some personality!
The Before:

The DIY Begins!
First things first—I cleared out the entire room, carefully relocating all my plants to make space for the transformation. I started by adding base cap to the top of my baseboards—something I do for all my makeovers because it makes such a difference! Then, I covered the floors with paper and painter’s tape to protect them from what was coming next—PAINT!
Crown Moulding & Painting
This was only my second time installing crown molding, but with a miter saw, adhesive, and a brad nailer, I got it up pretty quickly! (If you want a step-by-step guide, check out this blog post.) Then, I put my brand-new paint sprayer to the test, and with all the intricate details in this molding, it made the job SO much easier. Since this sprayer isn’t ideal for painting entire rooms—unless you want to refill it a thousand times—I rolled the rest of the walls and ceiling in Maison Blanche by HGTV Home by Sherwin Williams, the dreamiest creamy beige that I’m completely obsessed with!
Ceiling Medallion & Chandelier
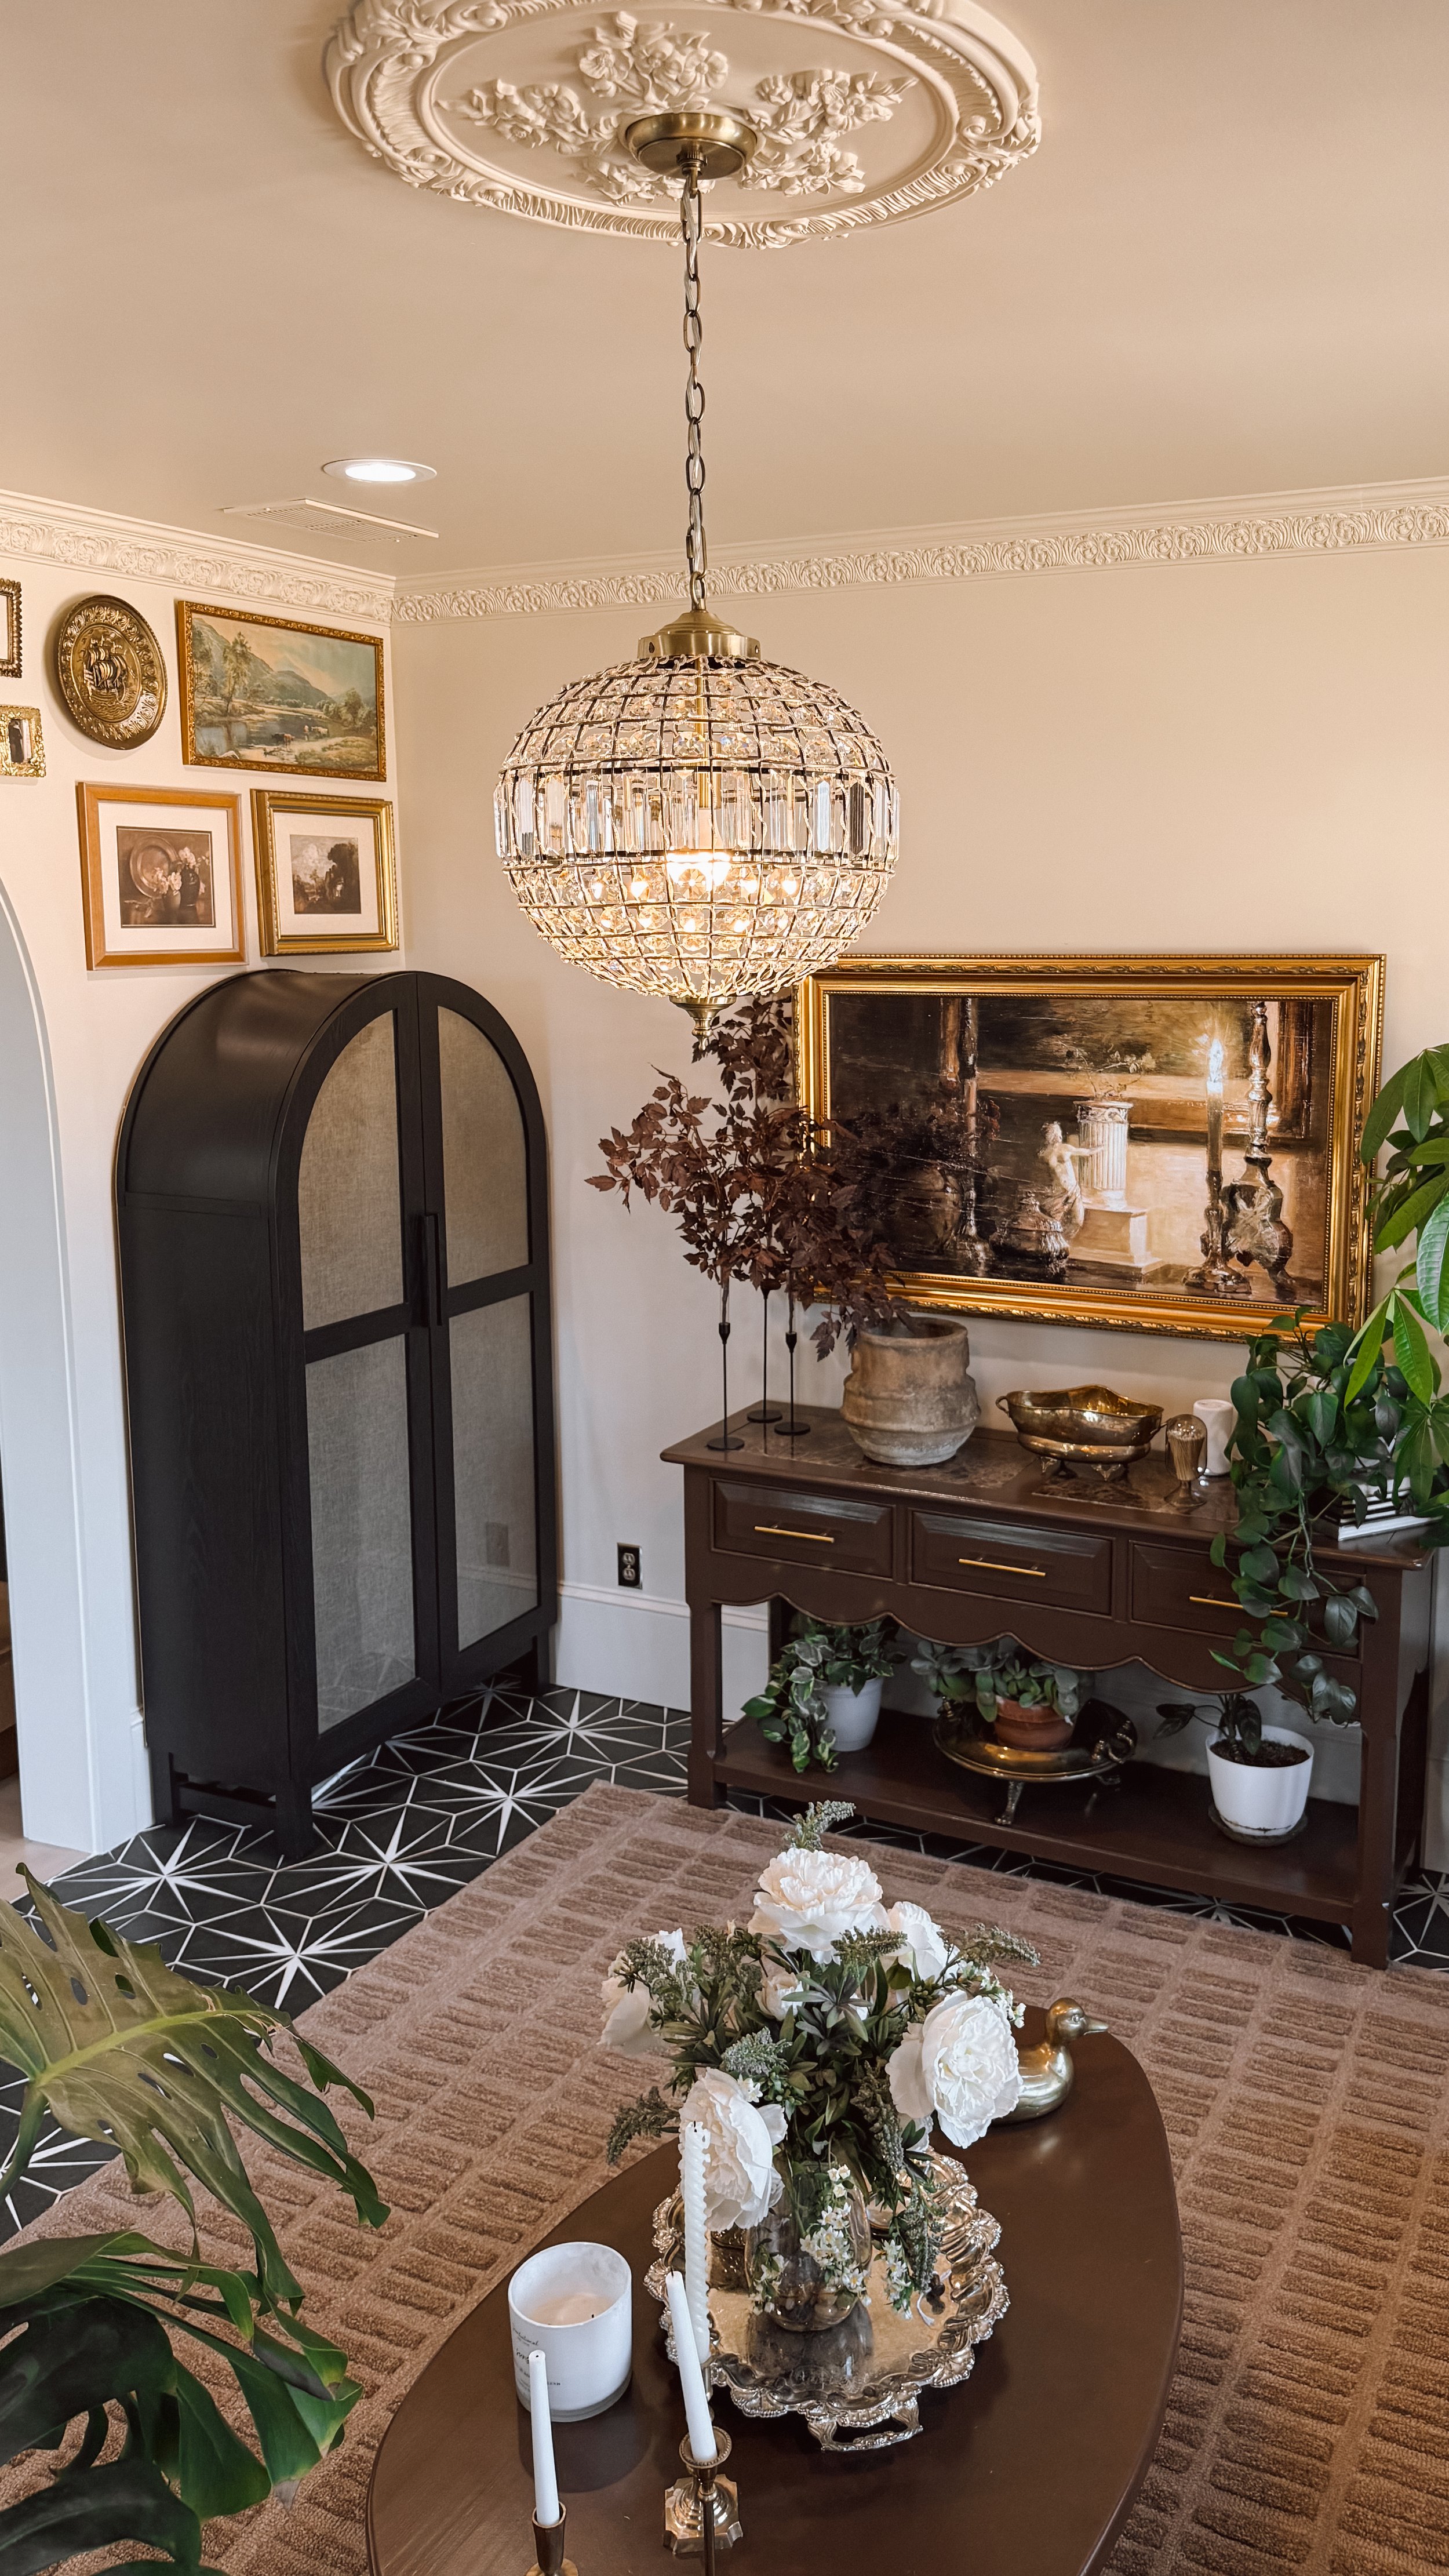
Next up was painting and hanging the gorgeous ceiling medallion! I used the paint sprayer again to get into all the intricate details, and it paired perfectly with a beautiful chandelier I found on Amazon. It instantly took the space to the next level! I also painted the arch leading into the dining room to create a smoother, more seamless color transition.


Time to Decorate!
Once the painting was done, it was time for my favorite part—decorating!
First, I rolled out this stunning brown rug that I am still completely in love with.
Then, I created a gallery wall on the arched wall—if you want to see my step-by-step method, check out this blog post!
I even built my first-ever piece of furniture—a DIY coffee table! (Check out this blog post to see how I did it!)
I found the perfect arched cabinet but decided to add fabric to the inside of the doors to hide the clutter—see the transformation here!
I painted both my DIY coffee table and a beautiful scalloped console table (a Facebook Marketplace find! Check out that blog post here!) using Cabinet and Furniture Paint in Otter by HGTV Home by Sherwin Williams. The deep brown looked stunning against the creamy walls!
To finish it off, I swapped out the knobs on the console table’s drawers for a little extra charm.
I also added brown pinch pleated blackout curtains on gold rods with gold eyelets, which added such a luxurious and cozy touch to the space. The warm tones complemented the creamy walls perfectly and tied everything together beautifully!


The Finishing Touches
One of my best finds was the bouclé couch in the color Alabaster with washable cushions—SO comfy and practical! After adding the final decor touches and bringing back some of my plants (while redistributing the rest throughout my home), I thought the room was finished... but of course, I wasn’t quite done yet!


The Final Addition: A Frame TV
Since this sunroom quickly became our go-to lounging space, adding a TV just made sense. We installed our second Frame TV, and instead of DIY-ing a frame, this time I simply bought one. To keep things sleek, my husband cut a hole in the drywall and installed a recessed box, running the power through the wall to keep the cords completely hidden. Now, the TV sits flush against the wall and looks just like a piece of art!
And that’s a wrap! My sunroom is now the coziest spot we hang out in all the time—without sacrificing my plants’ happiness. Hope you loved following along with this makeover! Let me know what you think in the comments!


Links at a glance
Cabinet and Furniture Paint: Otter by HGTV Home by Sherwin Williams
Console Table: Facebook Marketplace
IF YOU ENJOYED THIS POST, YOU MIGHT BE INTERESTED IN MY DIY: Cabinet cover-up POST.
FOLLOW ME ON MY SOCIALS!

DIY: Cabinet Door Cover-Up
DIY: Cabinet Door Cover-Up - A Simple Fabric Fix
Sometimes, finding the perfect piece of furniture within budget just isn’t possible—but a little DIY can make it work! Arch cabinets with solid doors can be pricey, so I grabbed this one with glass doors for a fraction of the cost.
I knew it would be great for storage, but I wanted to keep everything inside hidden. Let’s just say my hosting dishware collection is extensive—and while it’s all beautiful, it’s also very much crammed into this cabinet to maximize space. My first plan was to create a soft, gathered curtain look (inspo pictured below) with floral fabric. I spent about $40 on the fabric, only to realize I didn’t have enough space inside the doors to make it work.


I thought about laying the fabric flat against the glass, but it didn’t have the look I was going for. That’s when I remembered a piece of upholstery fabric I had thrifted from Goodwill for $9.99. I pulled it out, tested it on the doors, and liked it much better.


Here’s how I made it work:
Removed the doors for easier handling.
Cut the fabric to fit the glass panels.
Cleaned the glass to remove any dust or smudges.
Stapled the fabric to the back of the doors using 1/4-inch staples, pulling it tight and working in sections.
Trimmed the excess fabric for a neat finish.
Rehung the doors and started filling the cabinet.


I don’t think everyone needs to cover their cabinet doors, but for my space, I wanted a solid look without spending a fortune on new doors. This solution worked perfectly, and I love the end result. Now I have a functional storage piece that fits my needs and style.
Click here to shop the arched cabinet!
A little creativity can go a long way in making a piece work for you! Happy DIY-ing!!