
The Rugs In My House
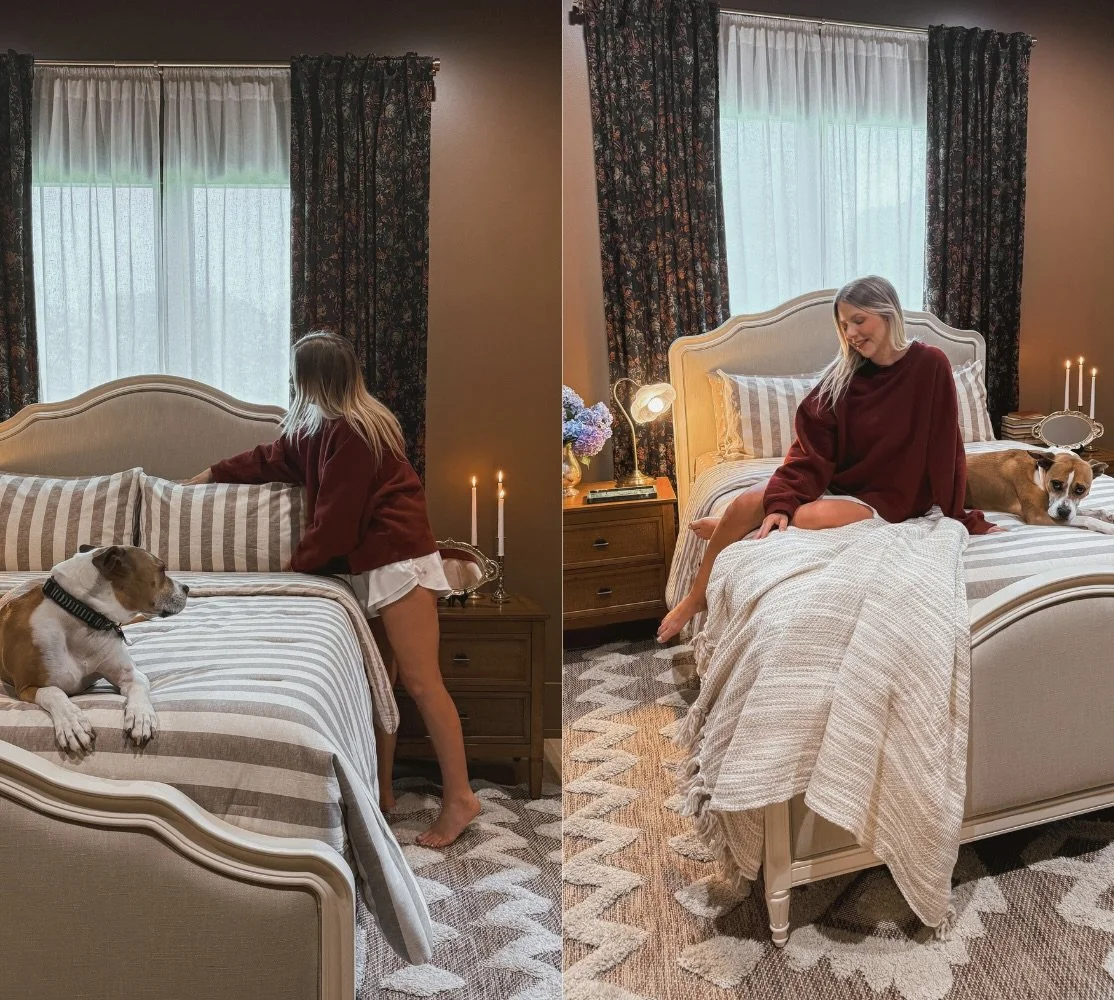
Primary Bedroom

Shop my primary bedroom here.
Kitchen
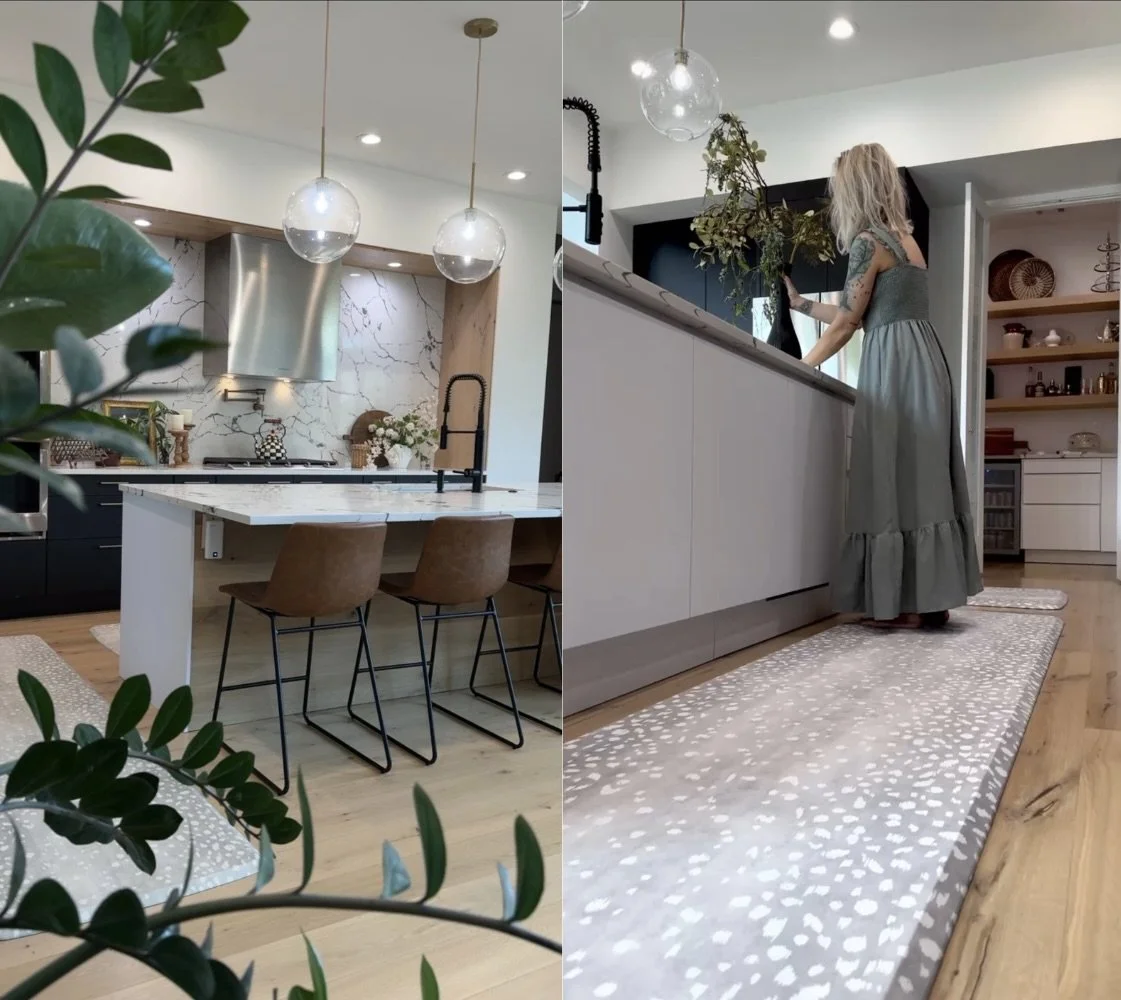
Kitchen mat linked here.
Hallway

Shop my hallway here.
Sunroom
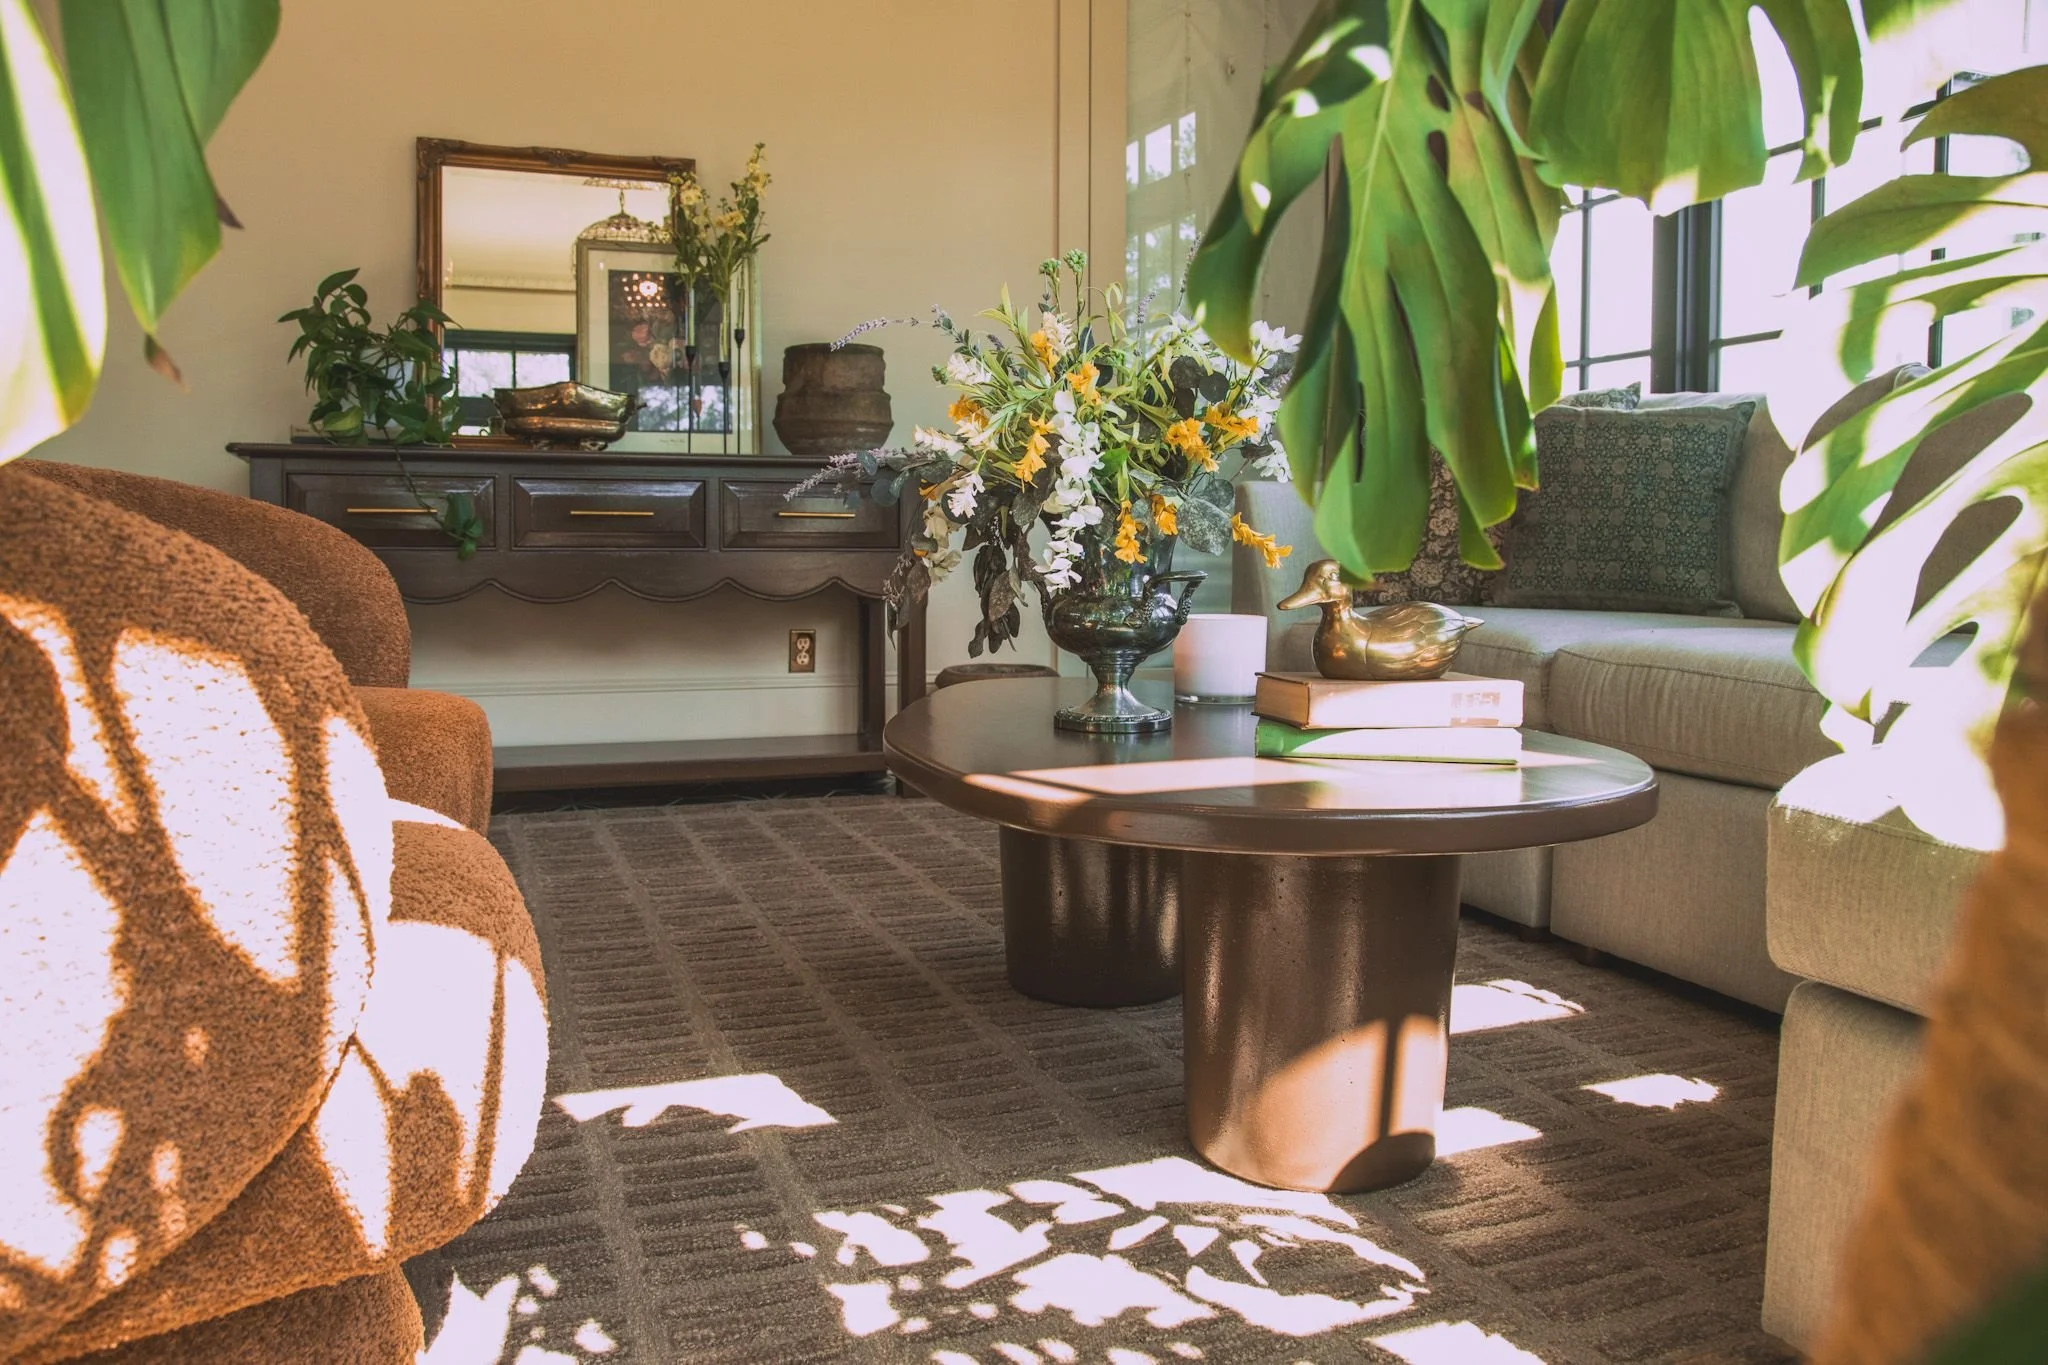
Sunroom rug linked here.
Playroom
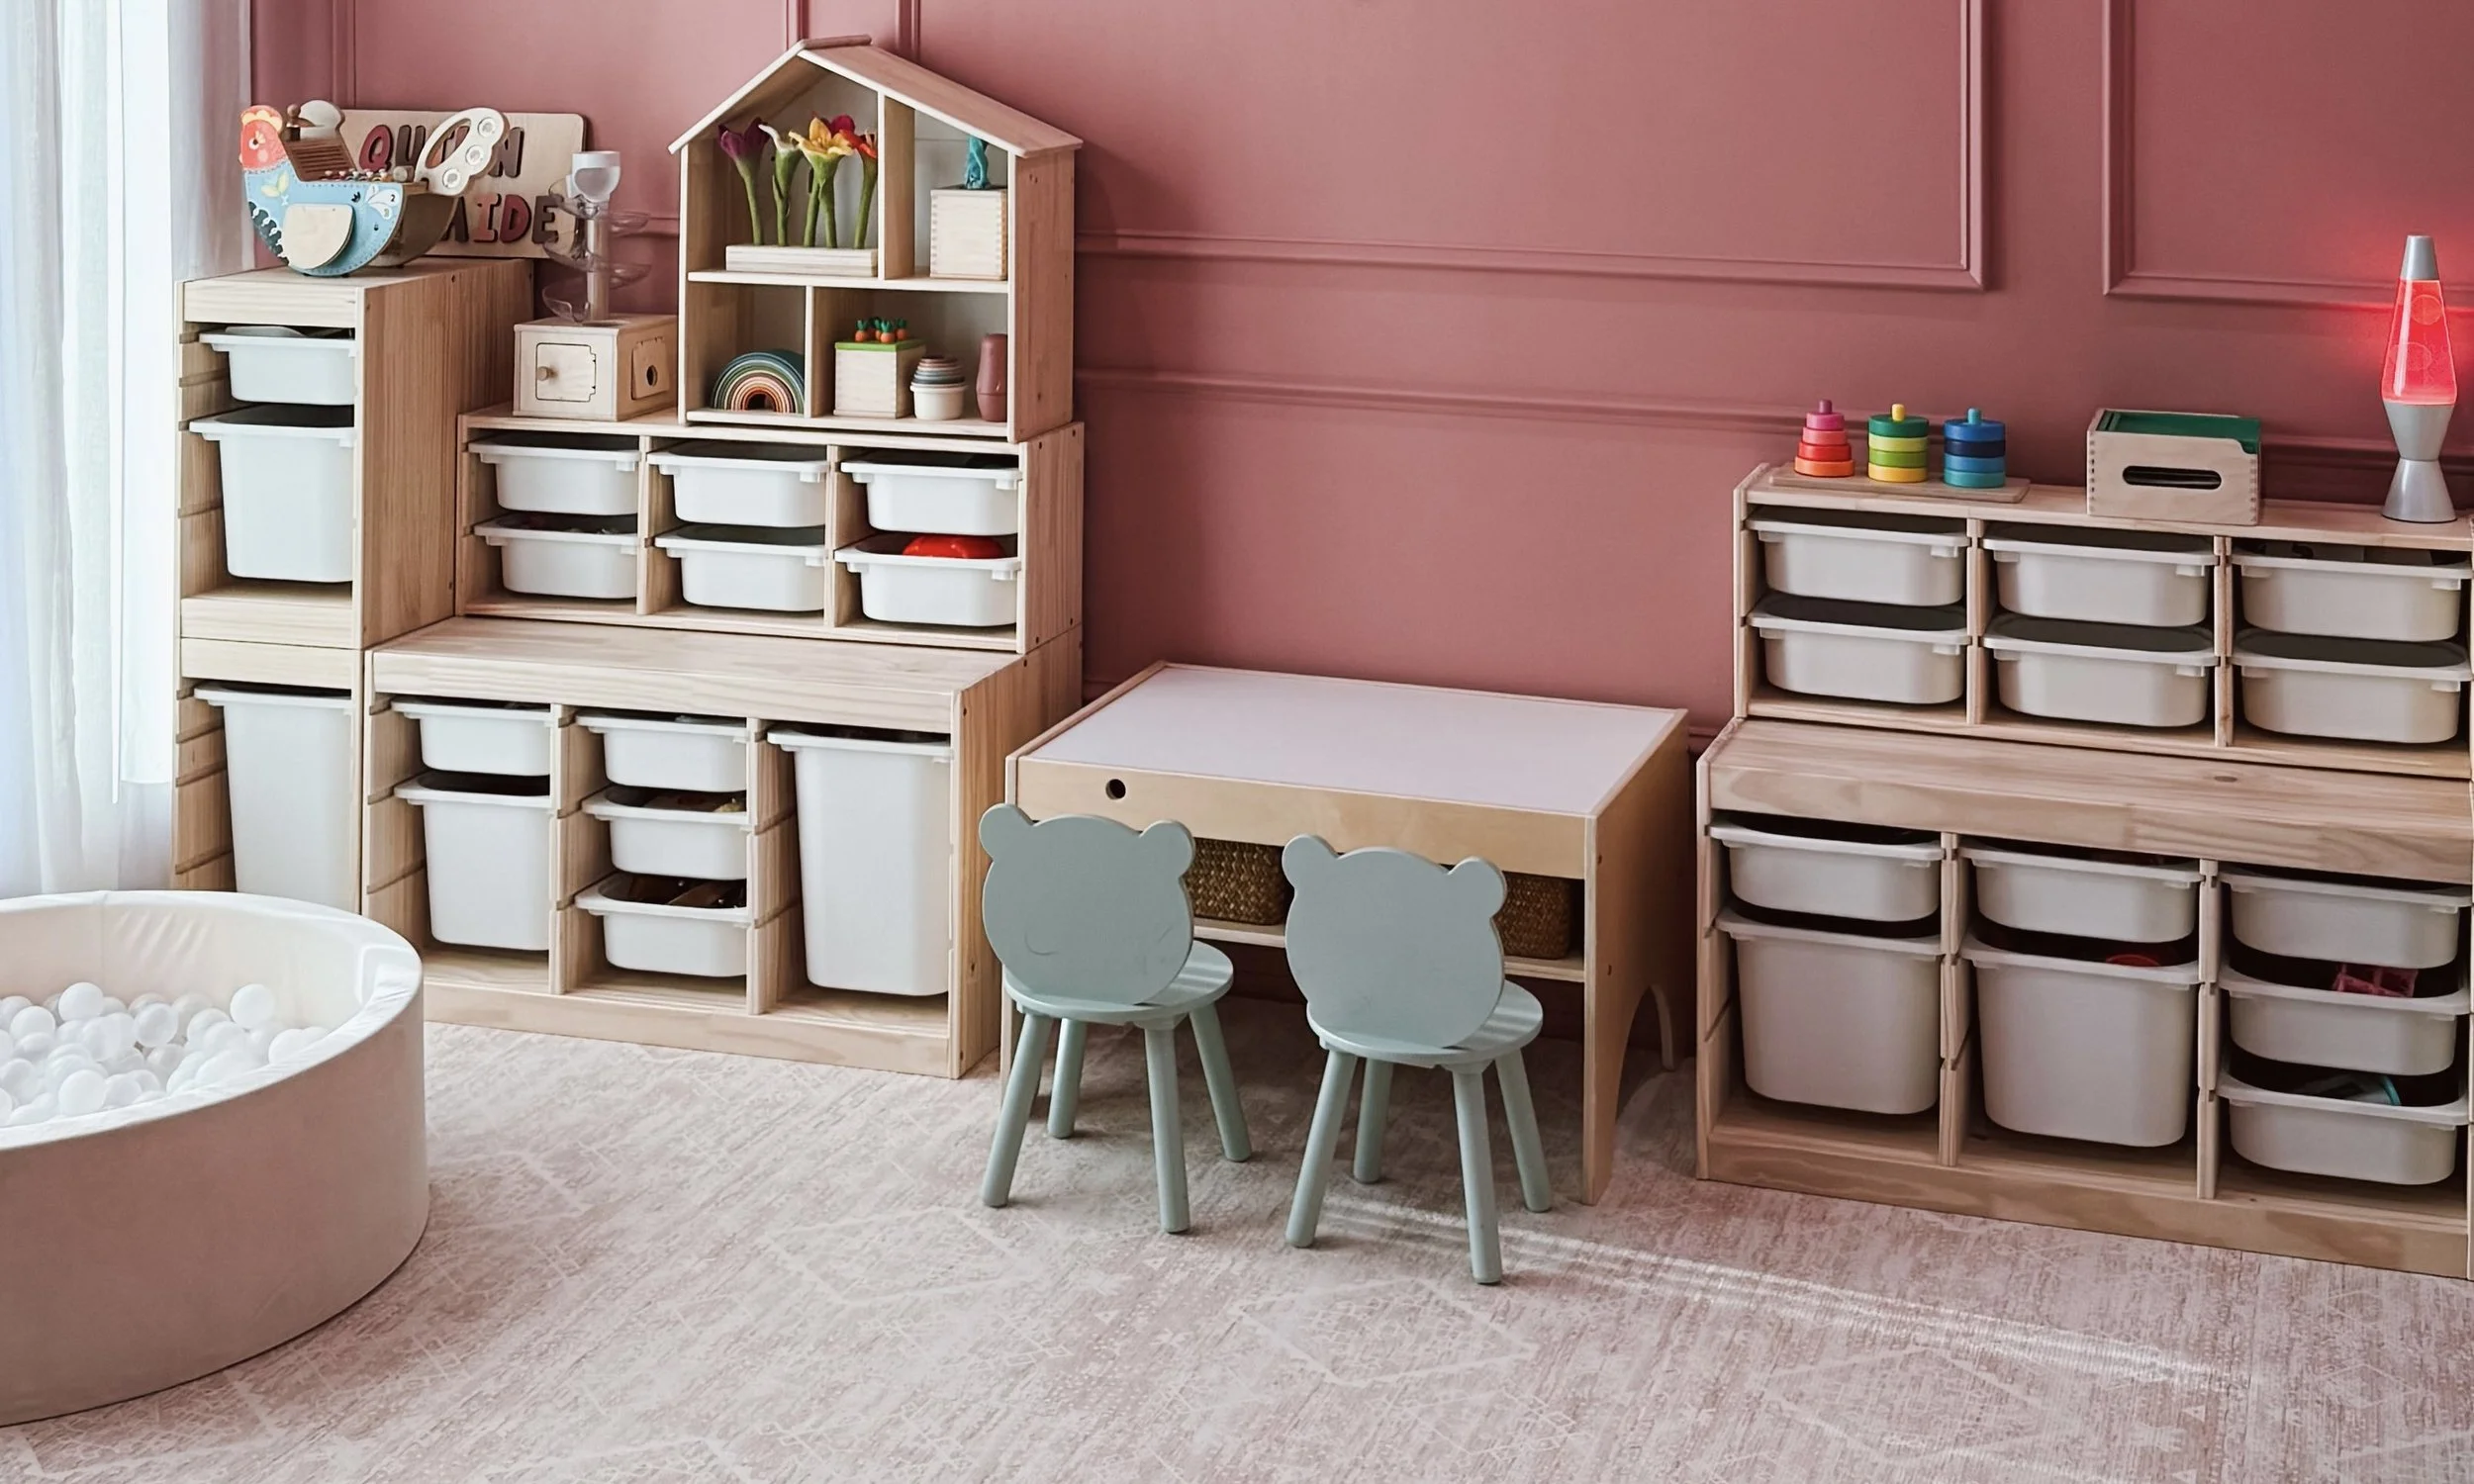
Playroom soft mat linked here.
Red Bathroom
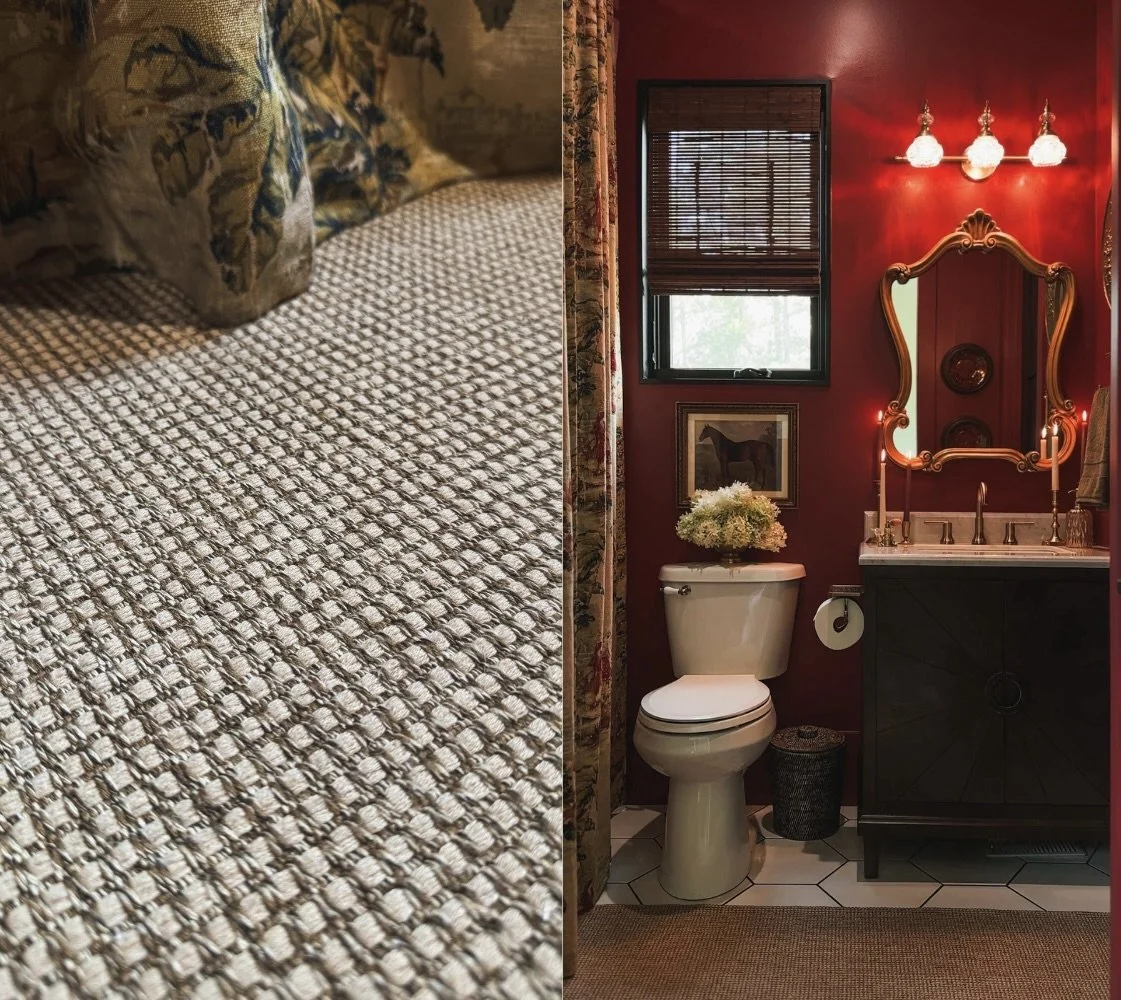
Red bathroom rug linked here.
Dining Room

Dining room rug linked here.
Primary Bathroom
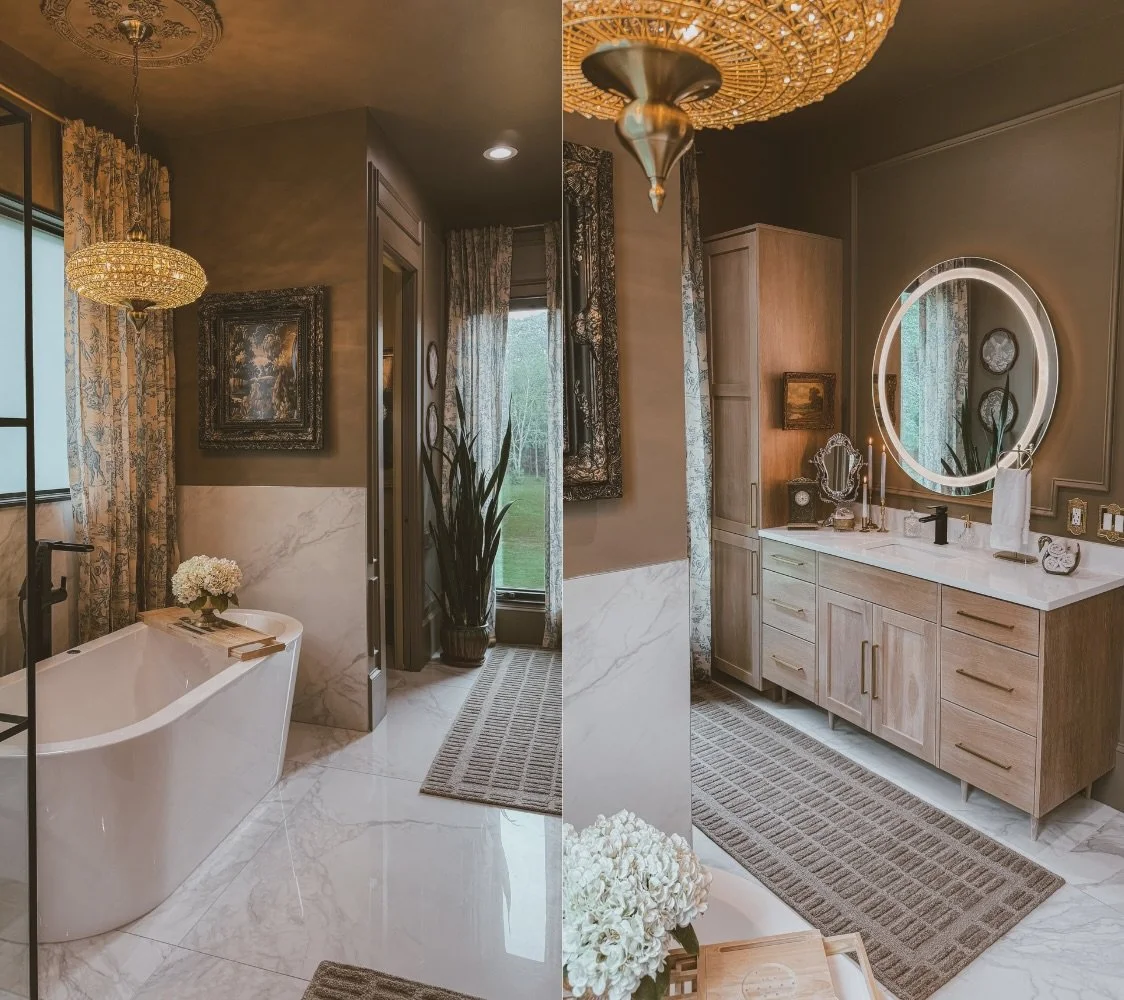
Primary Bathroom rug linked here.
Blue Floral Bathroom
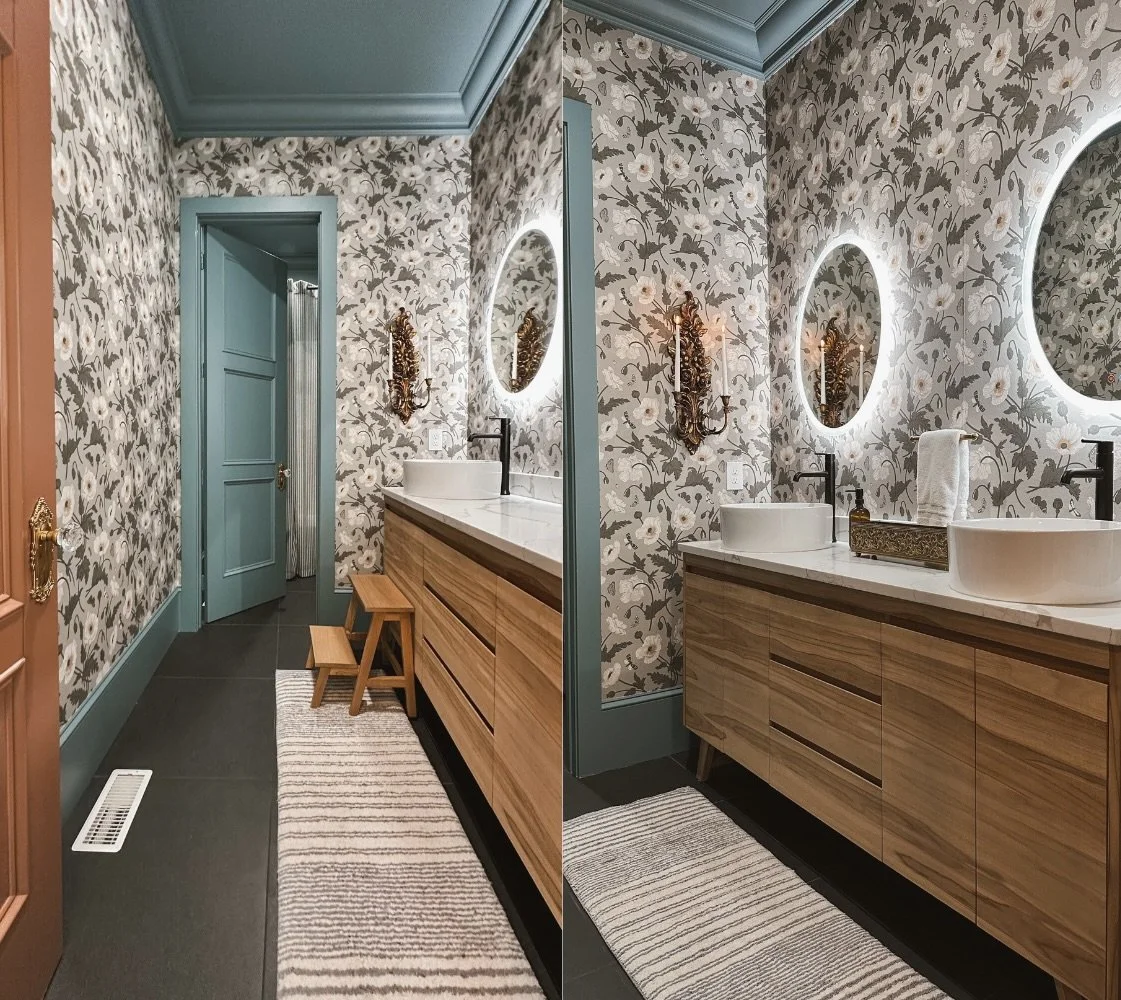
Bath mat linked here.
Living Room
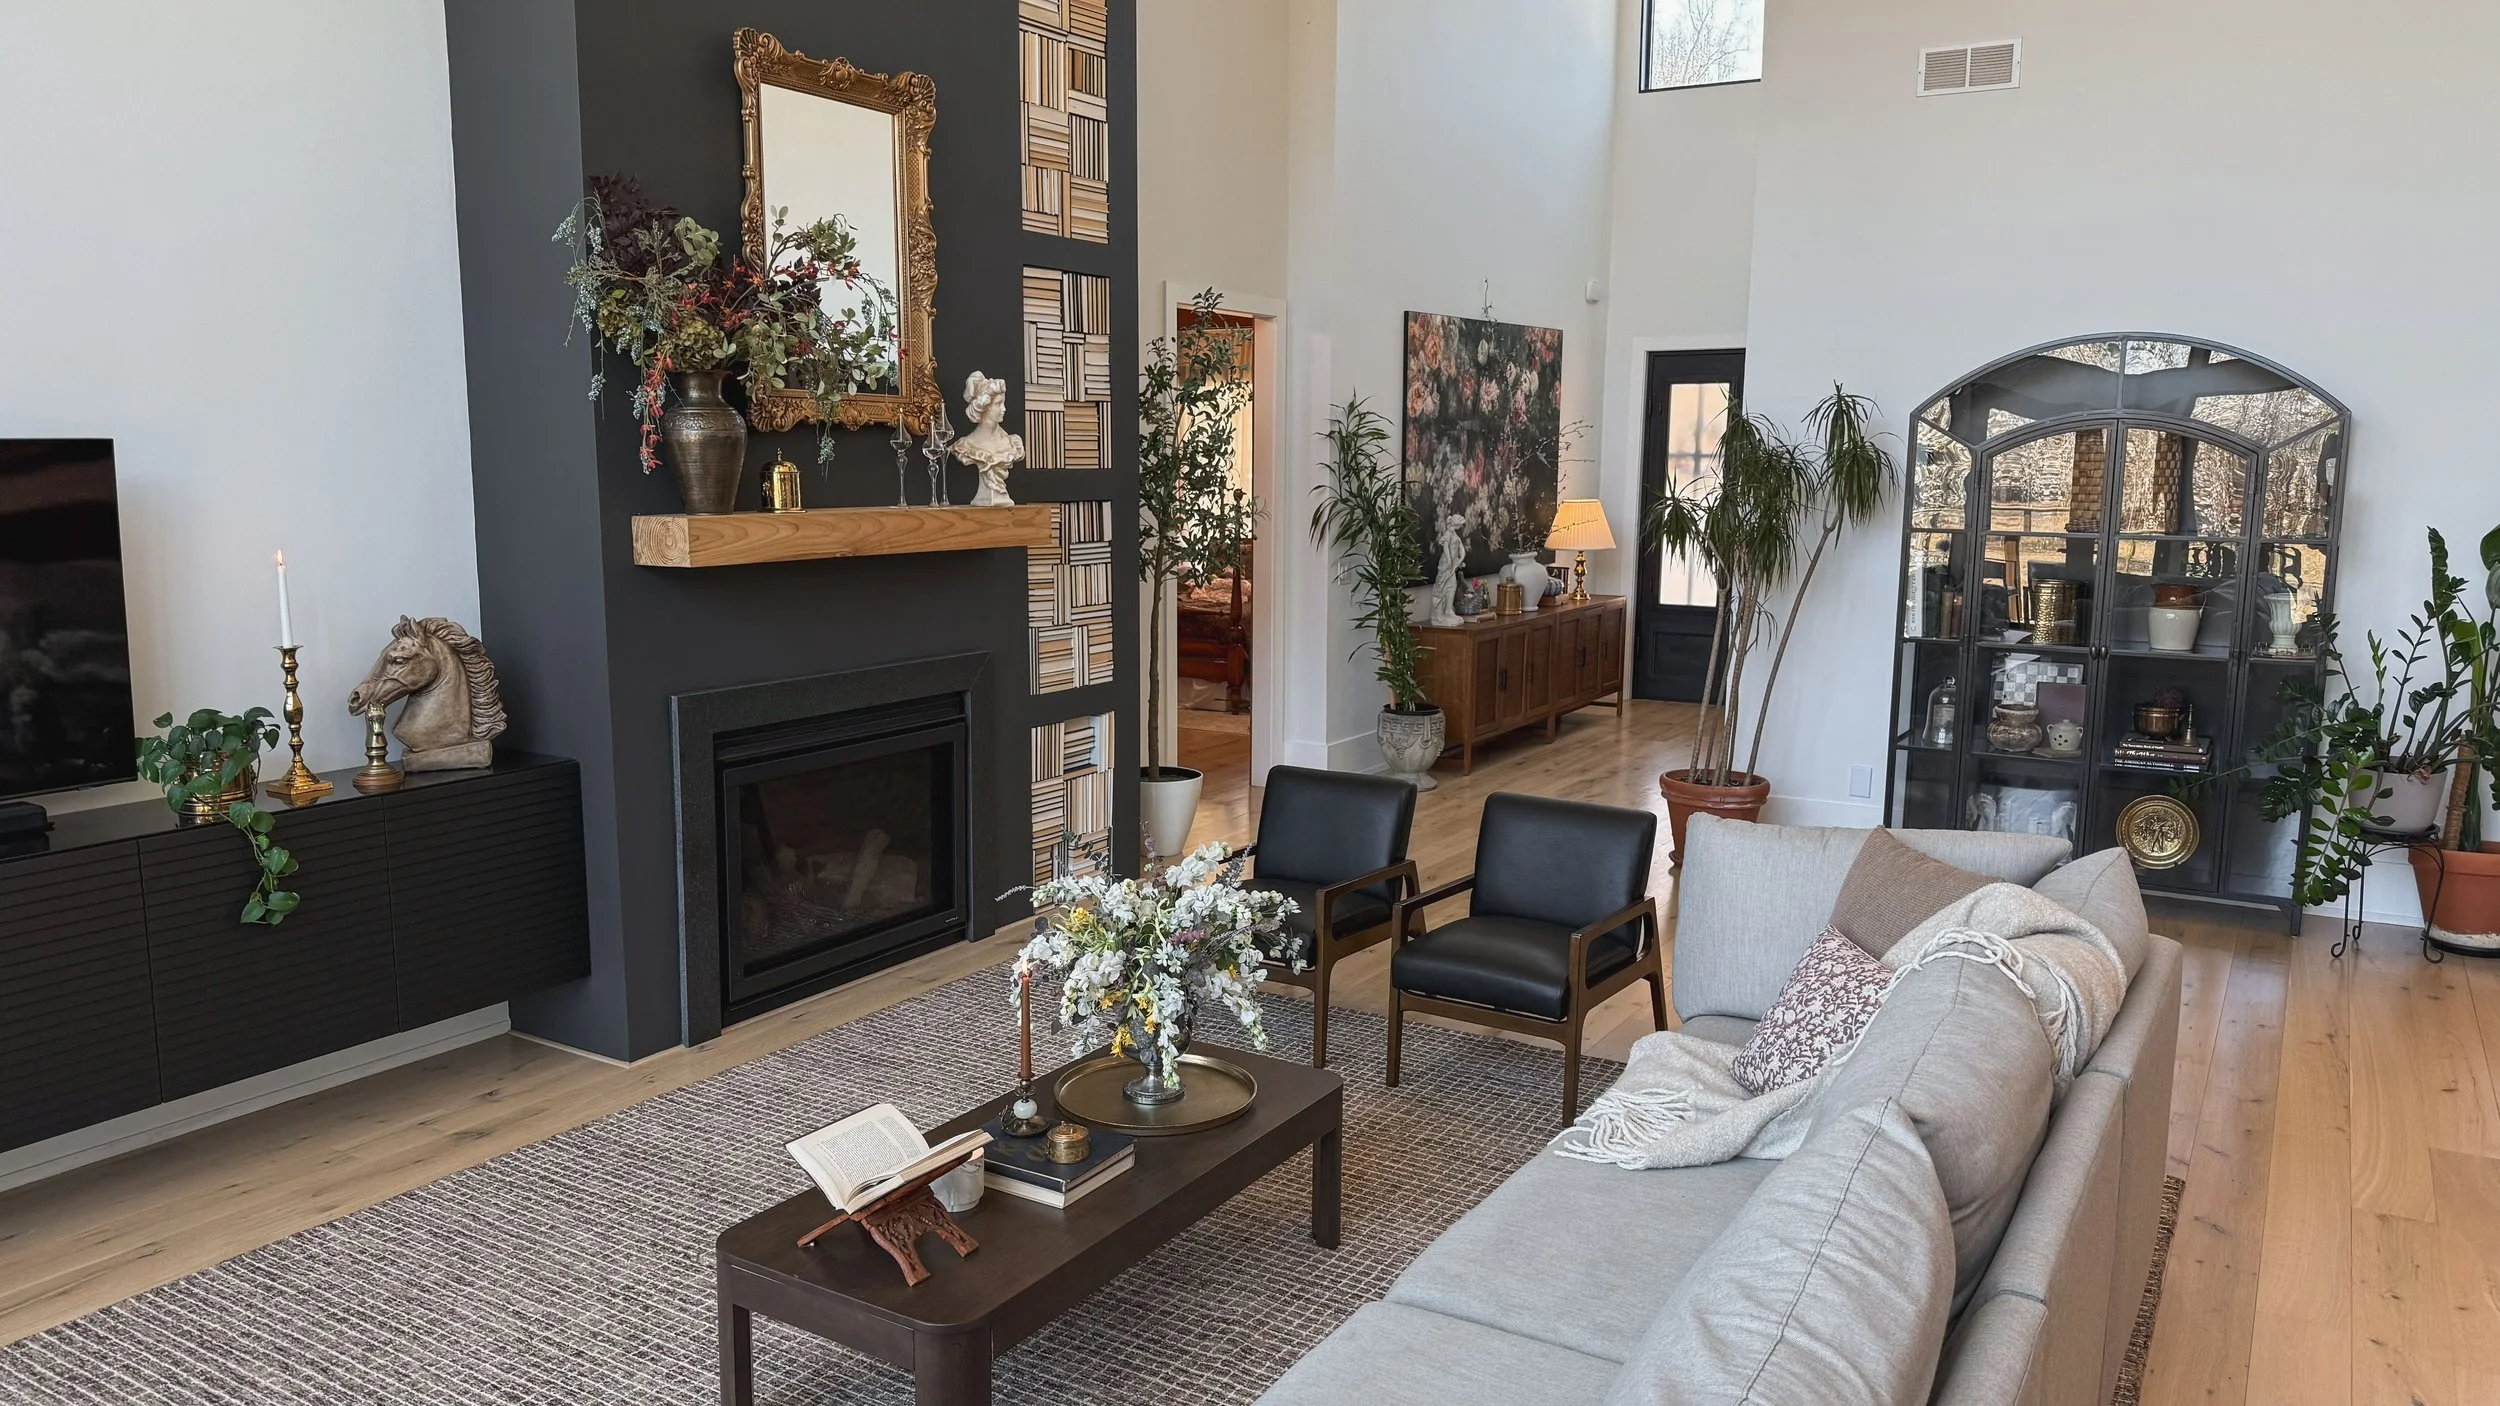
Living room rug linked here.
Office

Office rug linked here.
Guest Bedroom in 2024

Rug linked here.
Guest Room in 2025
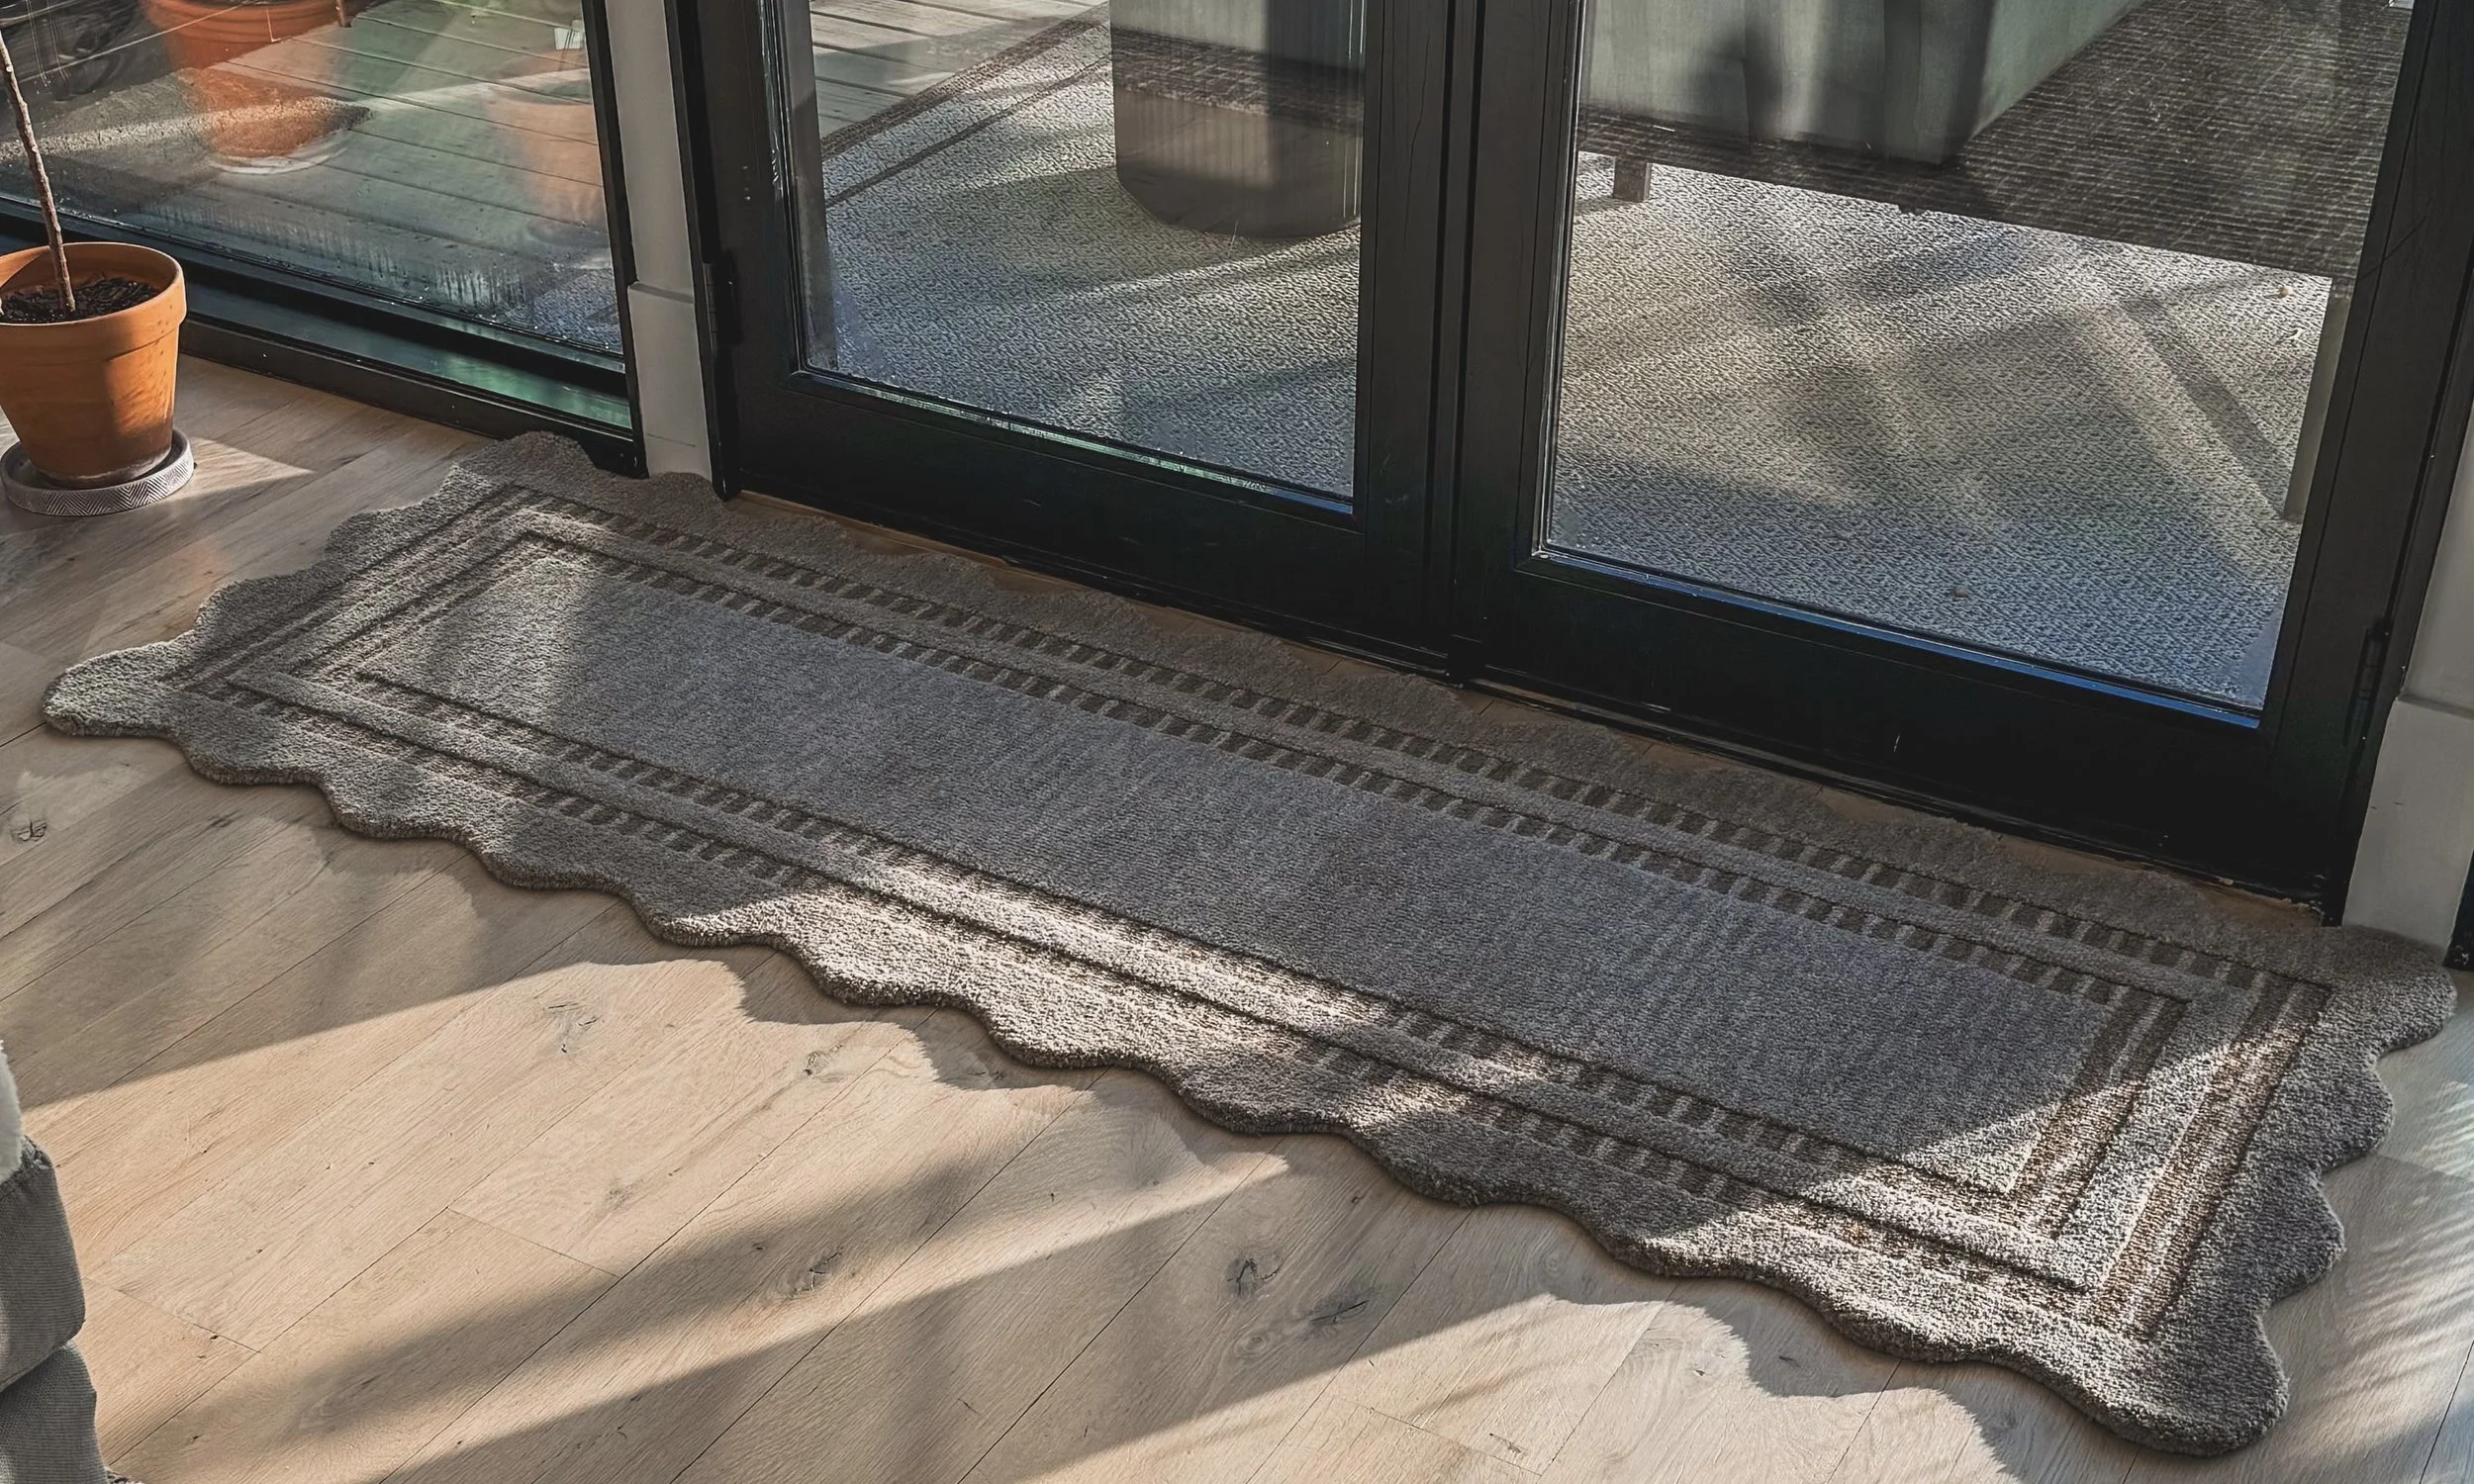
Back door rug linked here (also comes in other sizes).
Entryway
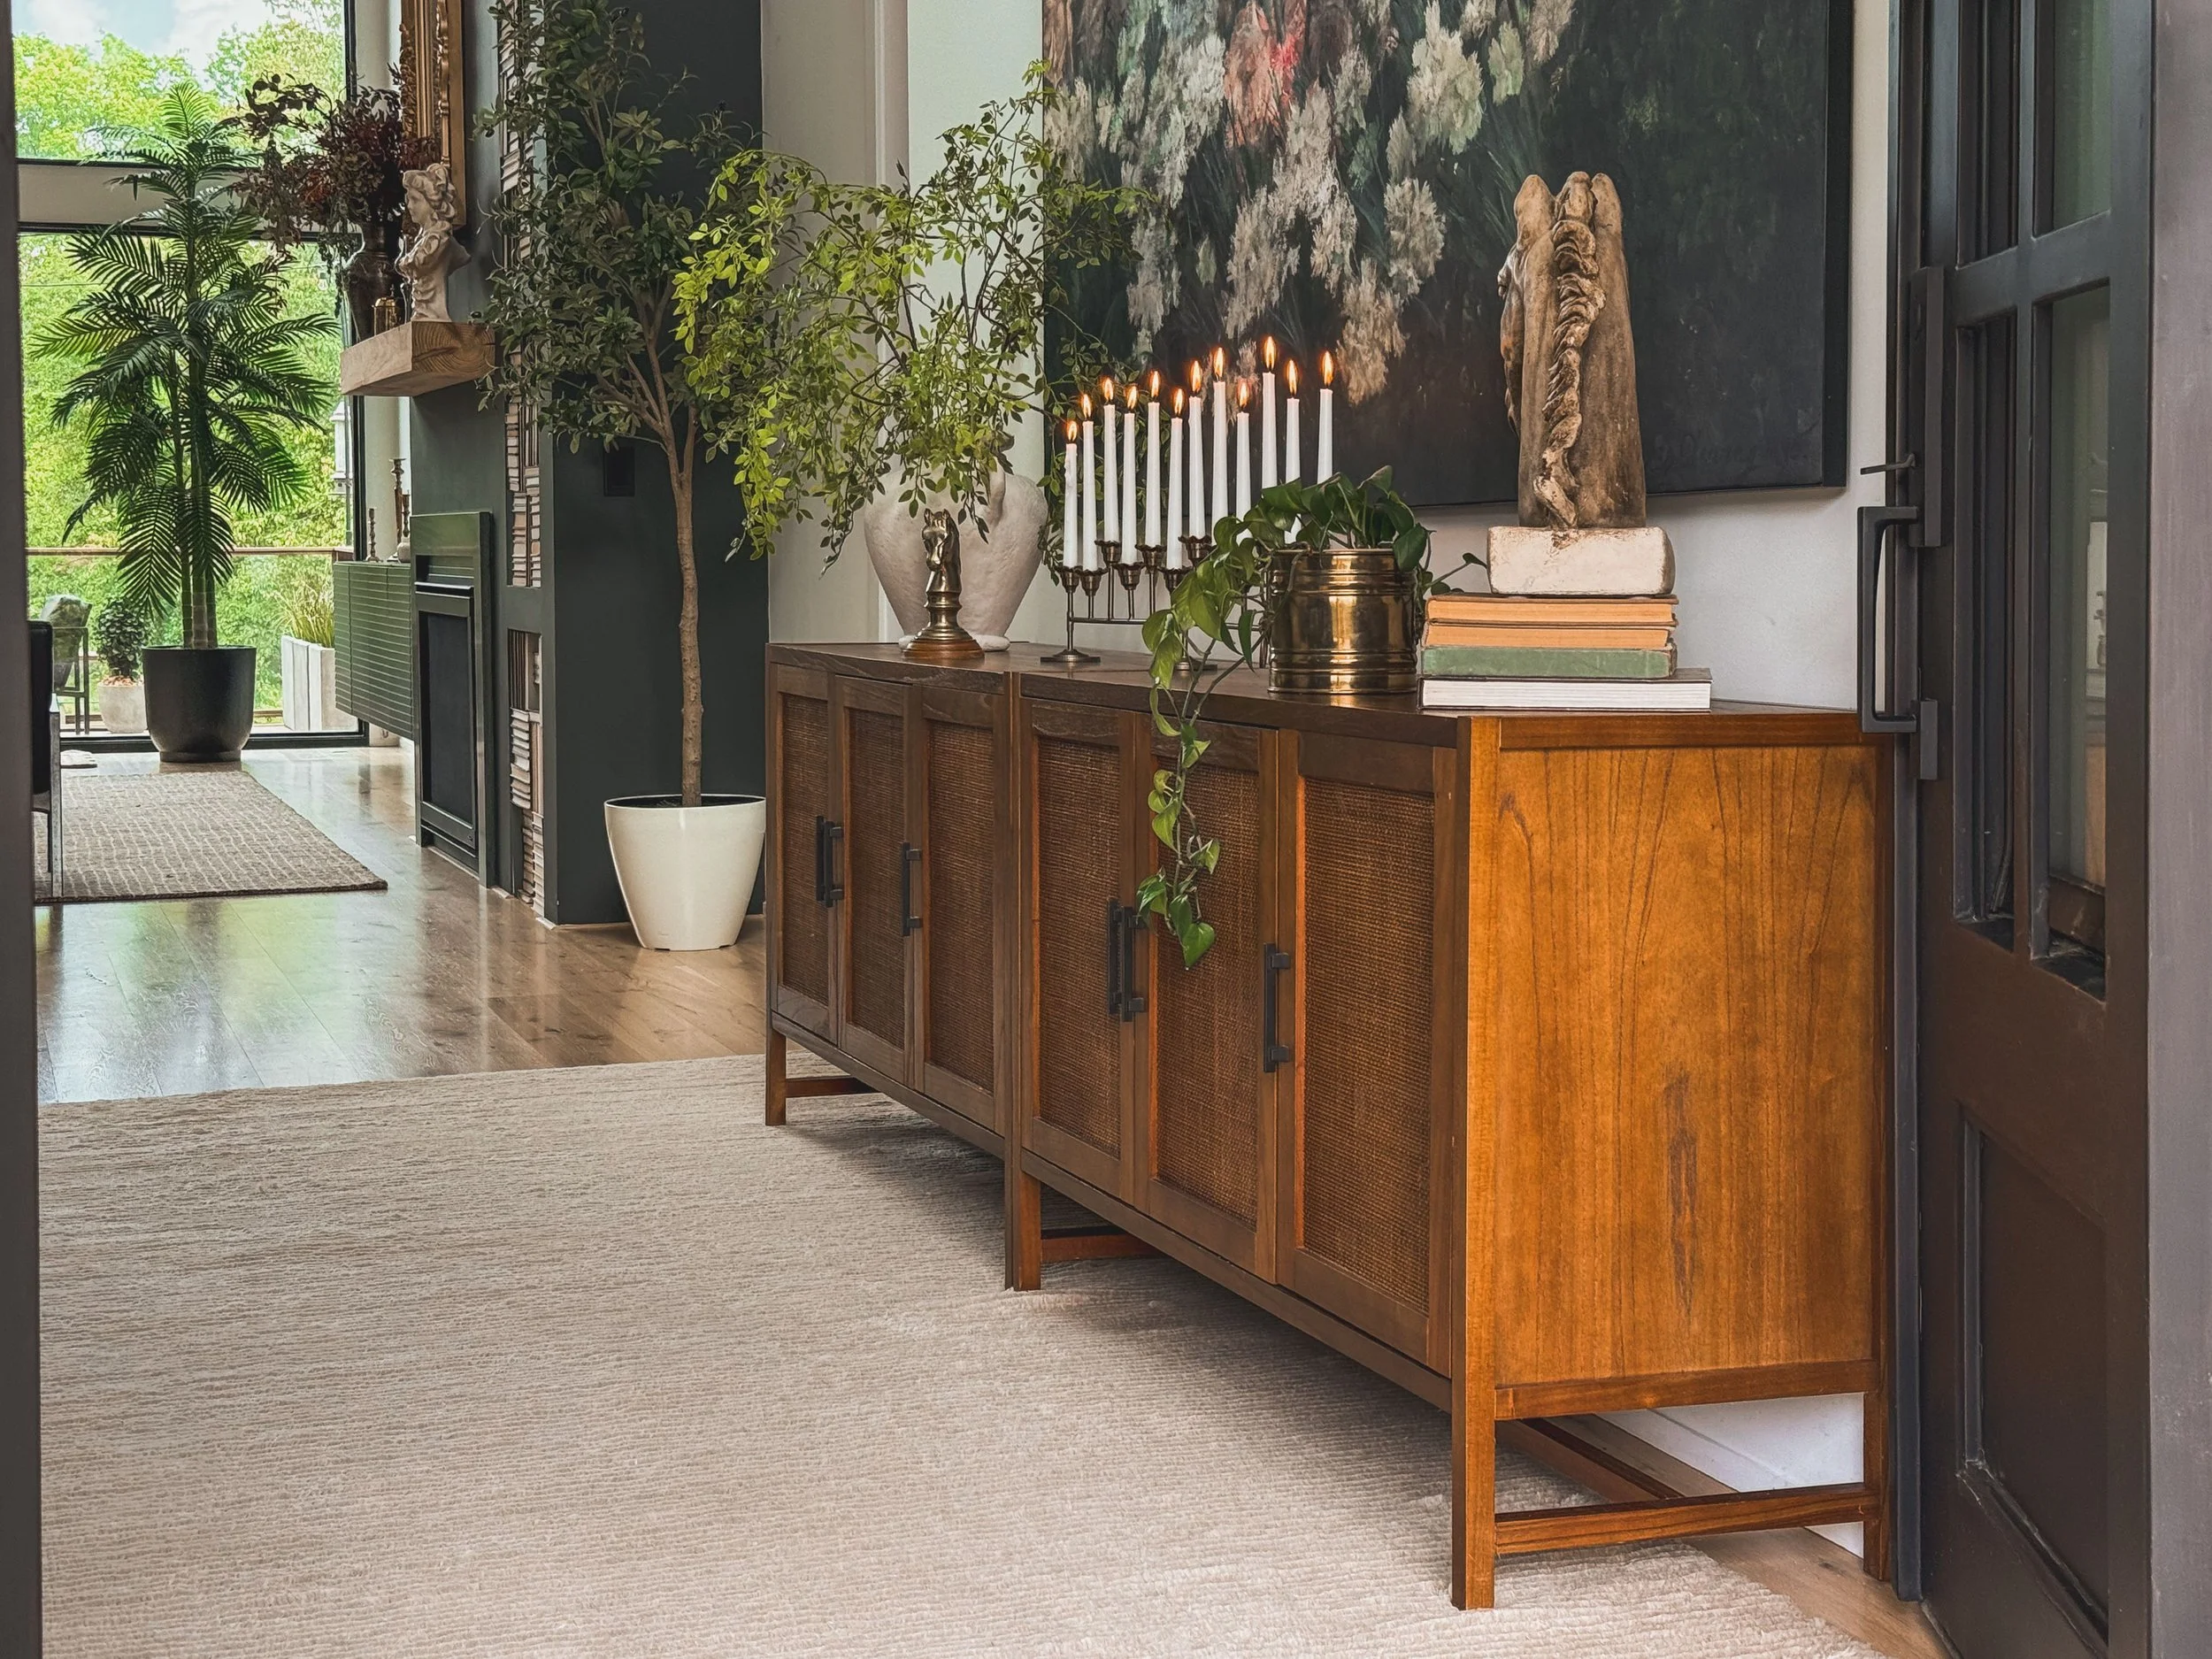
Nursery high-low rug linked here.
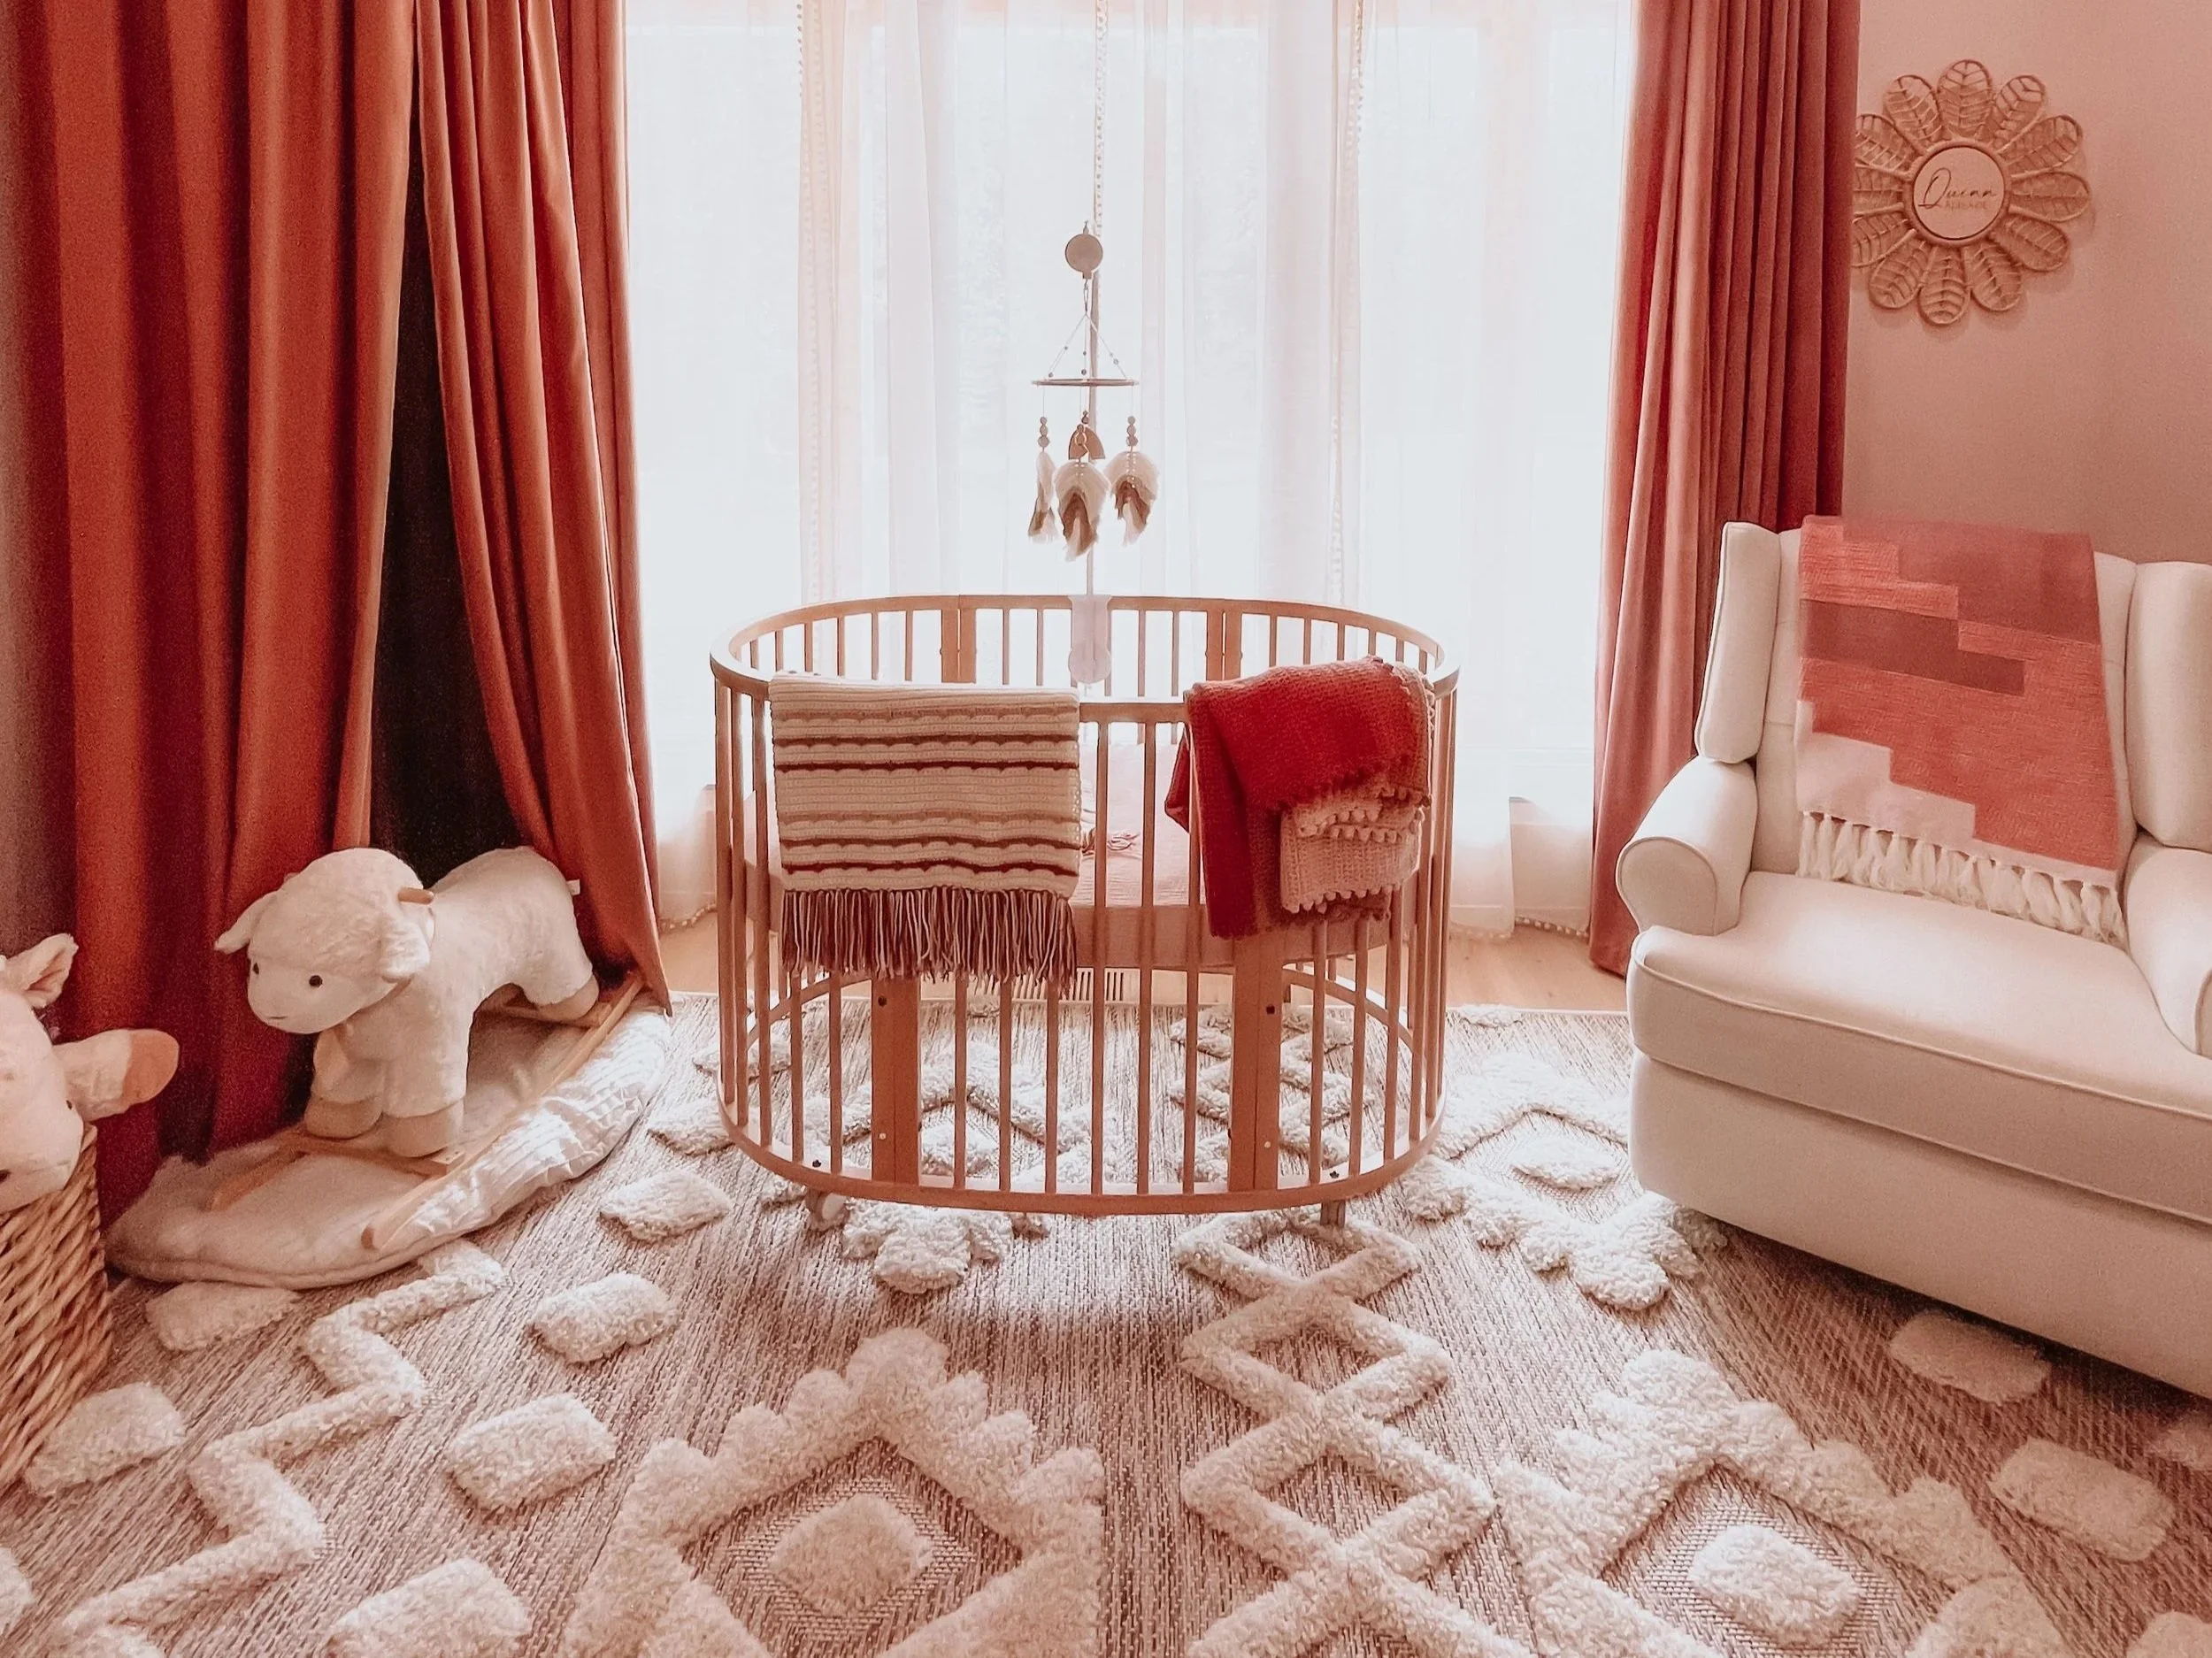
Toddler Room

Play mat linked here.
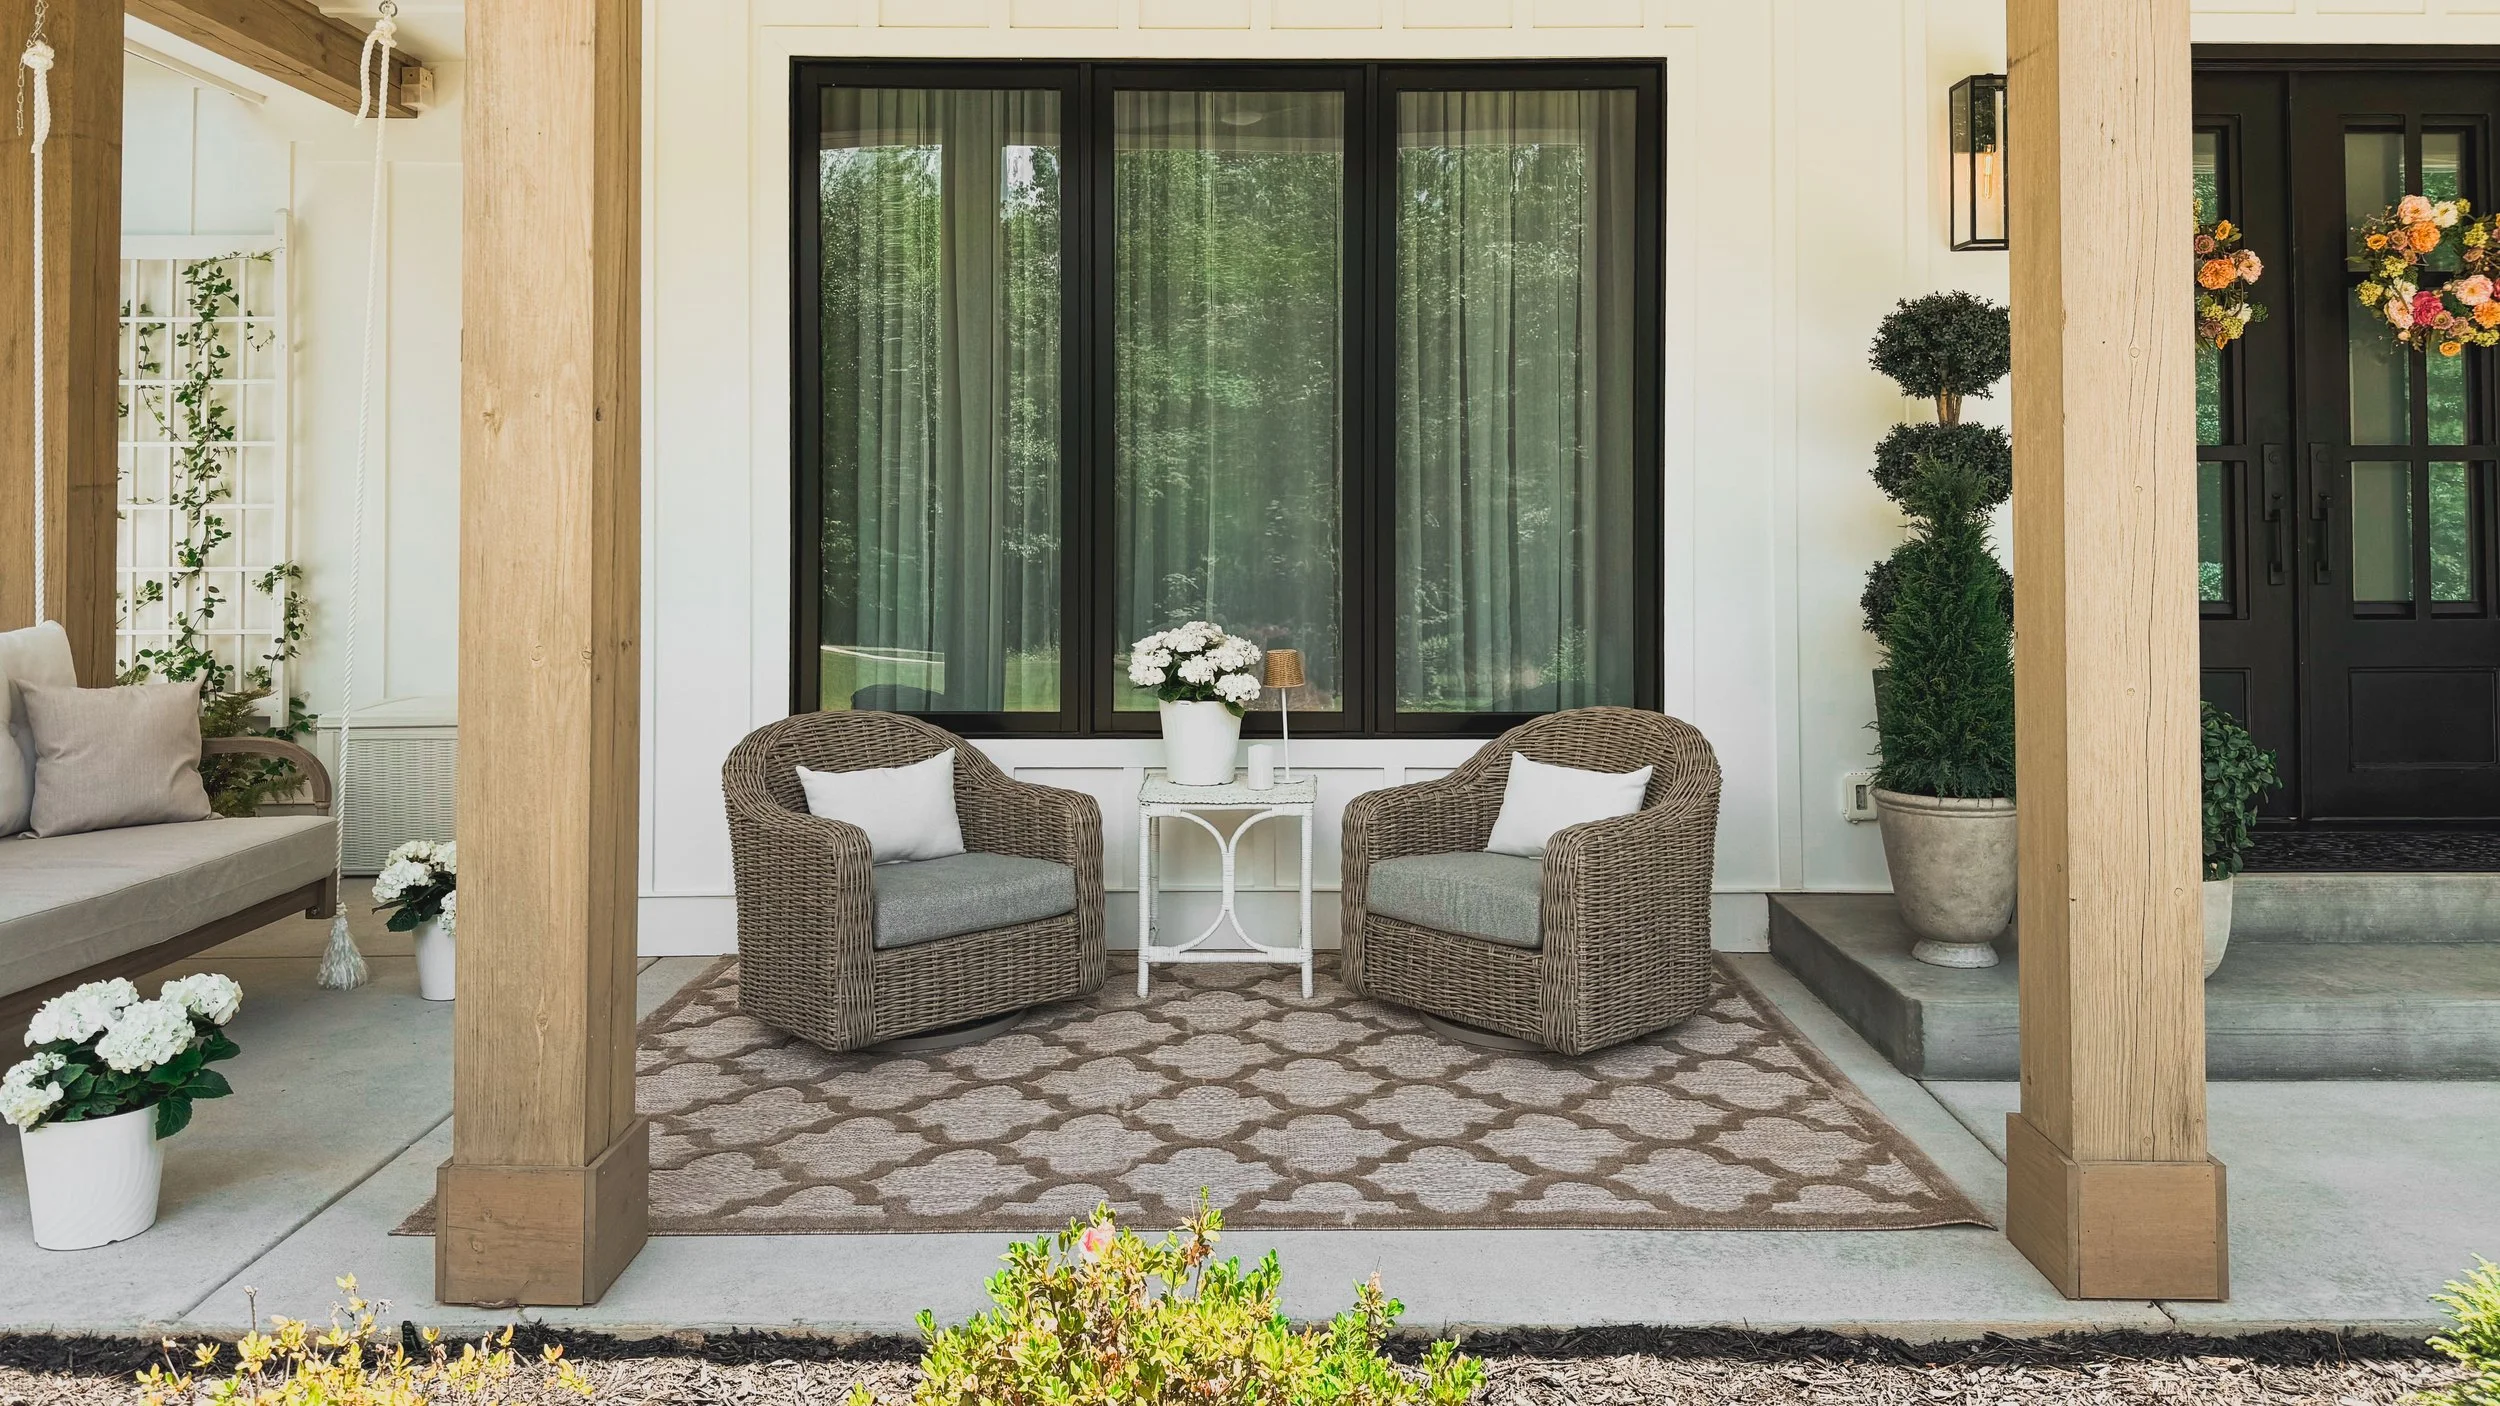
Front Porch

Front porch rug linked here.
Deck

Front porch rug linked here.
If you liked this, you might be interested in the wallpaper in my house!

What I Own and Love from the Wayfair Memorial Day Sale

Wayfair’s Memorial Day Sale is officially on. If you’ve been eyeing a furniture upgrade or need some outdoor pieces before summer kicks off, now’s the time to snag them. The sale runs through 5/27, so let’s get into my top picks that I own and love!
Office Deals
This office has such a rich, layered feel and the details really bring it to life. The diamond pattern rug and doorknob are both on sale right now, which makes it even easier to recreate the look. The rug gives the space a classic foundation, and that vintage-inspired knob is the kind of detail that always gets compliments. It's all about those thoughtful touches.


Primary Bedroom Deals
So many pieces from our bedroom are on sale right now, and I’m not mad about it. The full-length mirror, chairs, light switch wall plate, doorknob, and rug are all marked down. It’s rare for this many favorites to be discounted at once. Each one adds something special to the room, and together they make it feel warm, collected, and lived in.


Sunroom Deals
Our sunroom gets the best light, and it’s one of my favorite spots in the house. The rug and doorknob in here are both currently on sale, which makes it a great time to bring a little bit of this space into your own home. The textured rug adds so much warmth, and that antique-style doorknob is such a pretty detail. It’s all in the little things.

Bathroom Deals
This red bathroom is full of dramatic details, and so many of them are currently on sale. The stone top vanity, mirror, toilet lever, shower curtain rod, and even the soap dispenser are all marked down. It’s a great chance to pull together a similar look with pieces that feel high-end without the full price tag. Every item adds a little richness and charm to the space.


Front Porch Deals
Our front porch has become such a welcoming little spot, and a few of the key pieces out here are on sale. The front door mat, trellis, urn planter, and swing are all marked down right now. Each one adds just the right touch of charm and function to the space. If you’ve been thinking about sprucing up your porch, this is a great time to grab these favorites.
IF YOU ENJOYED THIS POST, YOU MIGHT BE INTERESTED IN My estate sale tips!
FOLLOW ME ON MY SOCIALS!

My best selling chandelier

This Chandelier Is in My Office — and It’s Also My Best Seller (for Good Reason)
Okay, I have to brag on this chandelier for a second — not only is it living its best life in my office, but it also happens to be my best-selling chandelier. And honestly? I get it. The hype is 100% deserved.
Let’s start with the look — it's modern, luxe, and just the right amount of sparkle. The gold finish isn’t too warm or too brassy, and the crystals give off the most beautiful light. It makes my office feel like a high-end design studio instead of just a workspace, which honestly boosts my mood (and my productivity).


I’m pretty handy with DIY, but electrical isn’t my thing. Although my husband got it put up with no problems - and I helped! If you’re into those instant gratification upgrades, this is it.
And judging by how many people have added it to their own homes, I’m not the only one who’s obsessed. Whether it’s going in an office, dining area, hallway, or even a luxe little closet setup, this piece just works. It’s bold but not overwhelming, glam but still approachable.
So yes — I’m absolutely that person working under a chandelier, and I wouldn't have it any other way. You can snag it here if you’re ready for a space glow-up.
Curious about the wallpaper? Check out this blog post.
Curious about the paint colors? They are custom, read more about them here!

FAQ: Color Drenching Doorways
How to Color Drench Your Doorways Like a Pro!
One of the biggest questions I get when it comes to color drenching is: What do you do with the door?! If you’ve been wondering the same thing, don’t worry—I’ve got you covered! Let’s break it down step by step so you can achieve that seamless, stylish look in your space.
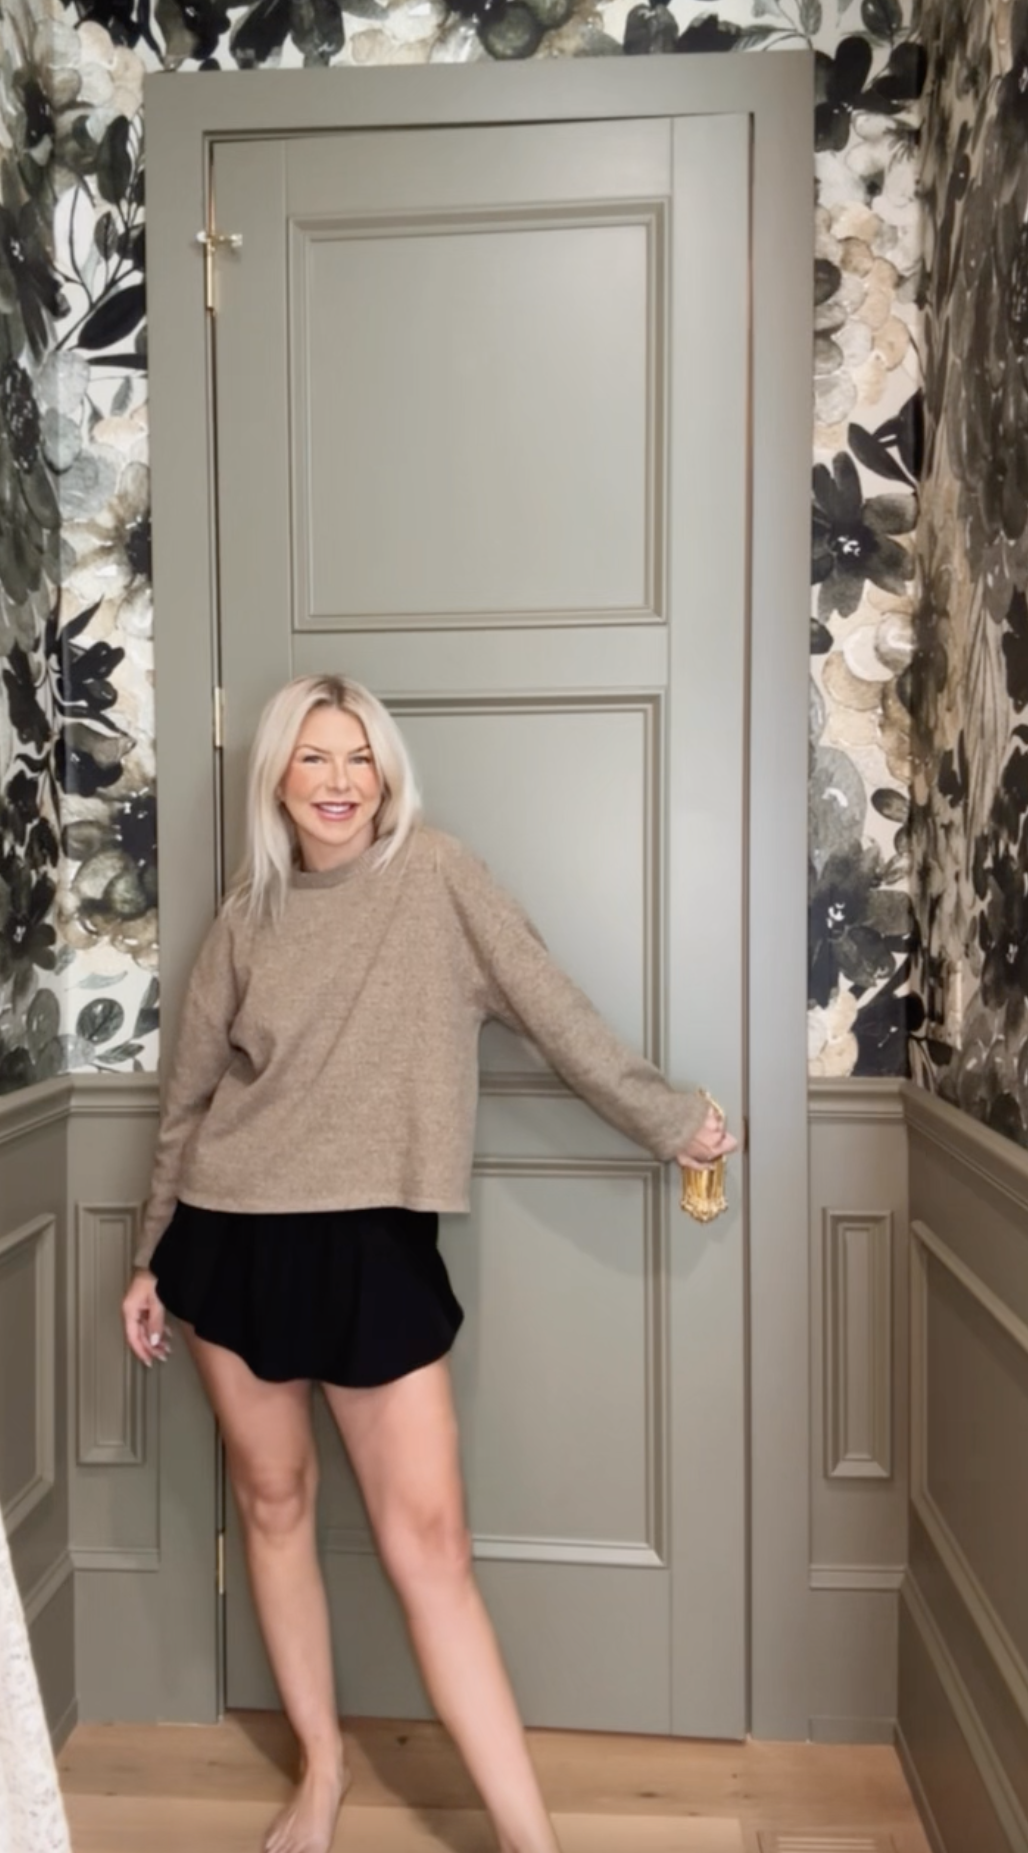
Step 1: When the Door is Shut…
When your door is completely closed, it should match the walls in that room. That means if you’re drenching your space in a dreamy shade of green, your closed door should blend right in with that same color. Easy, right?
Step 2: When the Door Swings Open…
Here’s where it gets a little more dynamic! When you open the door, the front side (the side that faces into the next room) should match that room’s color. So if you’re stepping into a green-painted space, the front side of the door that faces that room should be green.
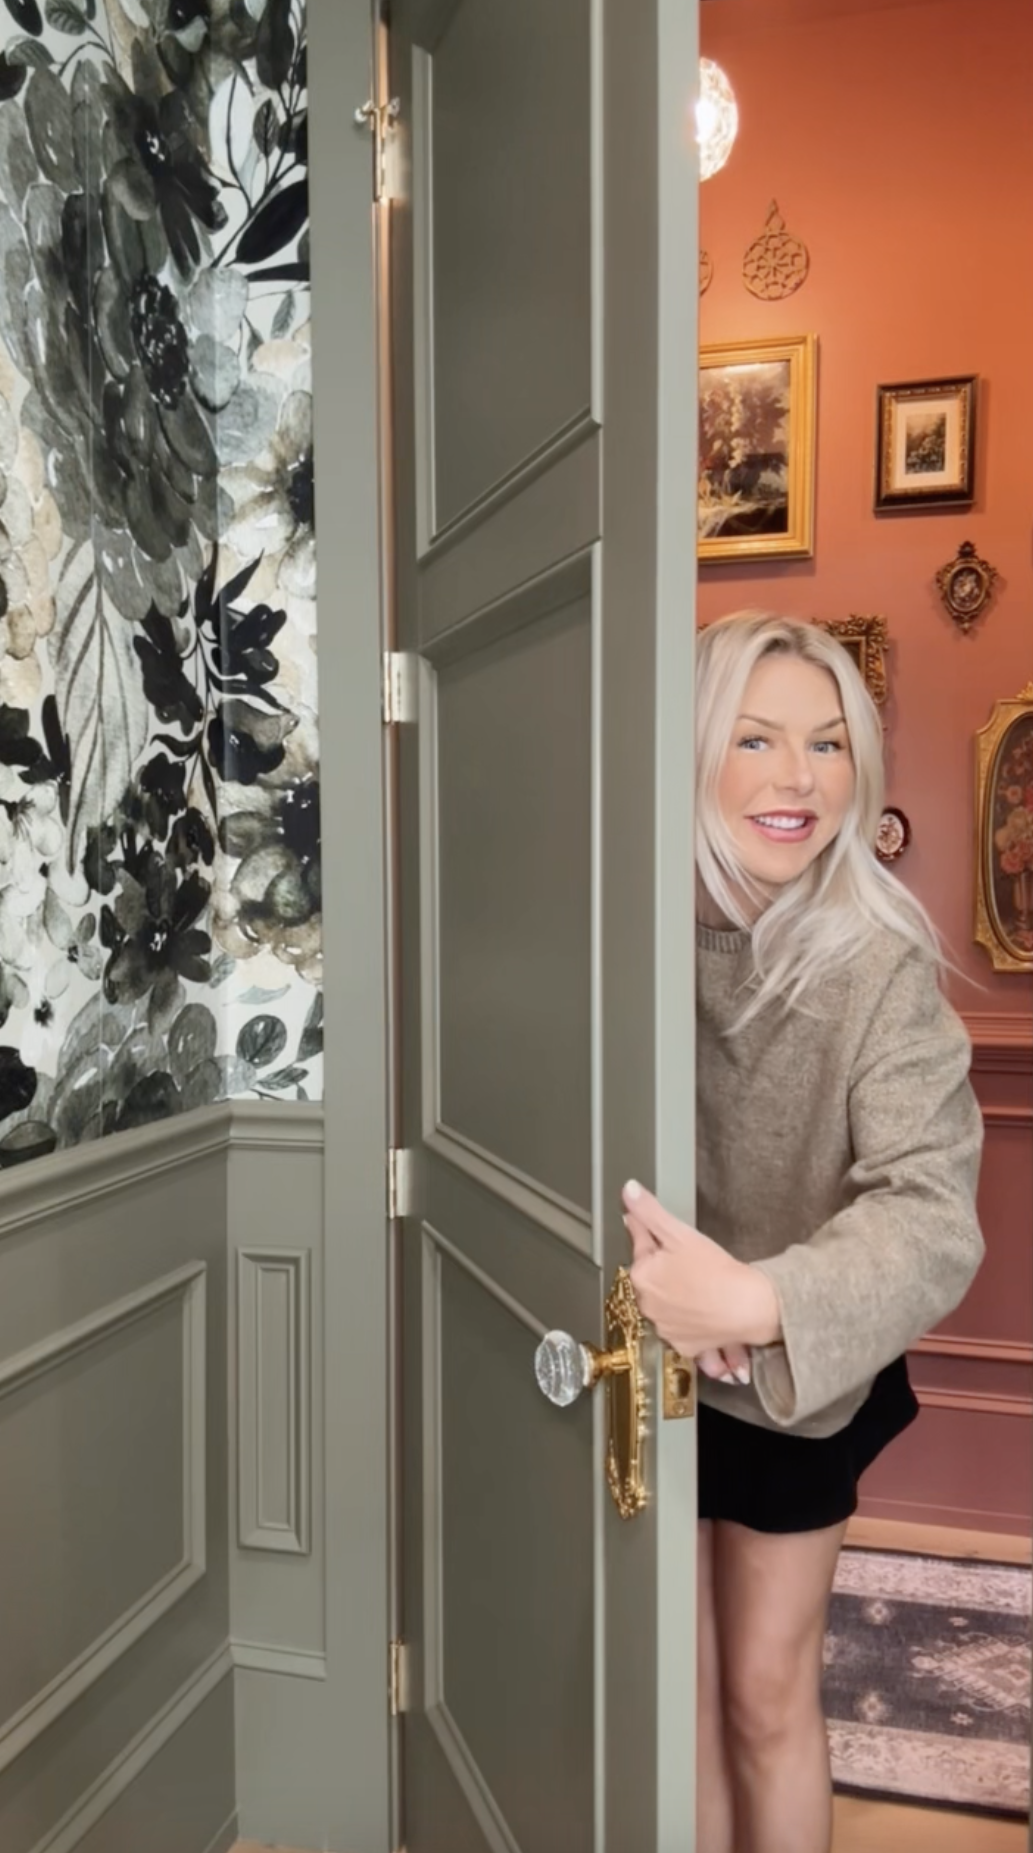
Step 3: What About the Backside of the Door?
Now, go to the backside of the door and check the hinges. This side of the door should match the room you are standing in when the door is open. So, if you’re standing in a pink room, that side of the door should be pink.


Step 4: The Door Jamb—Let’s Walk Through It Together!
Now, let’s talk about the door jamb (the frame around your door).
Stand on the side where you pull the door shut. Every part of the jamb that you see from this angle should match the door. So if your door is pink, the visible jamb here should also be pink.
Now move to the other side, where you push the door shut. The rest of the jamb on this side should match the walls of that room. Imagine your door “nestled” into its frame—it should all be a smooth continuation of color.


The Key to a Seamless Look
The main goal here is to avoid seeing another color peeking through when your door is closed. Keeping the door and its surrounding frame within the same color family ensures a cohesive, wrapped-in-color effect that truly embodies the color-drenched aesthetic.
Now, It’s Your Turn!
I promise—it’s just paint! You can always tweak and adjust as you go. So go ahead, grab that paintbrush, and transform your space with the magic of color drenching. You got this!
Happy painting!
Shop This Post
Interested in my paint colors? Click here!
Interested in my wallpaper? Click here!
Found something you like? Shop these rooms here!