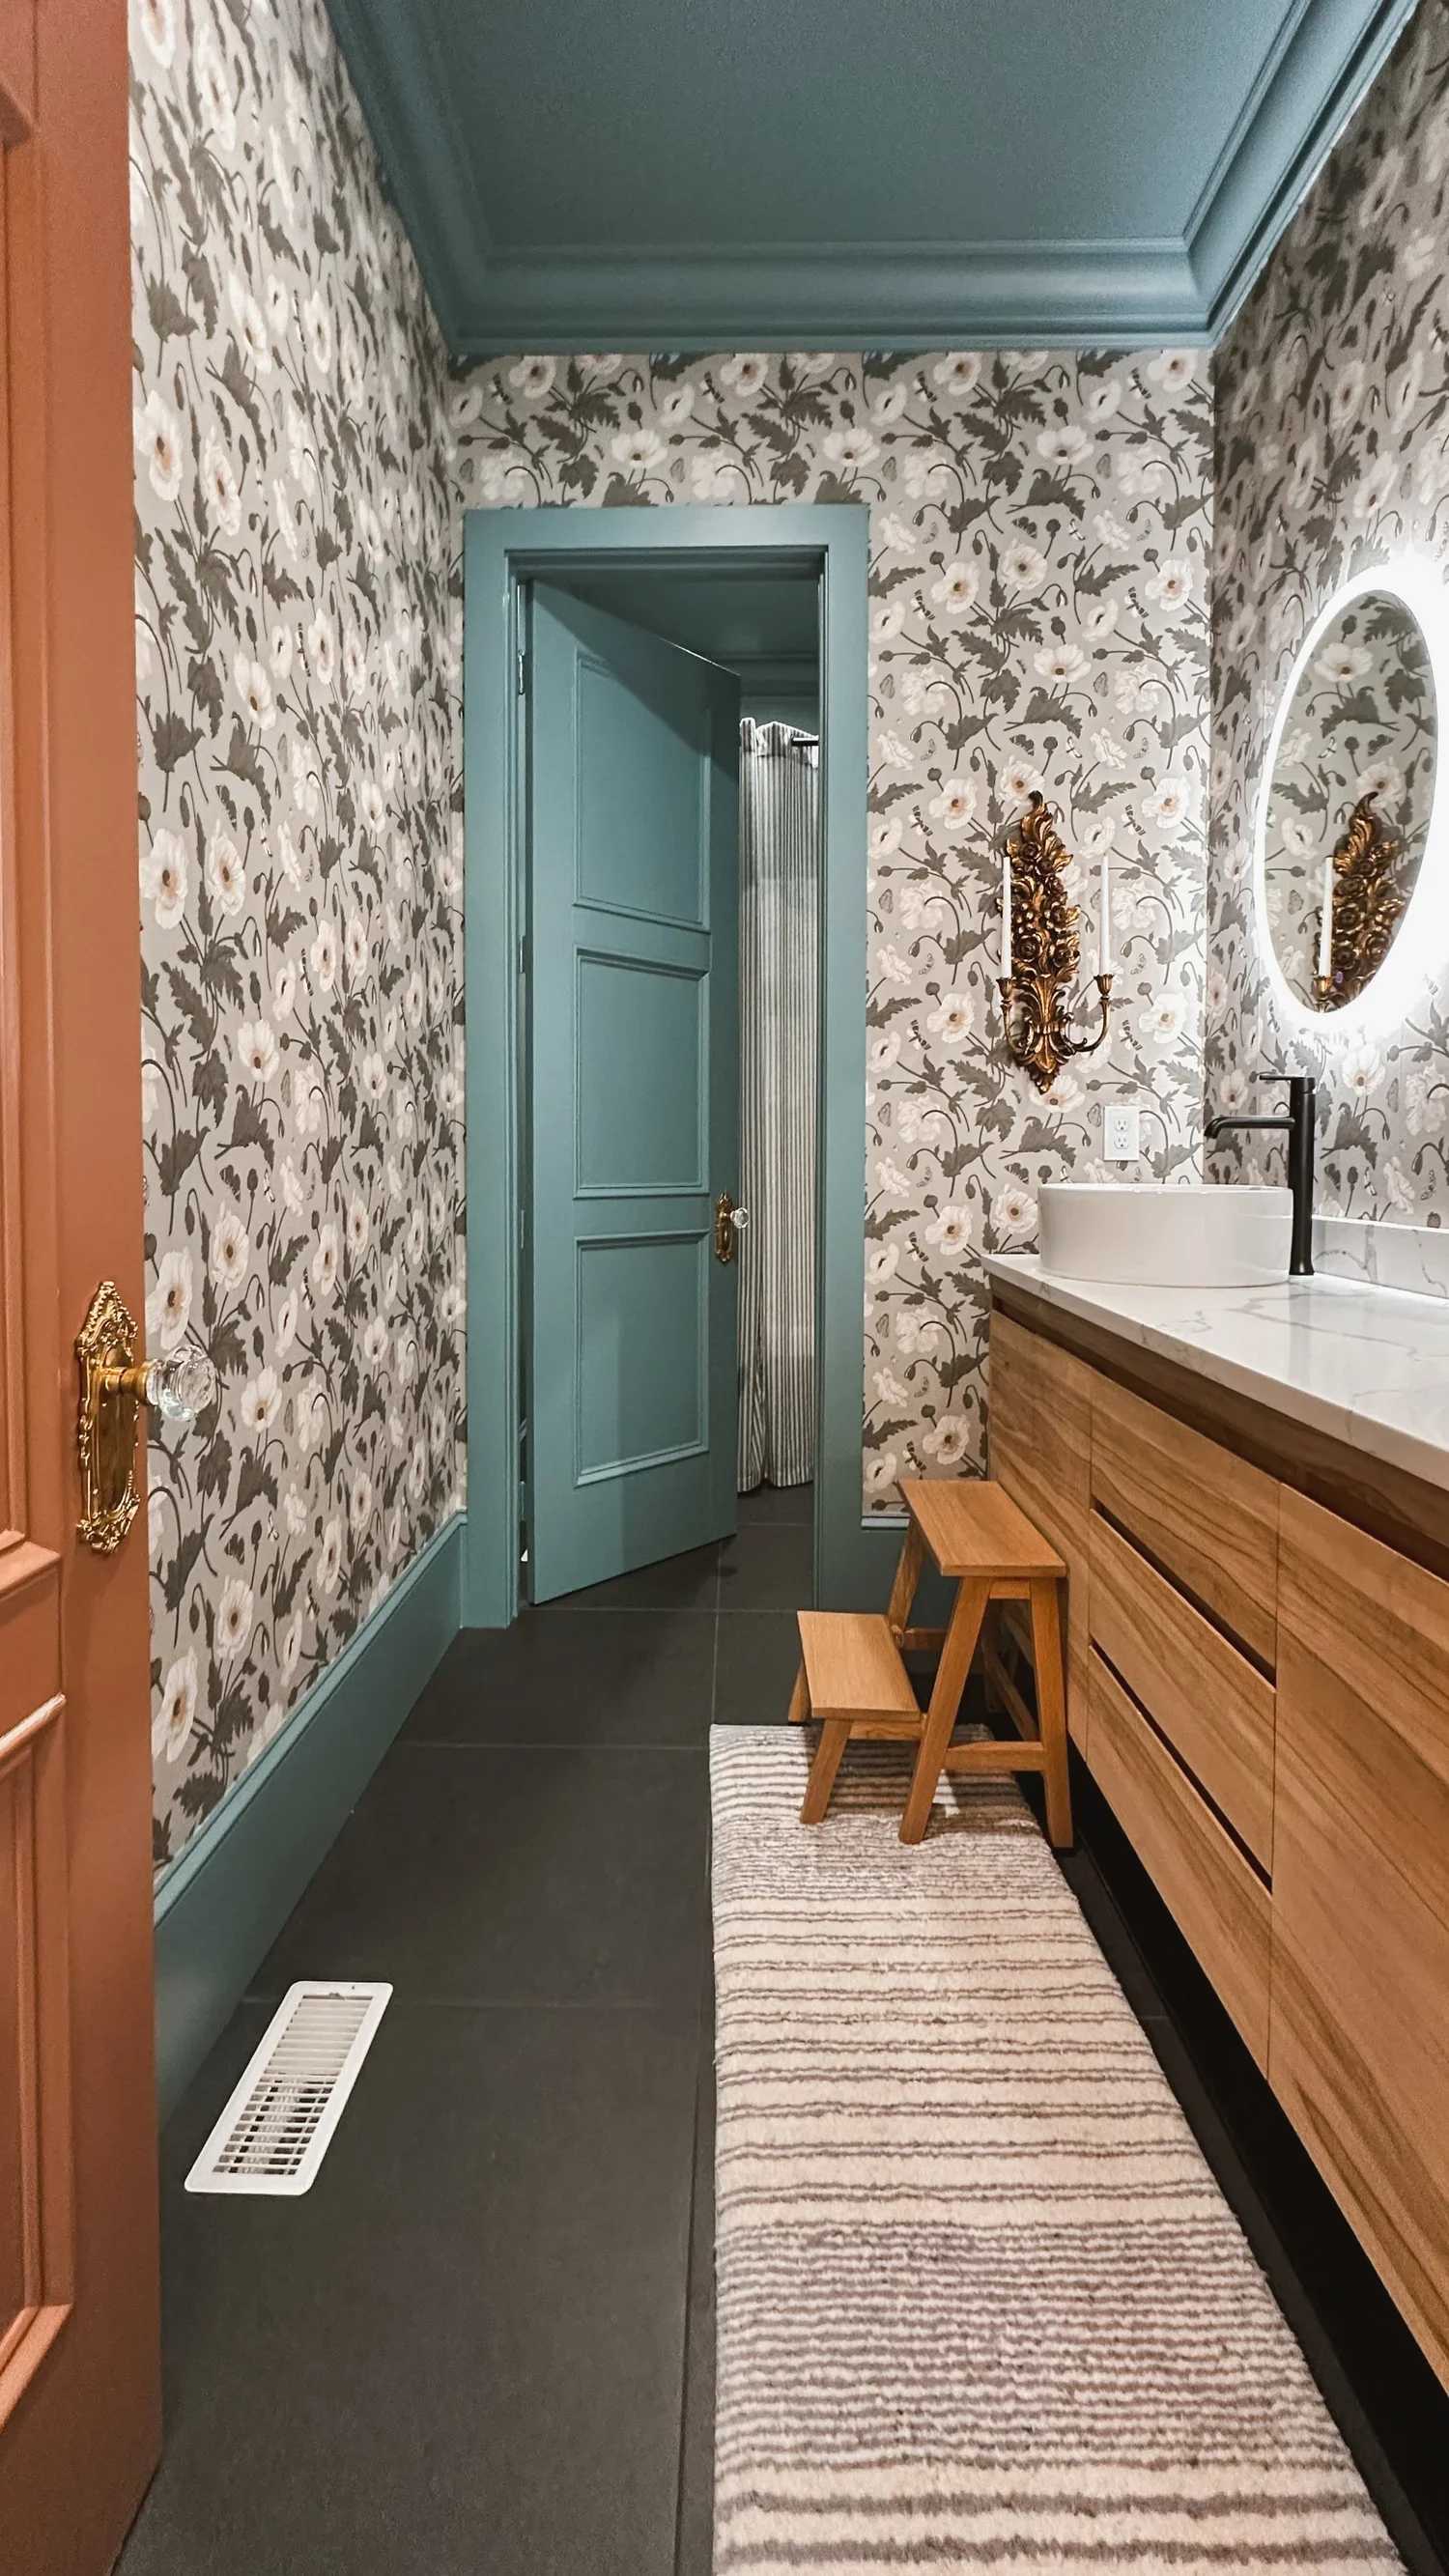
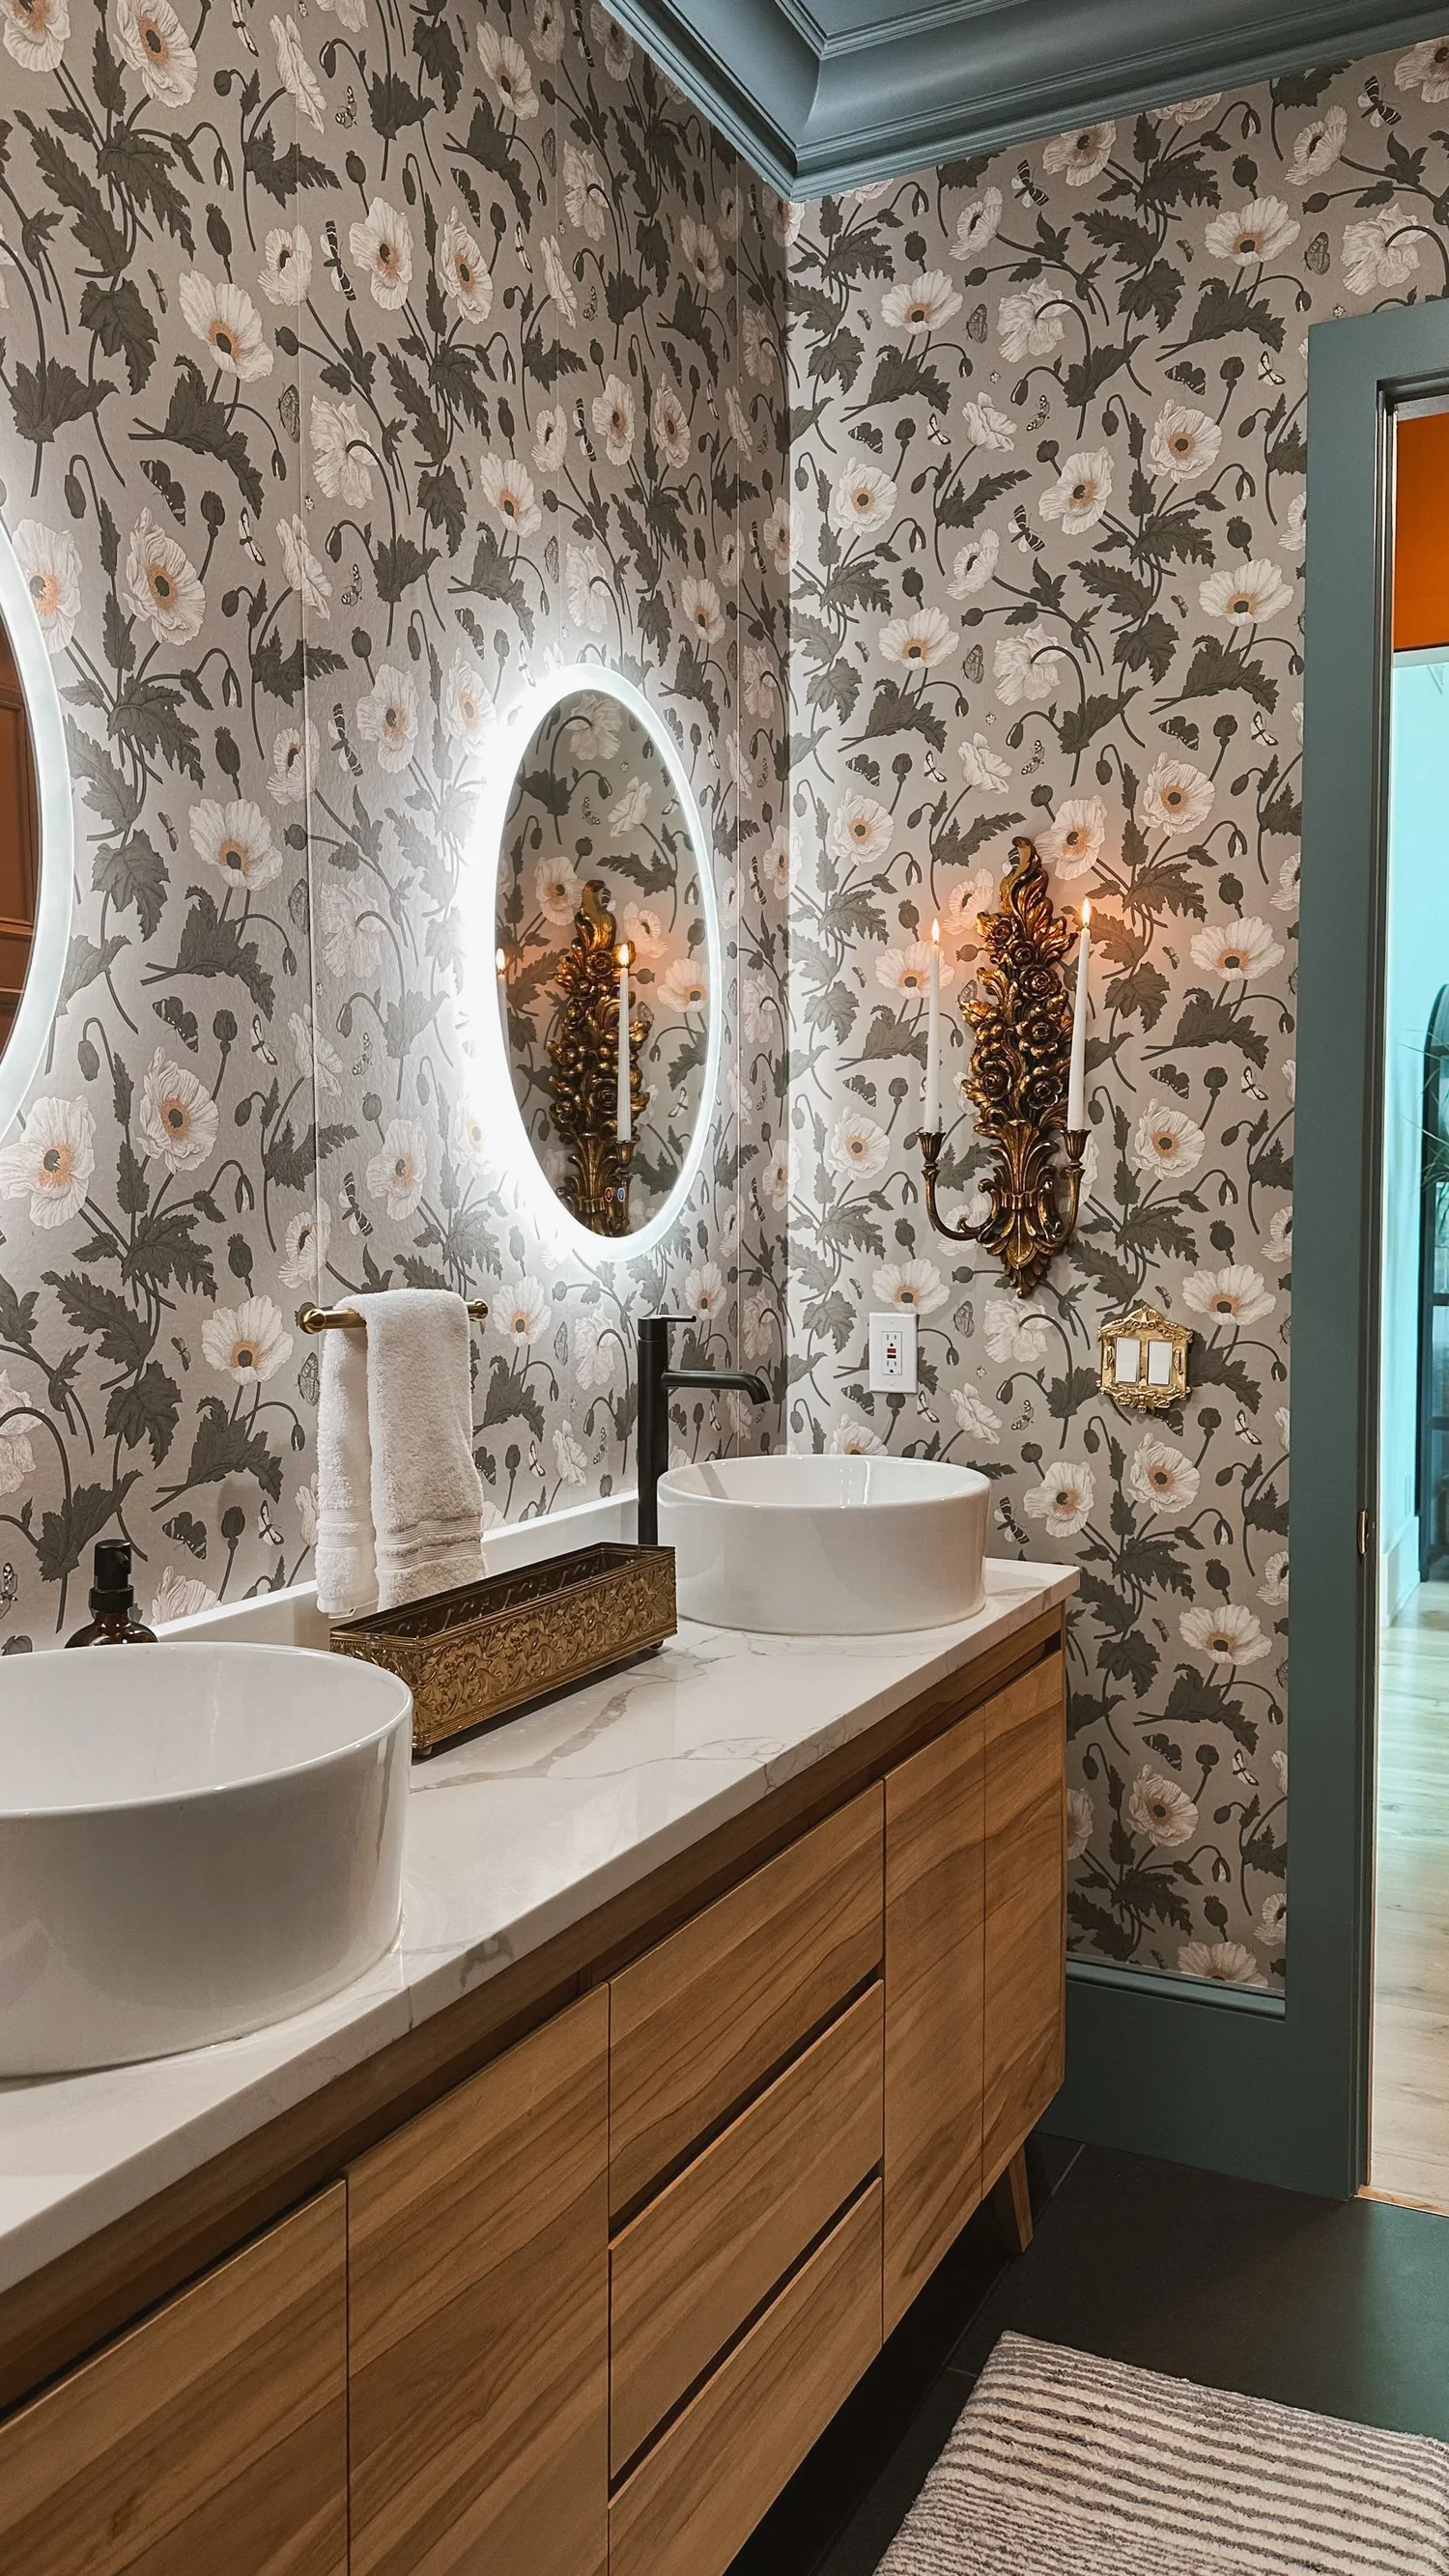
Let’s talk wallpaper! I have several rooms in my house covered in wallpaper and it’s a question I get asked about frequently!
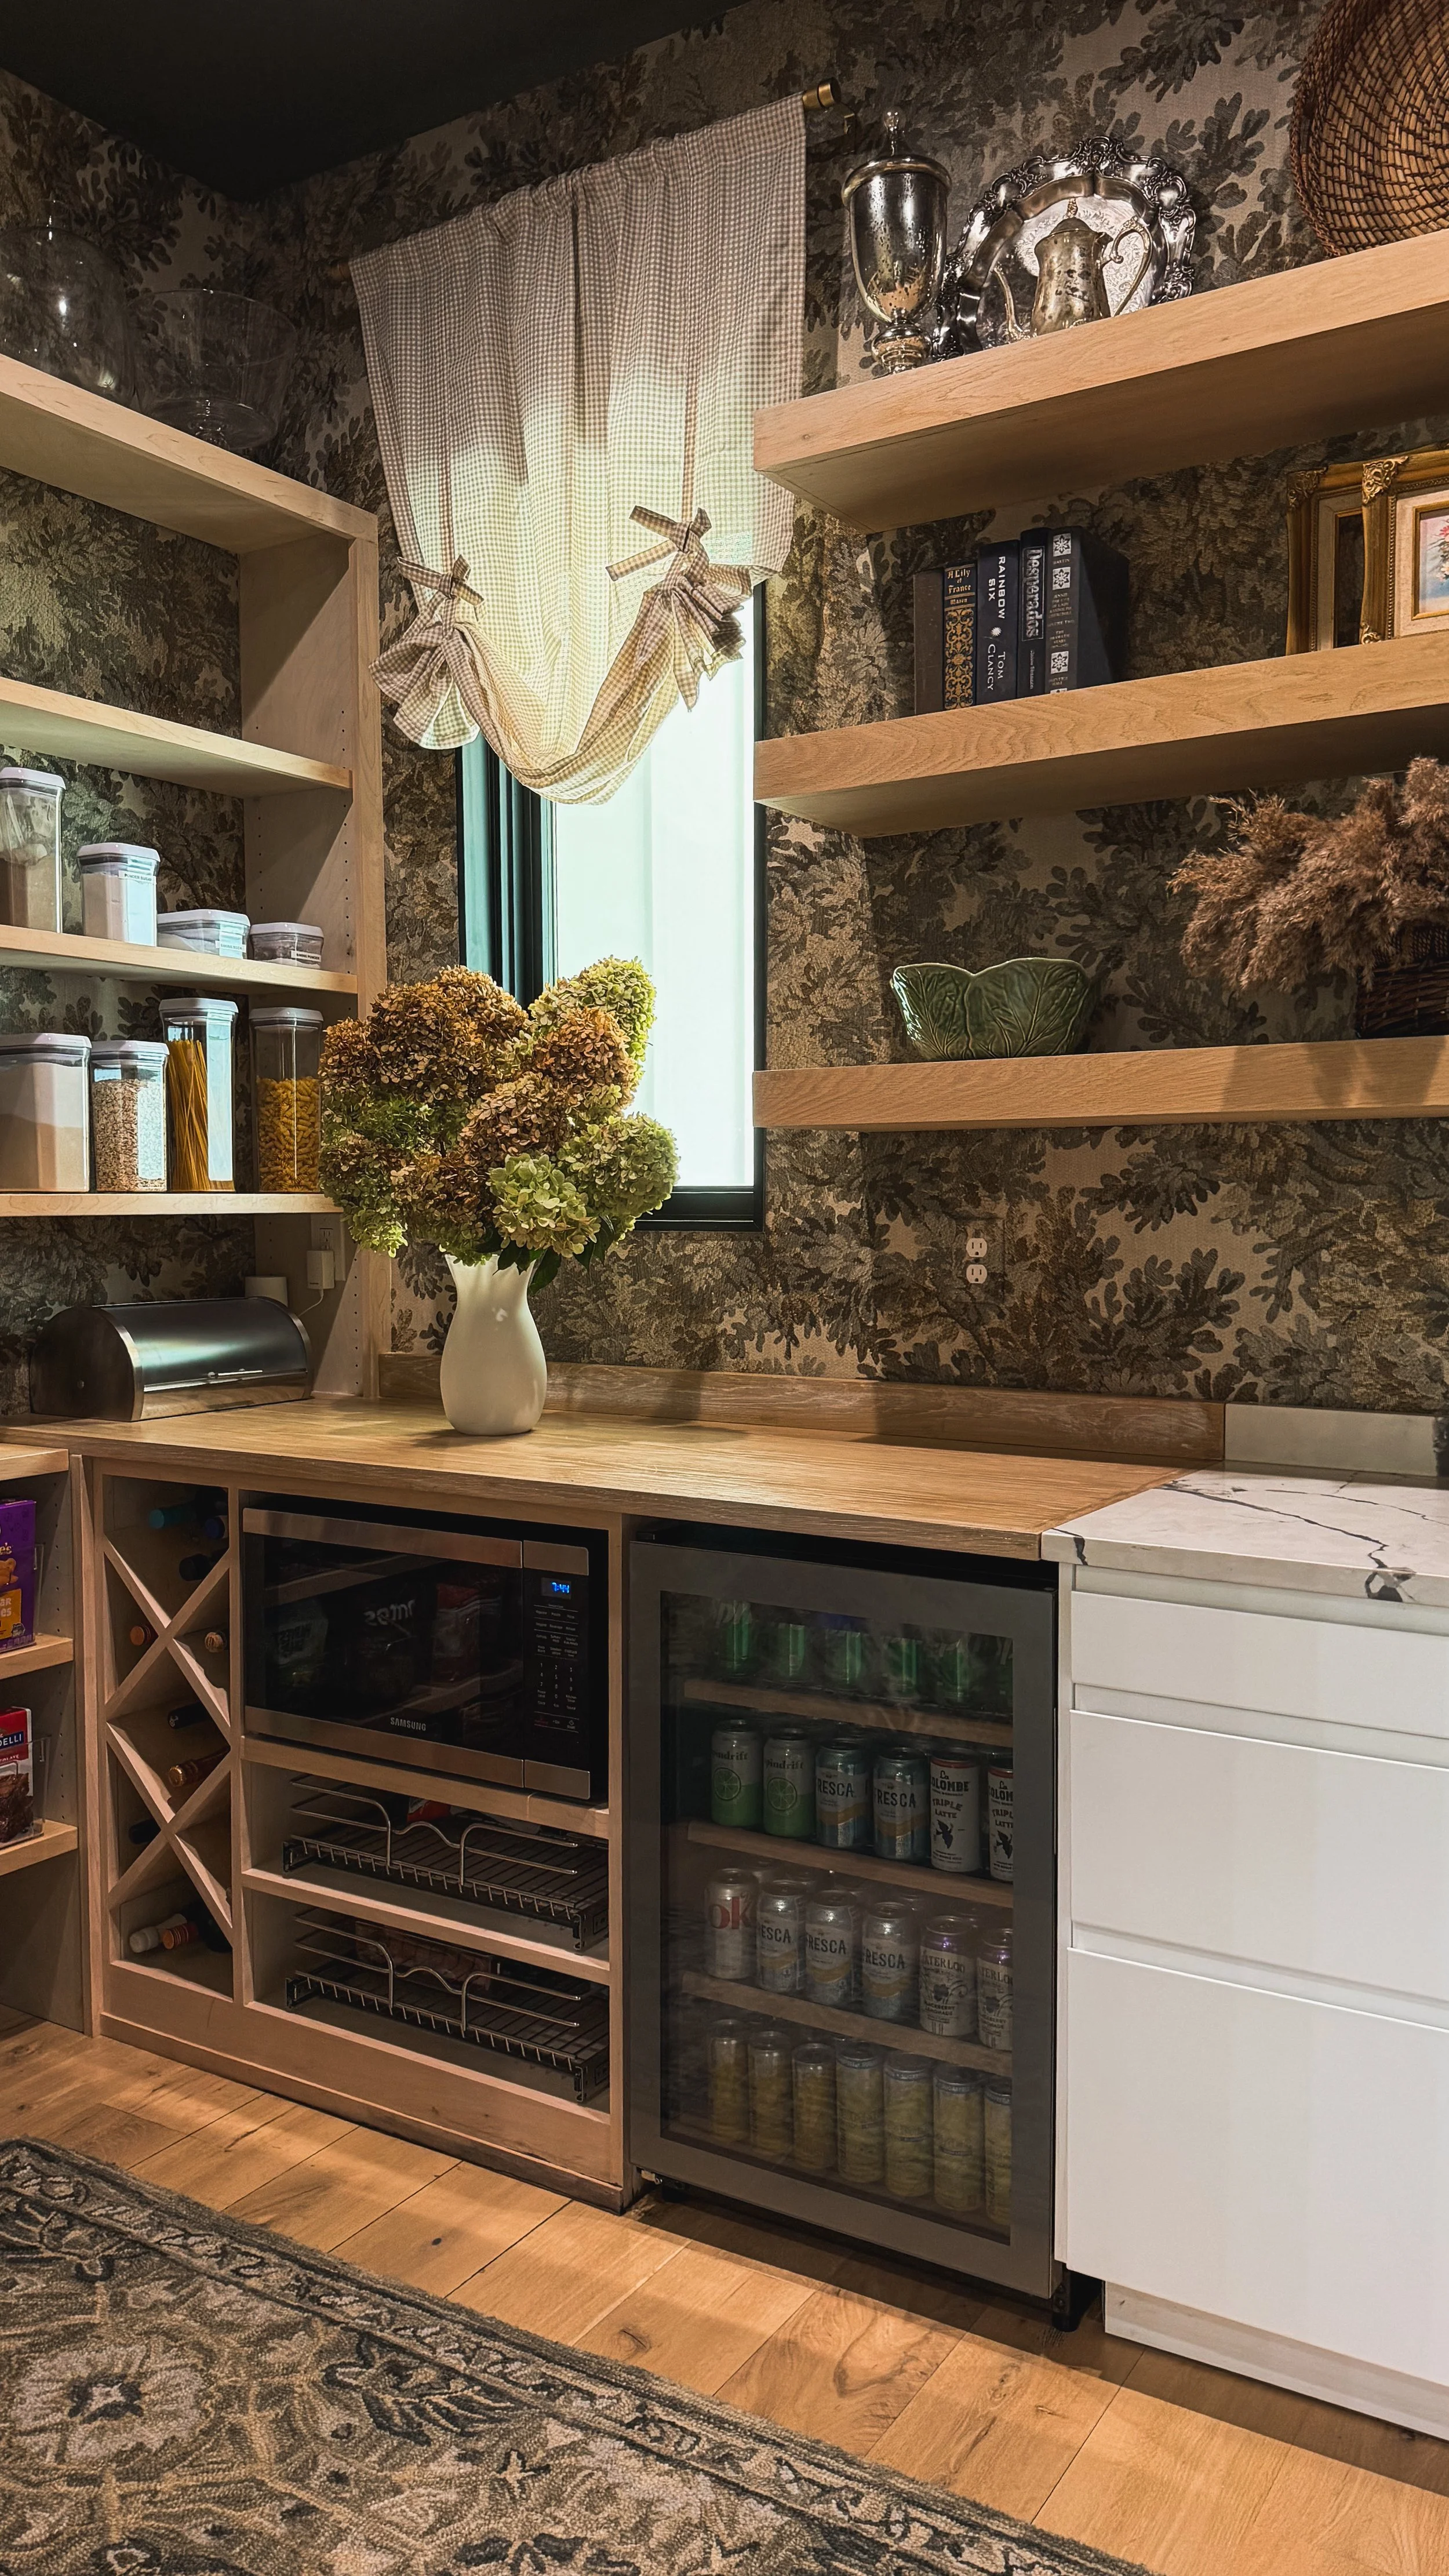
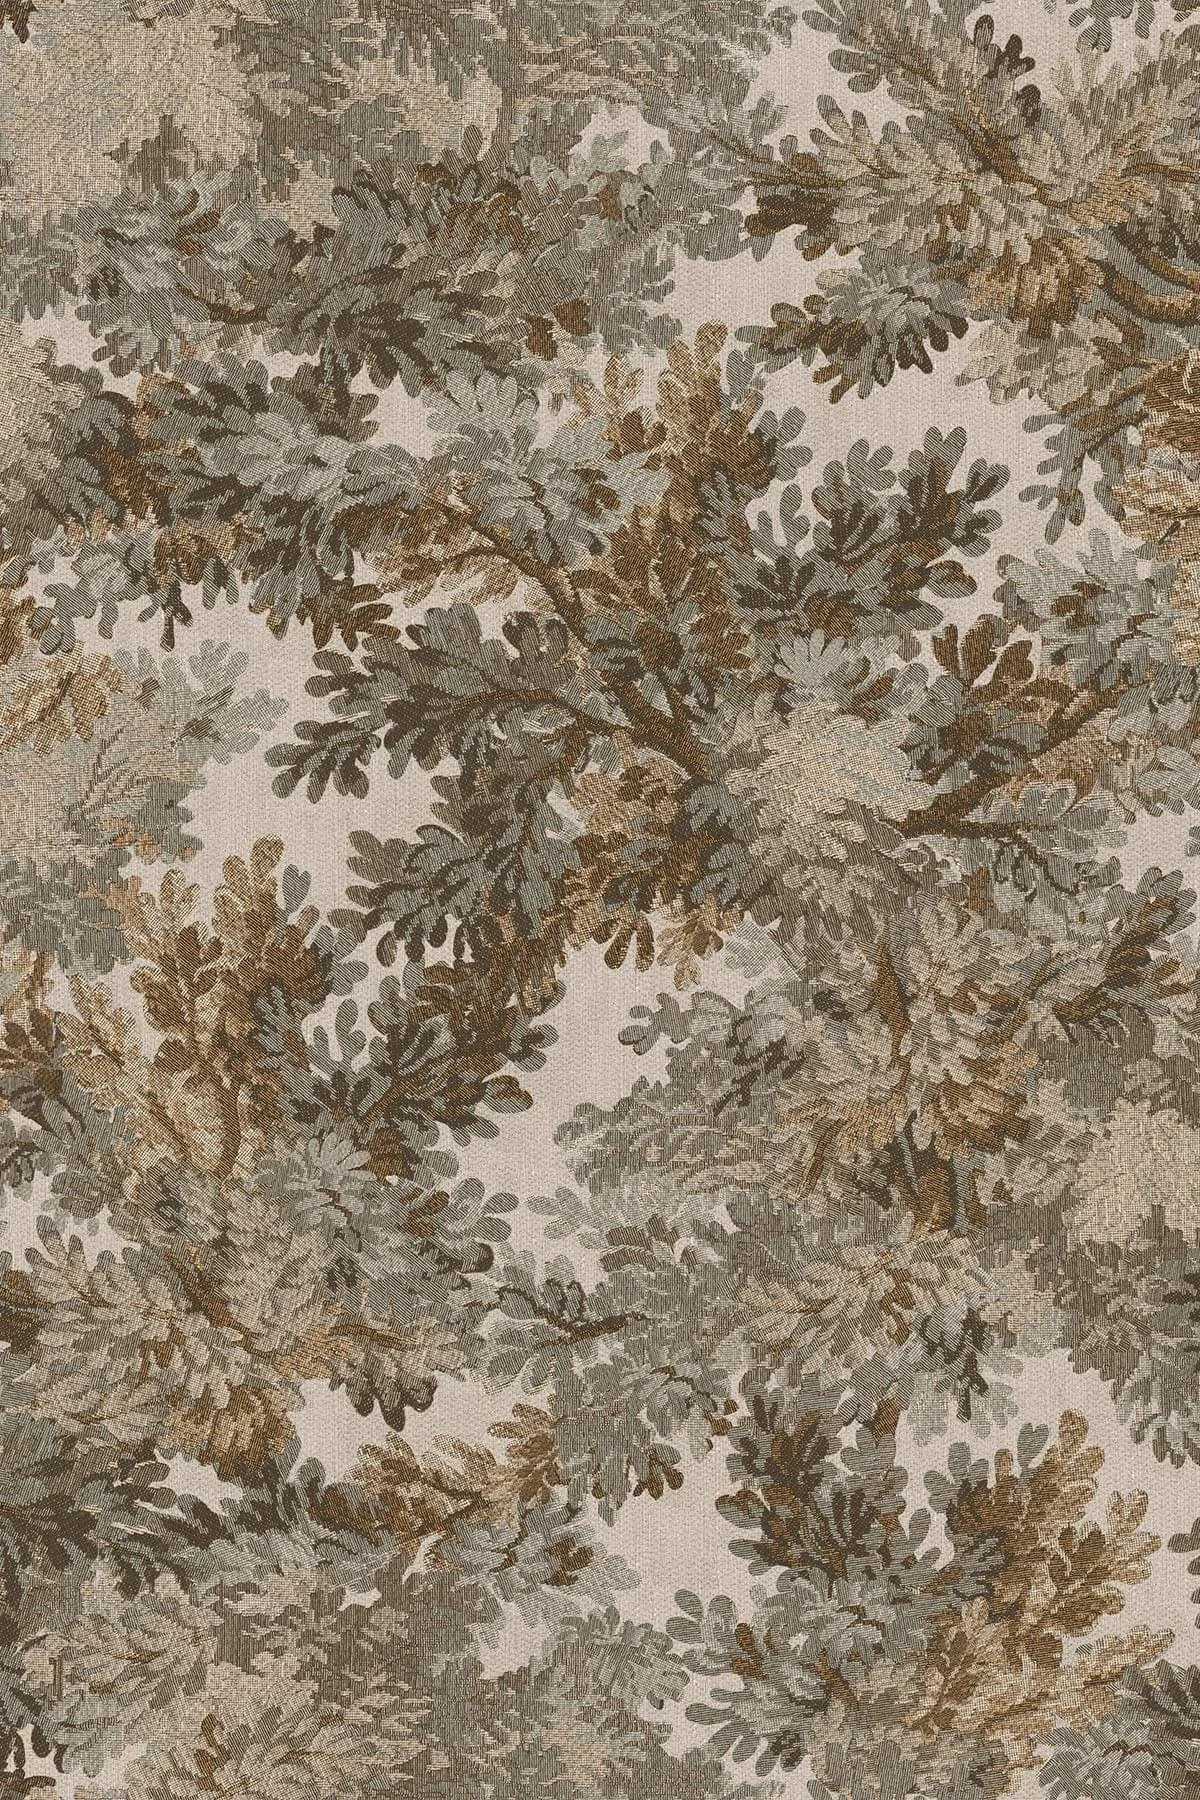
Tapestry Landscape Sky Light Olive
Tapestry Landscape Sky Light Olive is a permanent, traditional wallpaper. It’s thick, beautifully made, and definitely a commitment since it’s applied with wallpaper glue, but it has been the easiest wallpaper to install so far. I did a slightttt overlap between panels because I was nervous about the tiny bit of shrinkage I experienced with a previous wallpaper brand, but honestly, I don’t think it was necessary with this one. For installation, I followed the website directions and highly recommend this wallpaper install kit, wallpaper glue, a paint roller, laser level, and a damp sponge. And be prepared to change your blade A LOT. A super sharp blade makes a huge difference and is really important for getting clean cuts.
I paired it with Grounded by Behr paint on the trim, doors and ceiling,
2. forever & always
Forever and Always by Wallblush comes in a peel-and-stick option, but I used their Removable Luxe Traditional wallpaper. So far, I’ve found their Luxe Traditional to be the easiest temporary wallpaper I’ve worked with.
It’s a paste-the-wall removable wallpaper, and the adhesive is included. It’s designed to be installed with a butted joint, but I did notice the wallpaper shrank just a smidge as the paste dried, which left a few very thin gaps between panels. If I were installing it again, I’d do a tiny overlap, around 1–2 cm, to help prevent that.
I paired the wallpaper with a custom green paint color for the walls, doors and trim to match it perfectly, and I included a photo of the color match below.
Code LUTZGOHOME saves you 35% off!


3. Lucious Leopards by love vs design
Luscious Leopards by Love vs Design is a vinyl peel-and-stick wallpaper that I used in our powder bathroom. One of the best things about Love vs Design is that the wallpaper is completely customizable, so you can choose any color combination you’d like.
We used their “Smooth” finish, which is installed with a 1-inch overlap. If I could go back, I would probably try their Glissade or Woven option instead. I found the Smooth finish a little harder to work with because the material could stretch when I needed to peel it back and reposition it during installation.
Since this is a powder bathroom without a shower, I haven’t had the same humidity concerns here that I would with peel-and-stick wallpaper in a full bathroom.


4. Natalia by peel and paper
Natalia by Peel and Paper is a peel-and-stick wallpaper that I used in our guest bathroom (see it here). One of my favorite things about Peel and Paper is that you can customize the design with any color combination you’d like! I used their new matte paper in the “Peel and Stick Wallpaper” paper type (not vinyl), and I LOVE it. The panels are installed with a butted joint, so there’s no overlap between them. The custom color codes that I used for this design is in the photo below. I paired it with Norwegian Blue paint by Behr.
One note: I personally wouldn’t recommend peel-and-stick wallpaper in a bathroom that gets a lot of steam or humidity. Our shower is separated from the rest of the bathroom by a door, so the wallpaper usually stays protected, but that door has been left open before and the extra humidity did cause the wallpaper to start lifting slightly in a few spots.
Use code LUTZGOHOME10 to save 10%!