Using Wallpaper To Hide Your Light Switch Covers

Okay, this might be one of my favorite little DIYs I’ve done. In my office, I’ve got this gorgeous wallpaper going on, but the light switch cover was totally killing the vibe. It wasn’t cute or special, and it stuck out so much against the pattern.
So I covered it with leftover wallpaper. And now? It basically disappears into the wall, and I love it.
What You’ll Need:
Light switch cover
How to Do It:
Remove the light switch cover from the wall using a screwdriver.
Spray paint the screws if you want them to match the wallpaper better. Just do a quick coat and let them dry while you work on the rest.


3. Cut out a piece of wallpaper that’s a little larger than the switch plate.
4. Spray a very light layer of adhesive on the front of the cover.
5. Lay the cover onto the wallpaper, pressing it down gently but firmly.
6. Cut slits at the corners of the wallpaper so it can wrap neatly around the edges.
7. Fold the excess paper around to the back, smoothing it down as you go.
8. Snip away any extra flaps or overlapping corners so everything lays flat.


9. Use your knife to cut an “X” shape through the wallpaper over the actual light switch openings, and then fold those little flaps to the back too. You might need some extra adhesive to help them stick down.
10. Poke holes for the screws with the tip of your knife or scissors.
11. Screw it back onto the wall using your (now matching!) screws.


IF YOU ENJOYED THIS POST, YOU MIGHT BE INTERESTED IN the wallpaper i used in my home!
FOLLOW ME ON MY SOCIALS!

My best selling chandelier

This Chandelier Is in My Office — and It’s Also My Best Seller (for Good Reason)
Okay, I have to brag on this chandelier for a second — not only is it living its best life in my office, but it also happens to be my best-selling chandelier. And honestly? I get it. The hype is 100% deserved.
Let’s start with the look — it's modern, luxe, and just the right amount of sparkle. The gold finish isn’t too warm or too brassy, and the crystals give off the most beautiful light. It makes my office feel like a high-end design studio instead of just a workspace, which honestly boosts my mood (and my productivity).


I’m pretty handy with DIY, but electrical isn’t my thing. Although my husband got it put up with no problems - and I helped! If you’re into those instant gratification upgrades, this is it.
And judging by how many people have added it to their own homes, I’m not the only one who’s obsessed. Whether it’s going in an office, dining area, hallway, or even a luxe little closet setup, this piece just works. It’s bold but not overwhelming, glam but still approachable.
So yes — I’m absolutely that person working under a chandelier, and I wouldn't have it any other way. You can snag it here if you’re ready for a space glow-up.
Curious about the wallpaper? Check out this blog post.
Curious about the paint colors? They are custom, read more about them here!

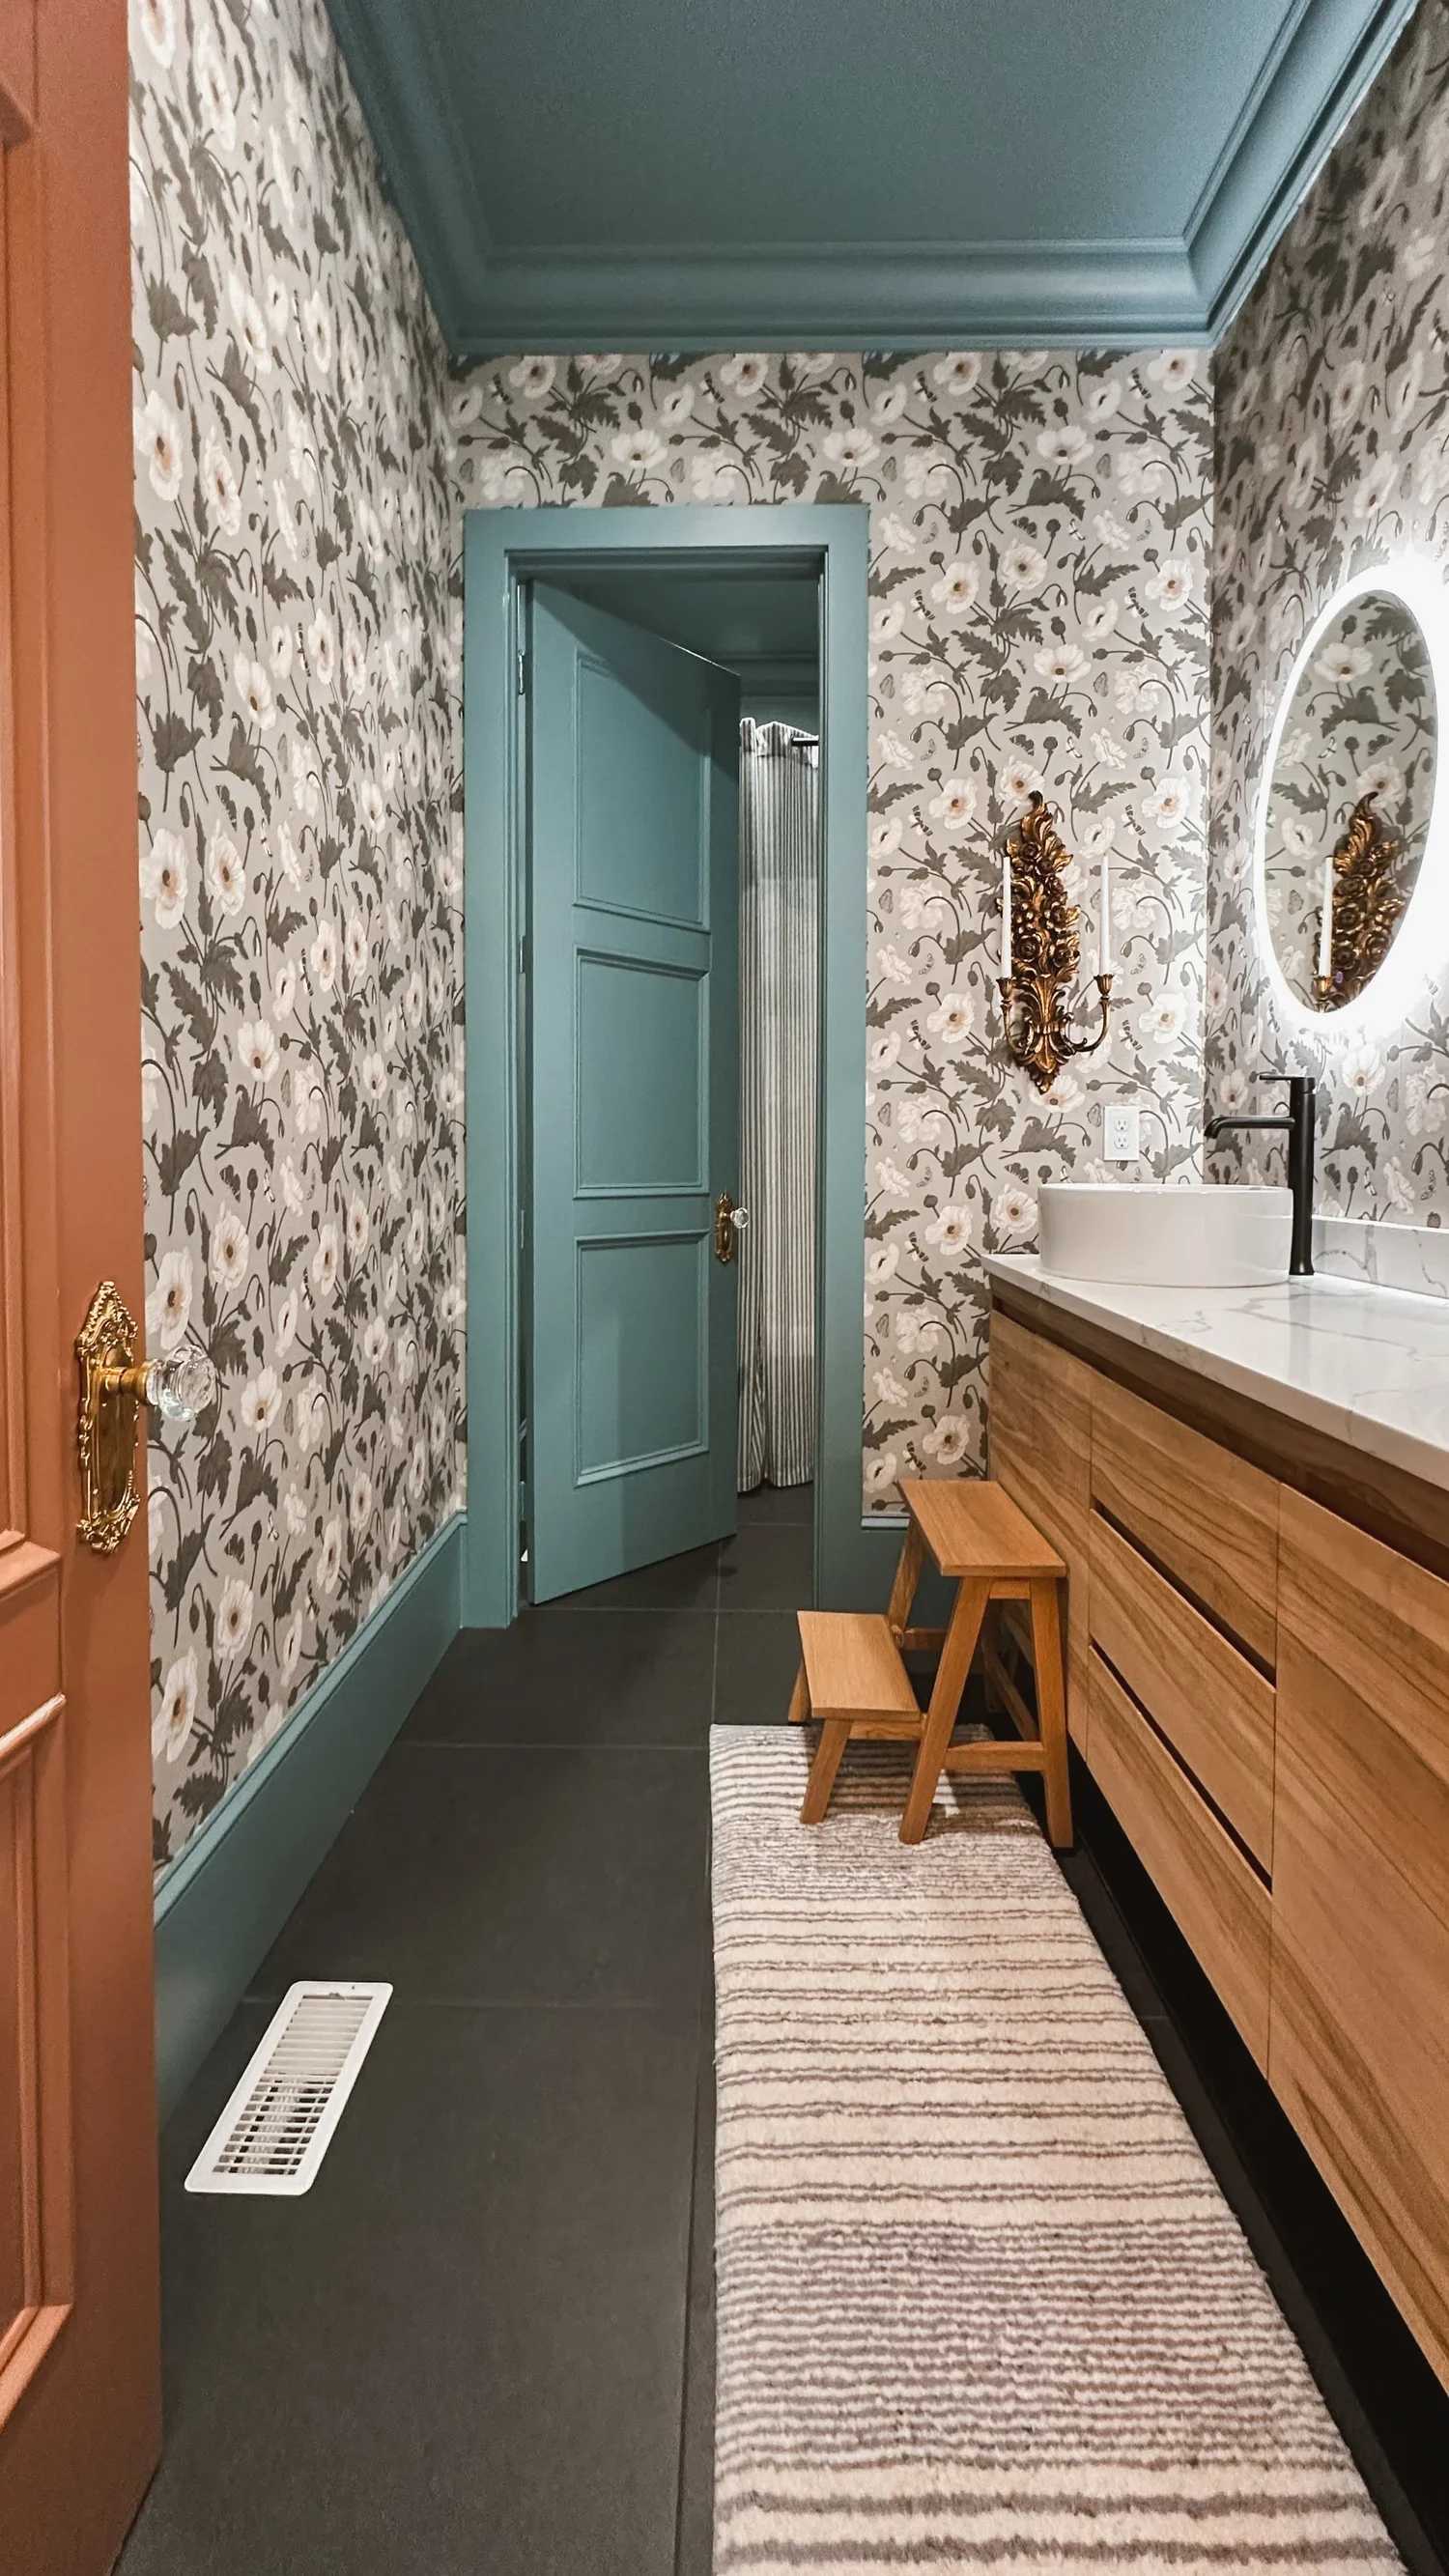
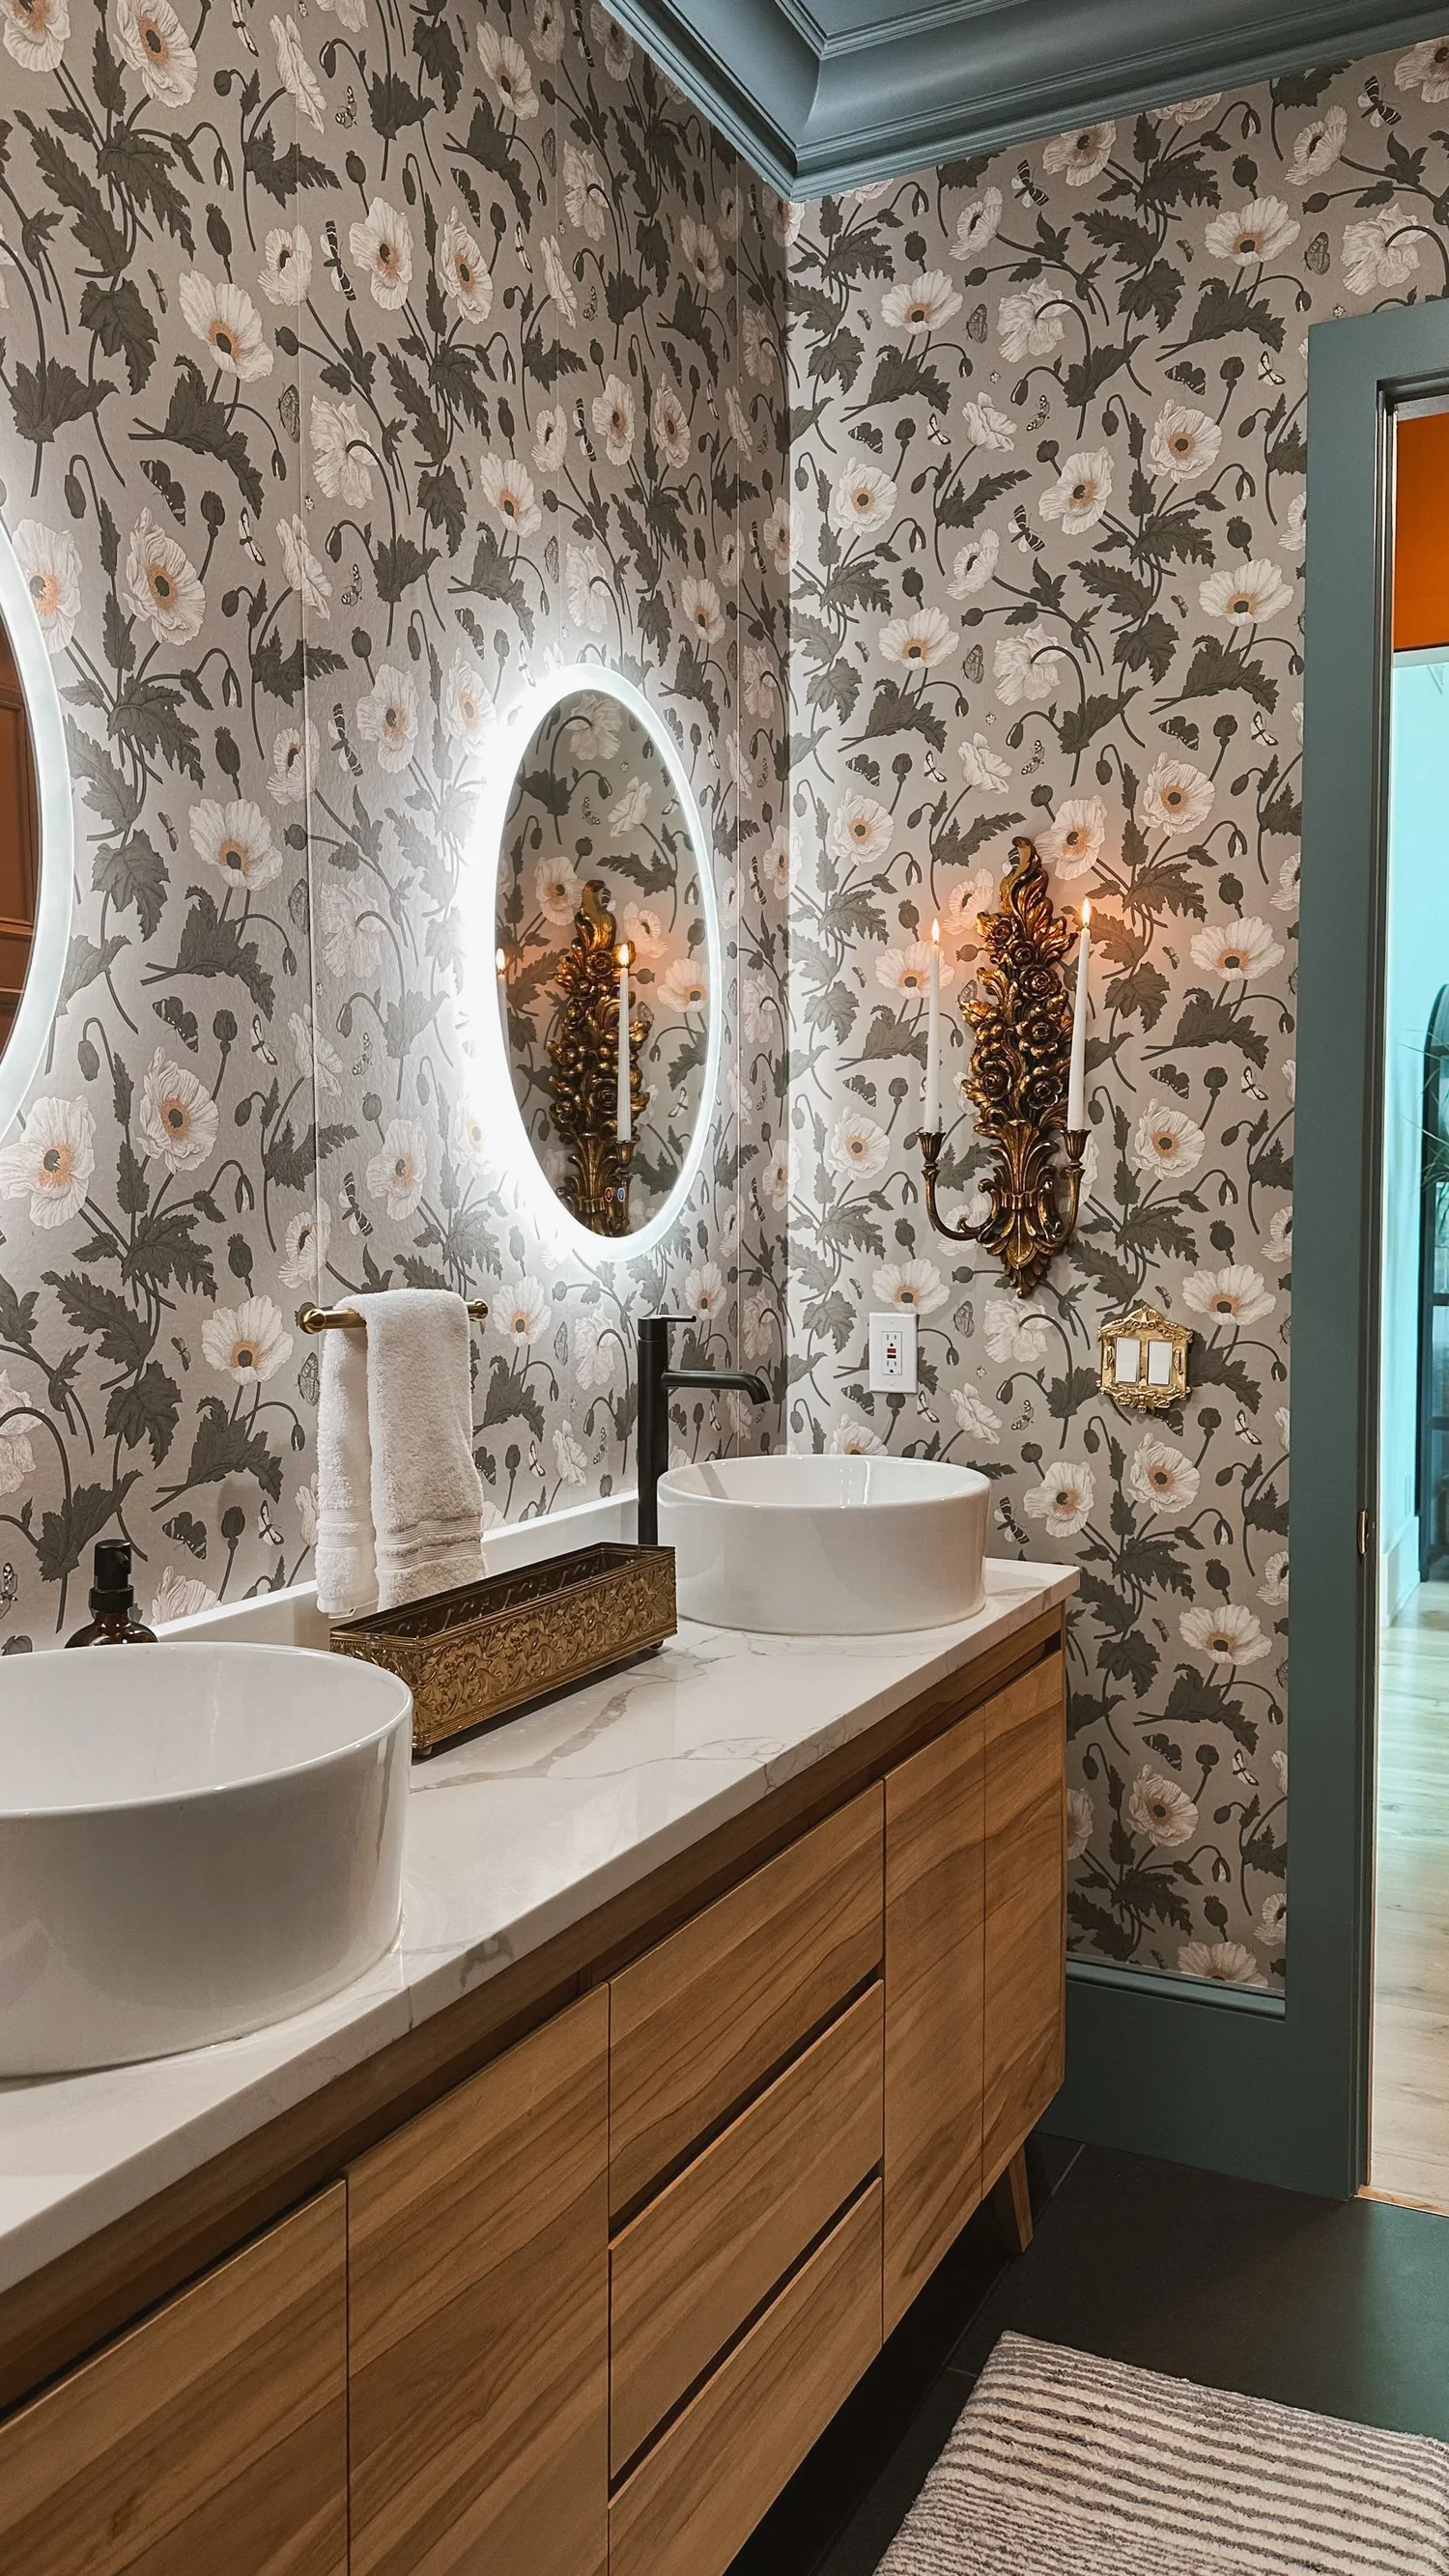
Blue Floral Bathroom Makeover
A Blue Floral Bathroom Makeover: From Stark White to Stunning!
There’s nothing quite like a fresh, stylish bathroom makeover to completely transform a space! When I started this project, I knew I wanted something bold yet elegant, and the moment I saw the Natalia by Peel and Paper wallpaper, I was hooked. This gorgeous blue floral pattern was the perfect starting point, and with Peel and Paper’s customizable color options, I was able to make it truly my own! Plus, their matte peel-and-stick paper (not vinyl!) offers a seamless butted joint application—no overlap! If you’re looking to try it yourself, don’t forget to use code LUTZGOHOME10 for 10% off!


Finding the Perfect Paint Match
The next step was finding the ideal paint color to complement the wallpaper, and let me tell you—it was no easy task! I knew I wanted something that would enhance the beautiful floral design without overpowering it, so I narrowed it down to a few options (as seen in the image). After testing several shades and seeing how they played with the natural lighting in the space, I ultimately landed on Norwegian Blue by Behr in an eggshell sheen.
This soft yet rich tone struck the perfect balance—it adds depth and contrast while still feeling cohesive with the wallpaper’s muted greens, warm neutrals, and subtle pops of color. The eggshell finish gives it just the right amount of sophistication, offering a slight sheen without being too reflective.


Elevating the Details: Base Cap molding
Once I had my color scheme set, I turned my focus to adding base cap molding to the baseboards and doors. This small but impactful detail adds an extra layer of character and polish to the space, giving it a more refined and custom look. Base cap molding enhances the depth and dimension of standard baseboards, making them appear more substantial and decorative without requiring a full replacement. It’s one of those subtle upgrades that might not immediately stand out but makes a huge difference in the overall feel of a room.
If you’re considering this, it’s an easy and budget-friendly DIY project that can completely transform your space. With just a little measuring, cutting, and nailing, you can give your baseboards and door frames a high-end, finished look. Plus, it’s a great way to add charm to older homes or bring more architectural interest to newer builds. Whether you prefer a sleek, modern vibe or a more traditional aesthetic, base cap molding is a simple yet effective way to elevate your home’s design. Trust me—it’s a small detail that makes a big impact!


Elevating the Details: Crown Molding
After that I moved on to one of my favorite design elements—crown molding! There’s just something about adding that extra touch at the top of a room that makes everything feel more polished and elegant. Not only does crown molding elevate the overall look, but it also has a little design magic to it—it draws the eye upward, creating the illusion of a taller ceiling and a more spacious room.
One of my favorite tricks when working with crown molding is to paint it the same color as the ceiling. This simple choice creates a smooth, seamless transition between the walls and ceiling, making the space feel more open and cohesive. Plus, it softens the contrast between surfaces, giving the room a light and airy feel rather than a choppy, broken-up look. Whether you’re working with a traditional or modern space, crown molding is an easy way to add a timeless touch of sophistication. If you’ve been thinking about adding it to your home, I say go for it—you’ll love the difference it makes!
For an in-depth tutorial on crown molding check out this post: How To: Crown Molding!


Painting & Wallpaper Application
With the molding complete, it was time to paint! I always recommend painting first before applying wallpaper—this way, you don’t have to worry about accidentally getting paint on your beautiful new wallpaper. Once the walls were dry, I installed the peel-and-stick wallpaper, and wow—what a transformation


A Simple Trick for a Luxe, Spacious Bathroom
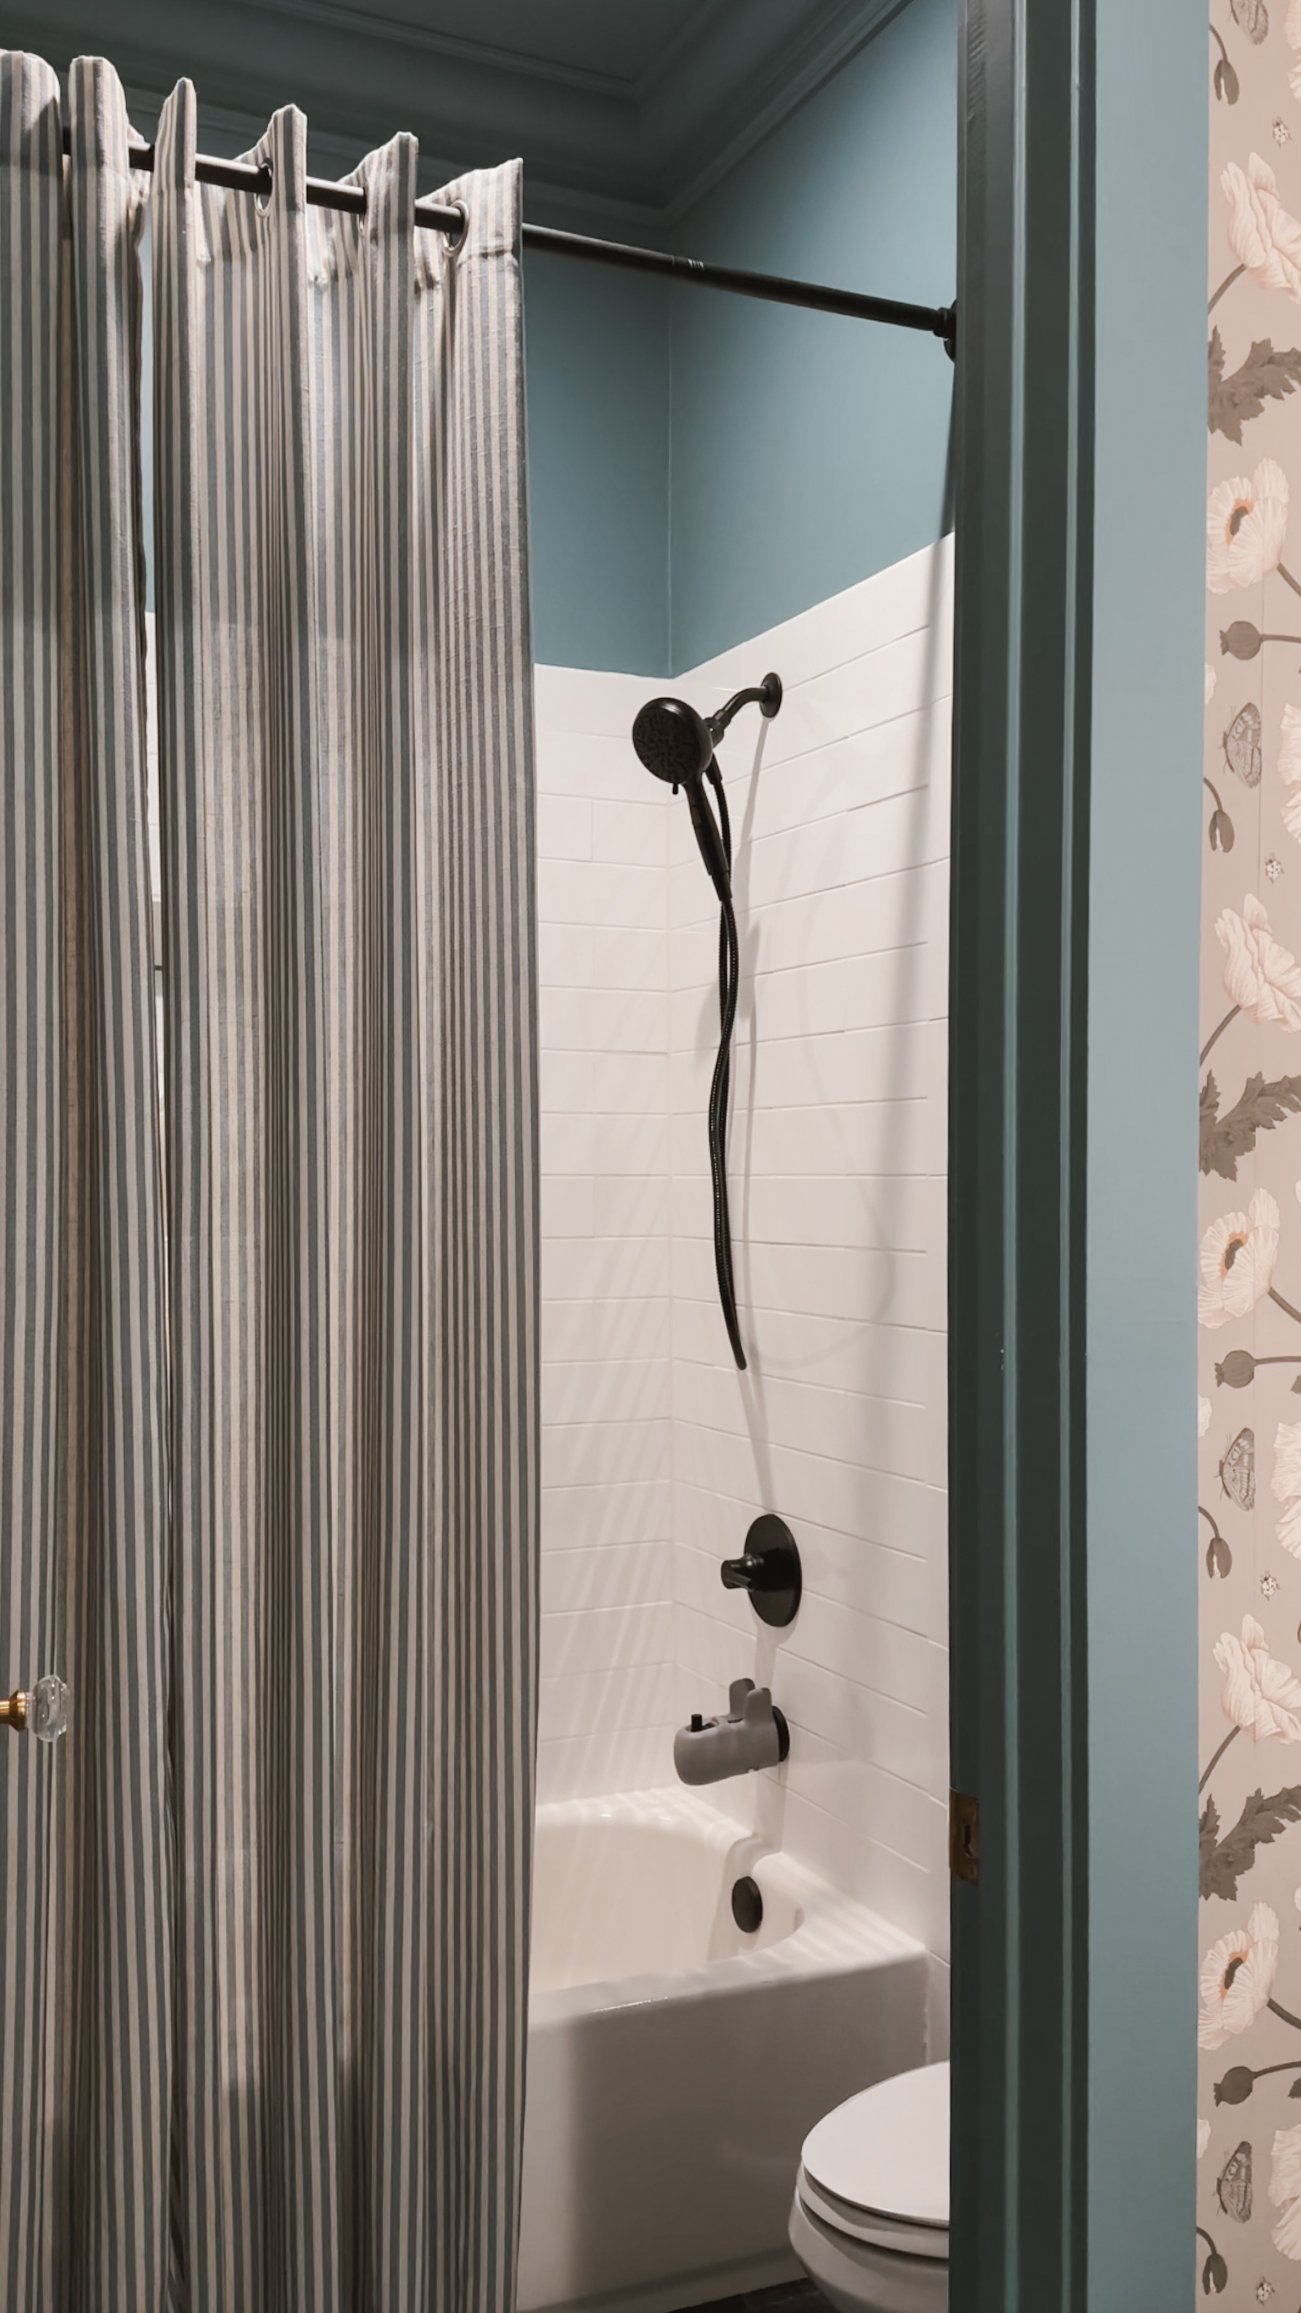
One of the biggest game-changers in making this bathroom feel larger was raising the shower curtain rod higher than the standard height. This simple yet effective trick draws the eye upward, creating the illusion of taller ceilings and a more spacious room. It’s amazing how such a small adjustment can completely transform the feel of a space!
To take it a step further, I decided to skip the traditional shower curtain and instead use a set of regular curtains from Amazon, layering them with an extra-long, no-hook shower liner behind them. Not only does this setup add height and drama, but it also gives the bathroom a more elegant, custom feel—almost like a luxe hotel or boutique spa. The added length and fuller drape of the curtains make the space feel intentional and polished rather than just functional.
If you’re looking for a simple way to elevate your bathroom’s design, I highly recommend trying this trick. It’s a budget-friendly upgrade that makes a big visual impact and instantly gives your bathroom a more refined, high-end look!

Amazon Favorites From This Makeover
I found a couple of standout Amazon vintage-inspired items that really helped pull this makeover together:


The Final Look
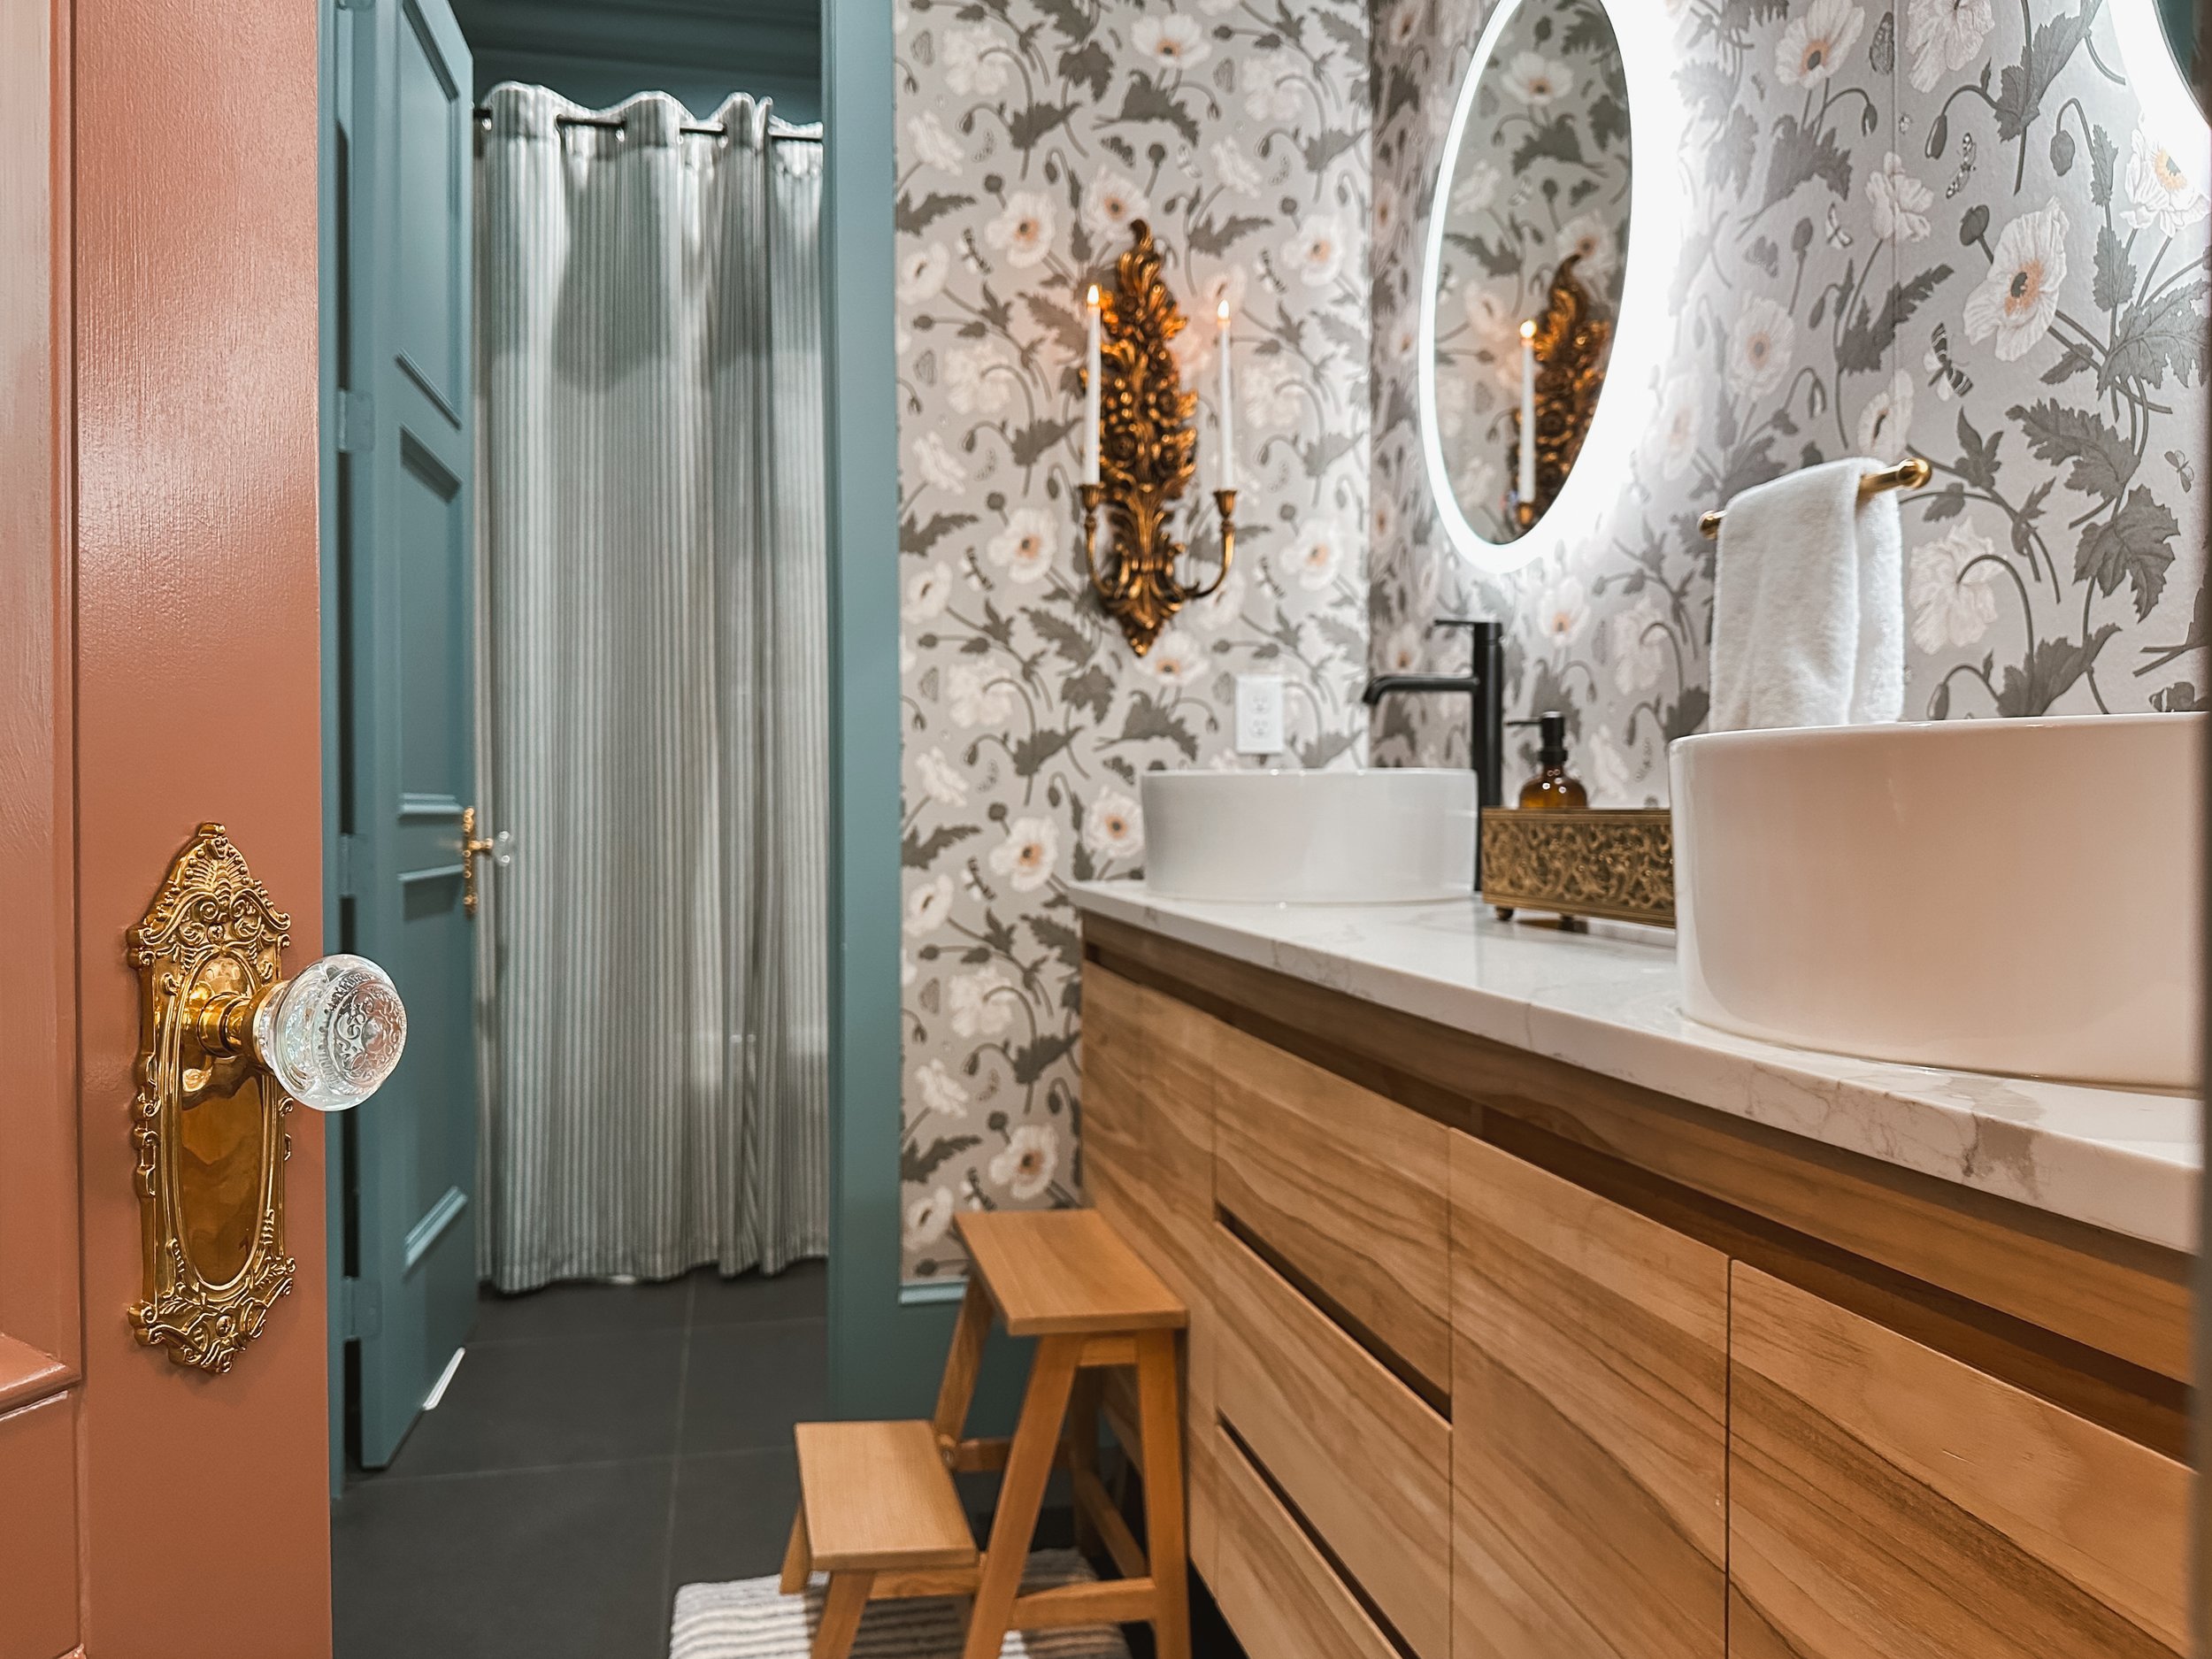
This bathroom started as a plain white box, and now it feels like a boutique hotel retreat! The combination of striking wallpaper, rich blue paint, elegant moldings, and thoughtful details created a space that feels both fresh and timeless. If you’re considering a bathroom refresh, don’t be afraid to go bold—a little color and pattern can completely change the vibe of your space!
What do you think of this transformation? Would you try a bold wallpaper in your bathroom? Let me know if you do!


Links at a glance
IF YOU ENJOYED THIS POST, YOU MIGHT BE INTERESTED IN my how TO: Crown MoUlding post.
FOLLOW ME ON MY SOCIALS!

Wallpaper Details
Let’s talk wallpaper! I have several rooms in my house covered in wallpaper and it’s a question I get asked about frequently!
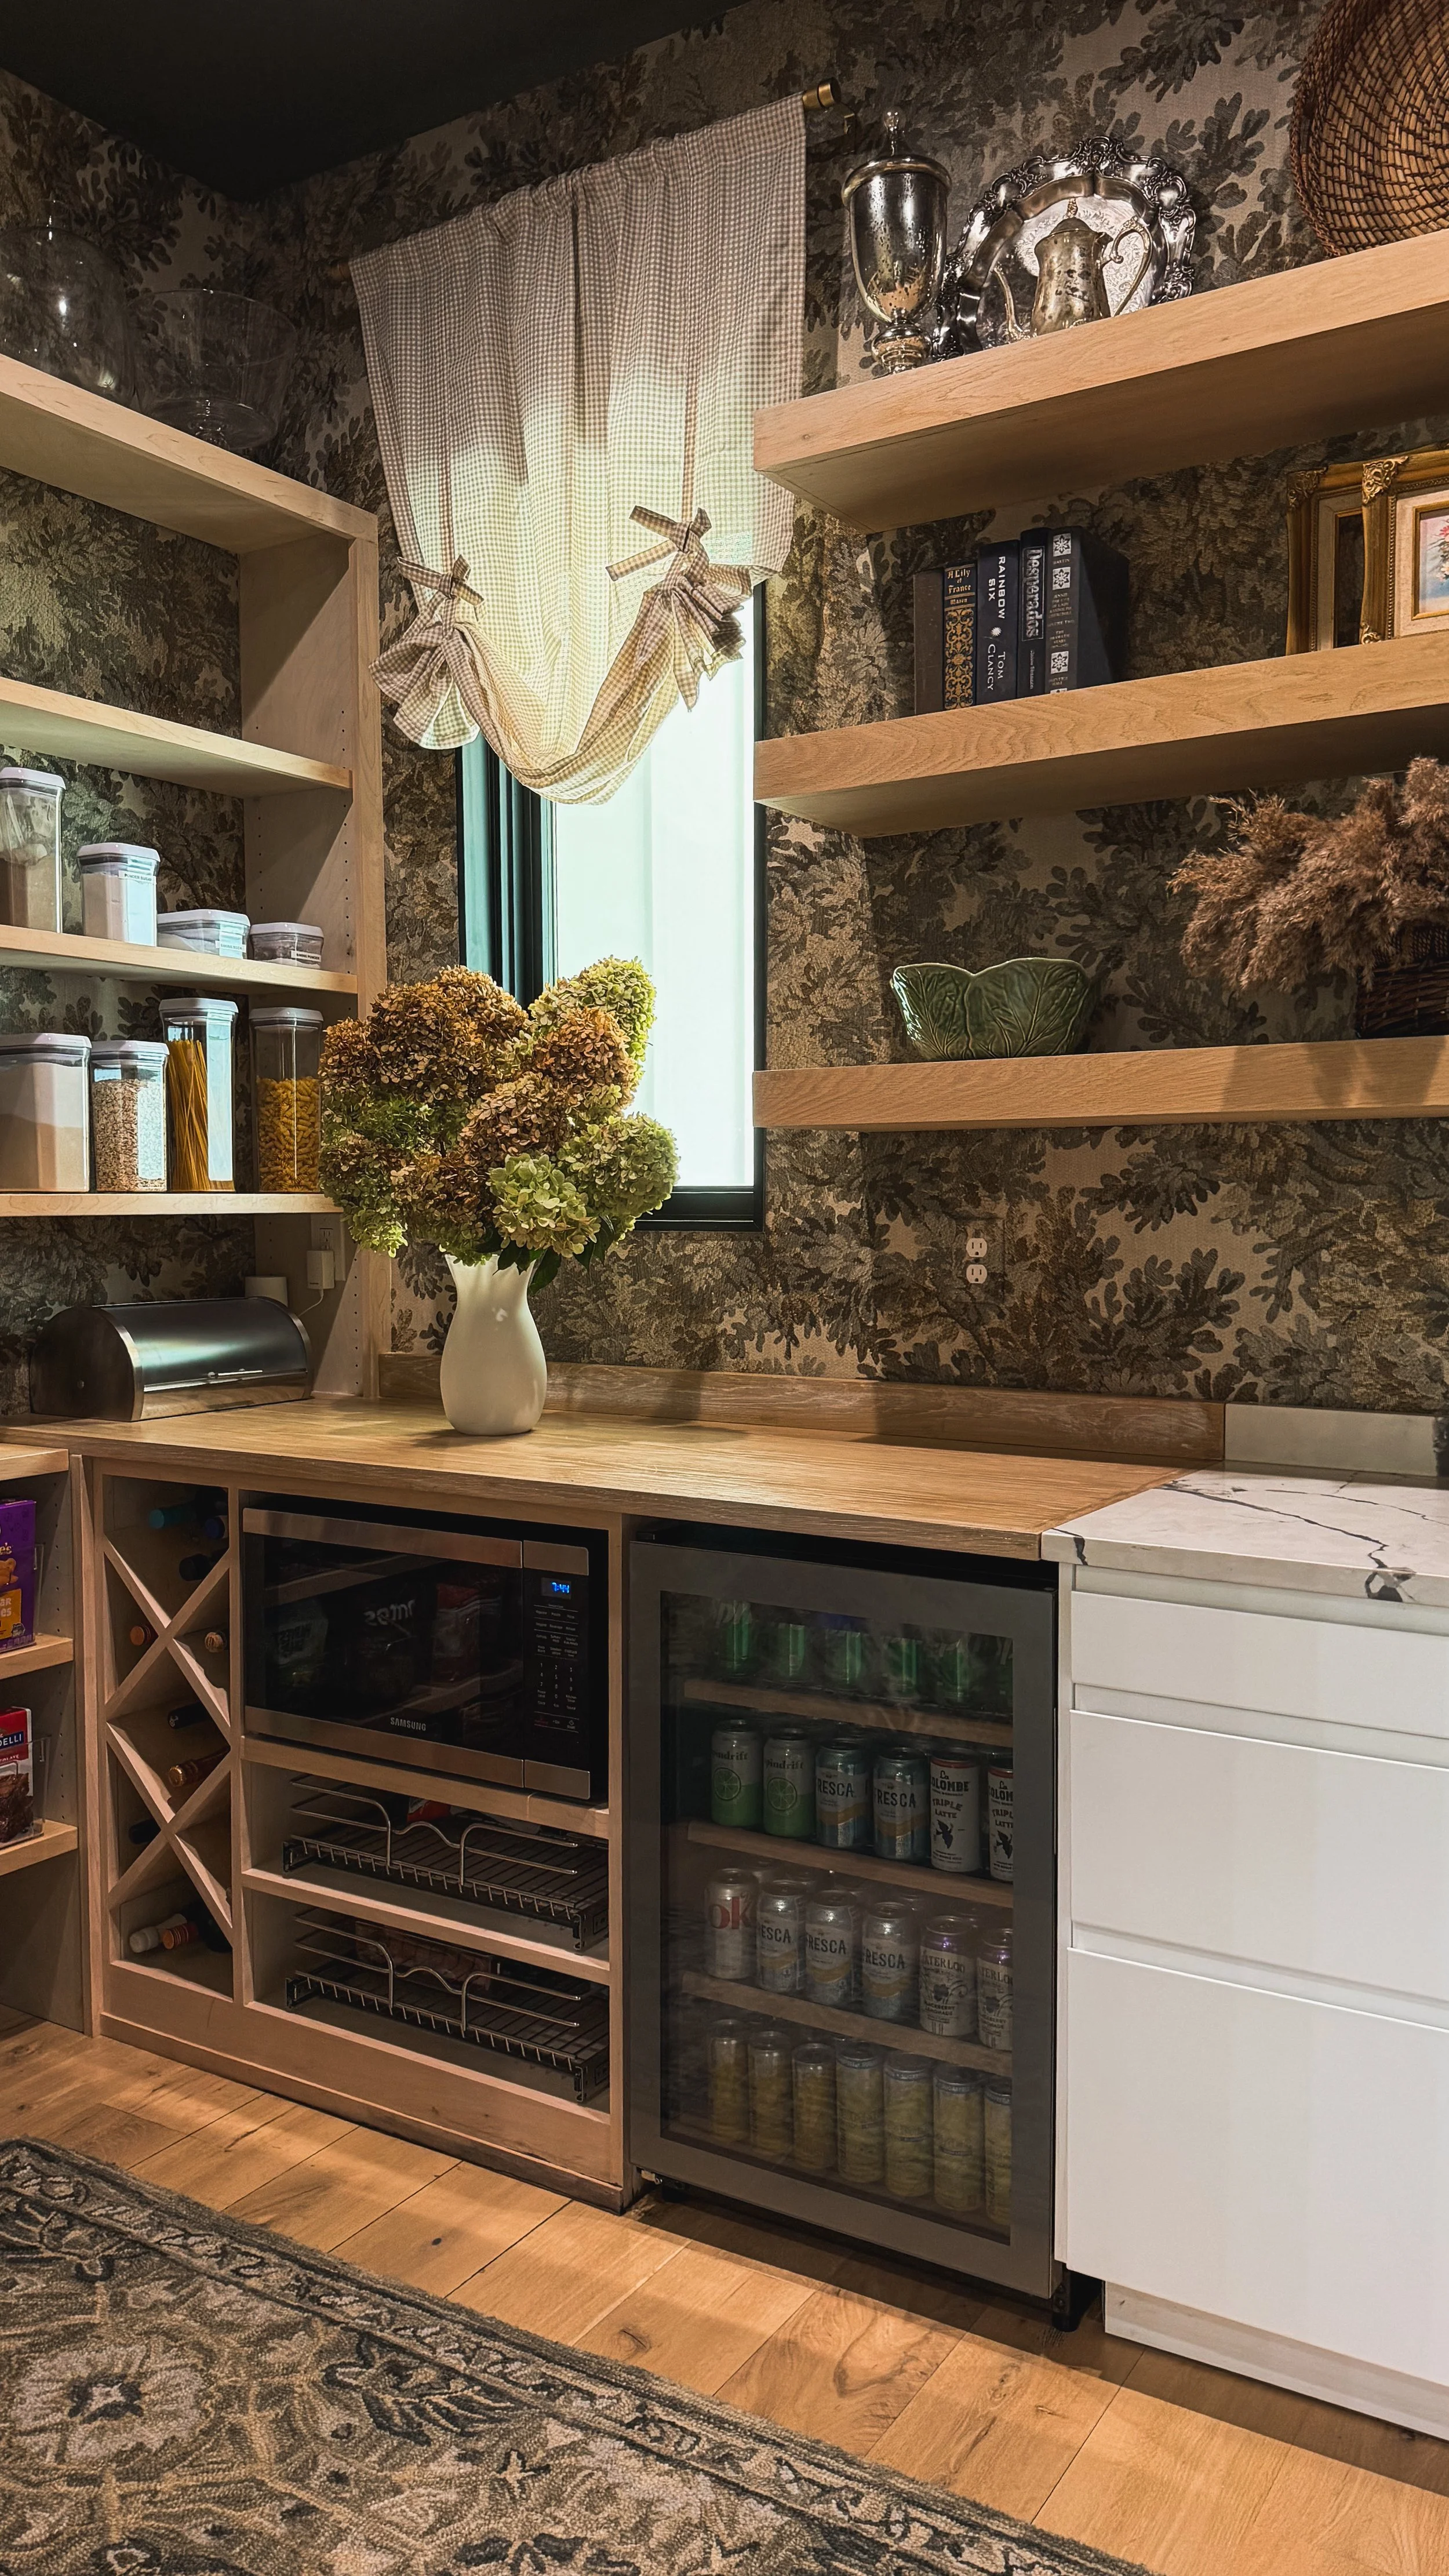
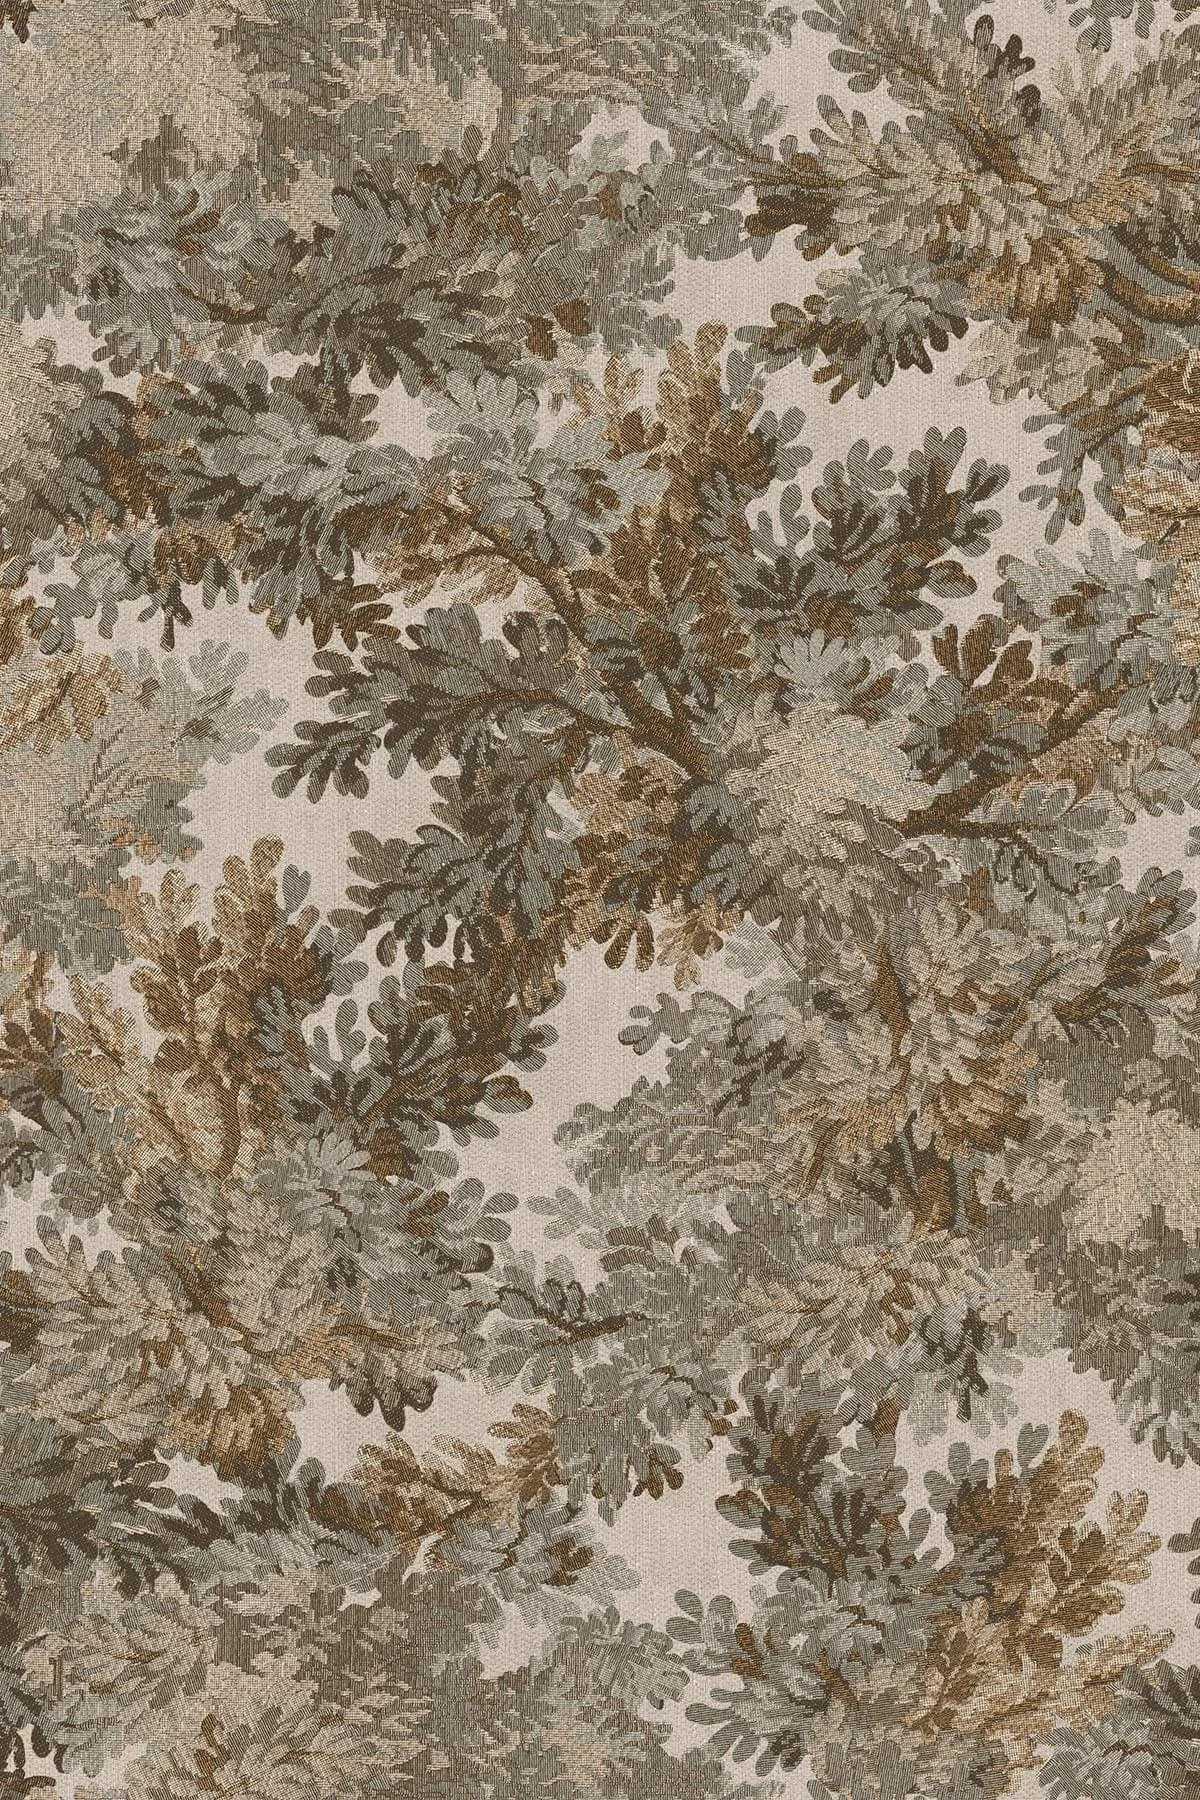
Tapestry Landscape Sky Light Olive
Tapestry Landscape Sky Light Olive is a permanent, traditional wallpaper. It’s thick, beautifully made, and definitely a commitment since it’s applied with wallpaper glue, but it has been the easiest wallpaper to install so far. I did a slightttt overlap between panels because I was nervous about the tiny bit of shrinkage I experienced with a previous wallpaper brand, but honestly, I don’t think it was necessary with this one. For installation, I followed the website directions and highly recommend this wallpaper install kit, wallpaper glue, a paint roller, laser level, and a damp sponge. And be prepared to change your blade A LOT. A super sharp blade makes a huge difference and is really important for getting clean cuts.
I paired it with Grounded by Behr paint on the trim, doors and ceiling,
2. forever & always
Forever and Always by Wallblush comes in a peel-and-stick option, but I used their Removable Luxe Traditional wallpaper. So far, I’ve found their Luxe Traditional to be the easiest temporary wallpaper I’ve worked with.
It’s a paste-the-wall removable wallpaper, and the adhesive is included. It’s designed to be installed with a butted joint, but I did notice the wallpaper shrank just a smidge as the paste dried, which left a few very thin gaps between panels. If I were installing it again, I’d do a tiny overlap, around 1–2 cm, to help prevent that.
I paired the wallpaper with a custom green paint color for the walls, doors and trim to match it perfectly, and I included a photo of the color match below.
Code LUTZGOHOME saves you 35% off!


3. Lucious Leopards by love vs design
Luscious Leopards by Love vs Design is a vinyl peel-and-stick wallpaper that I used in our powder bathroom. One of the best things about Love vs Design is that the wallpaper is completely customizable, so you can choose any color combination you’d like.
We used their “Smooth” finish, which is installed with a 1-inch overlap. If I could go back, I would probably try their Glissade or Woven option instead. I found the Smooth finish a little harder to work with because the material could stretch when I needed to peel it back and reposition it during installation.
Since this is a powder bathroom without a shower, I haven’t had the same humidity concerns here that I would with peel-and-stick wallpaper in a full bathroom.


4. Natalia by peel and paper
Natalia by Peel and Paper is a peel-and-stick wallpaper that I used in our guest bathroom (see it here). One of my favorite things about Peel and Paper is that you can customize the design with any color combination you’d like! I used their new matte paper in the “Peel and Stick Wallpaper” paper type (not vinyl), and I LOVE it. The panels are installed with a butted joint, so there’s no overlap between them. The custom color codes that I used for this design is in the photo below. I paired it with Norwegian Blue paint by Behr.
One note: I personally wouldn’t recommend peel-and-stick wallpaper in a bathroom that gets a lot of steam or humidity. Our shower is separated from the rest of the bathroom by a door, so the wallpaper usually stays protected, but that door has been left open before and the extra humidity did cause the wallpaper to start lifting slightly in a few spots.
Use code LUTZGOHOME10 to save 10%!