A Detail I Keep Adding To Every Room Makeover
A year and a half ago, I set out to transform our all-white rooms into spaces filled with color, personality, and warmth. Now, I’m on to room number six, and there’s one detail that ties them all together—new doorknobs.

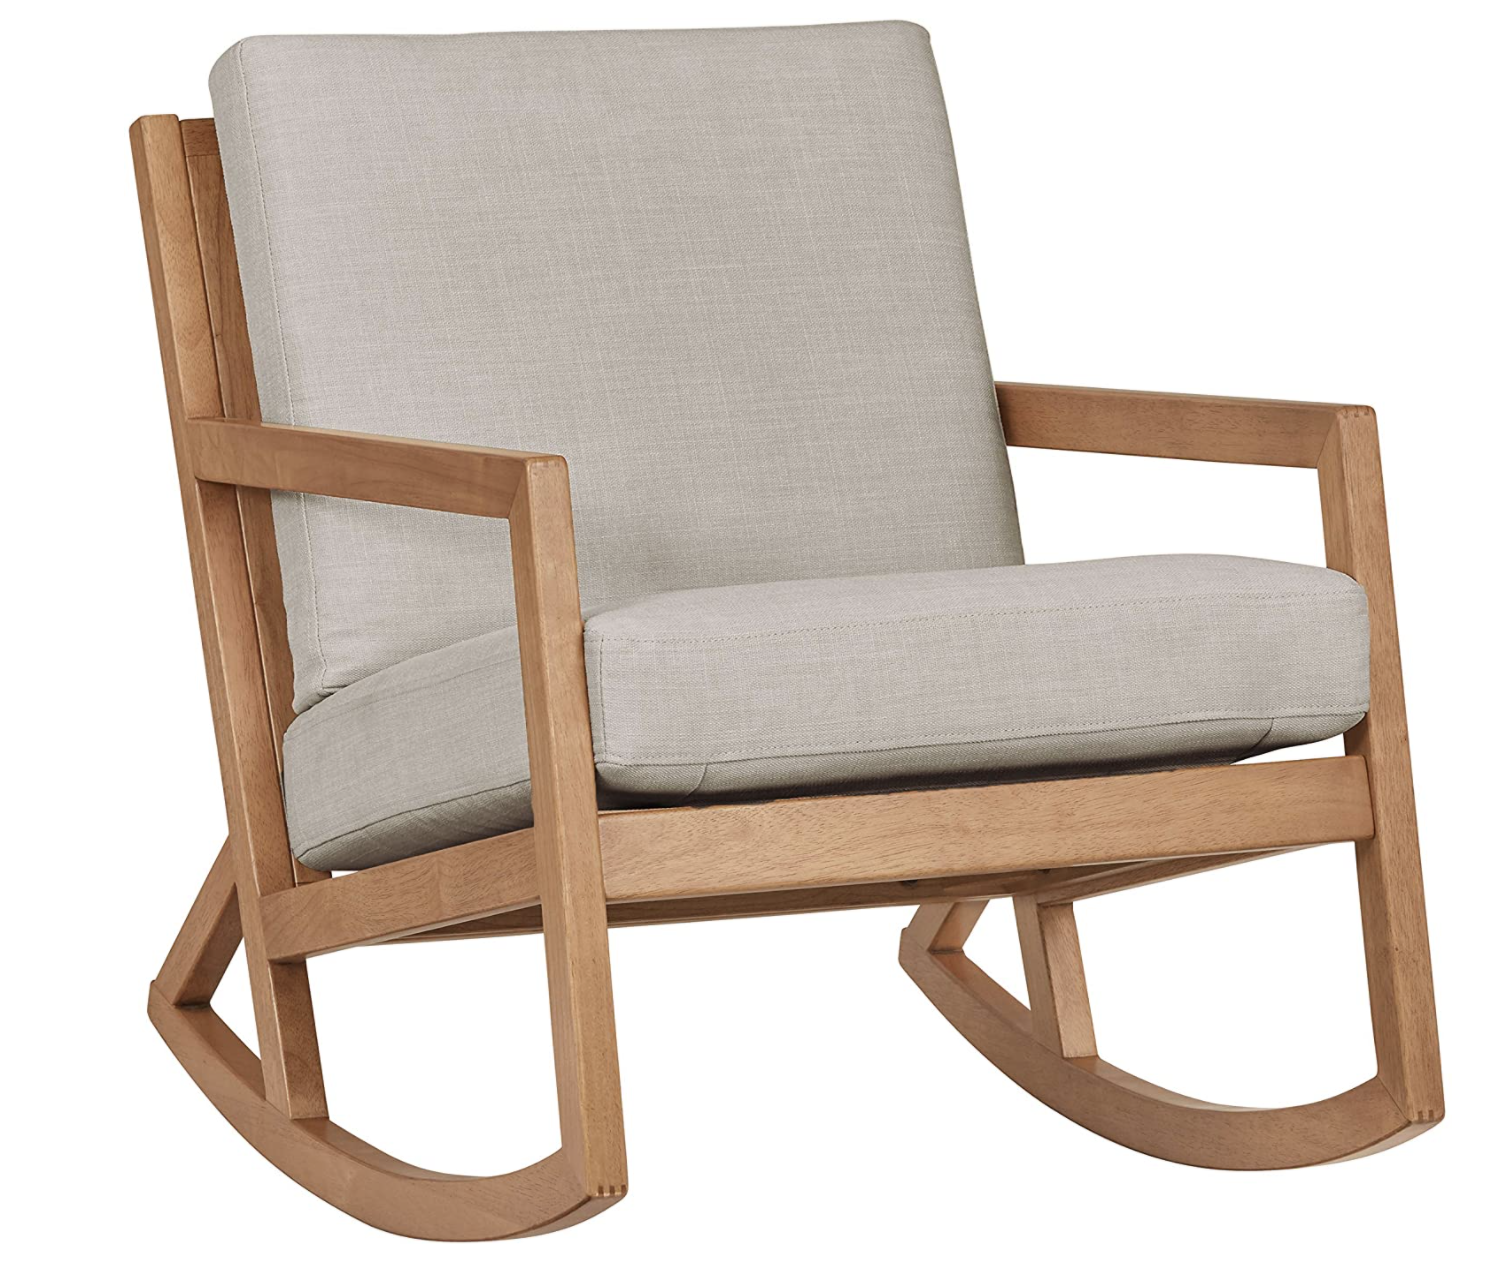
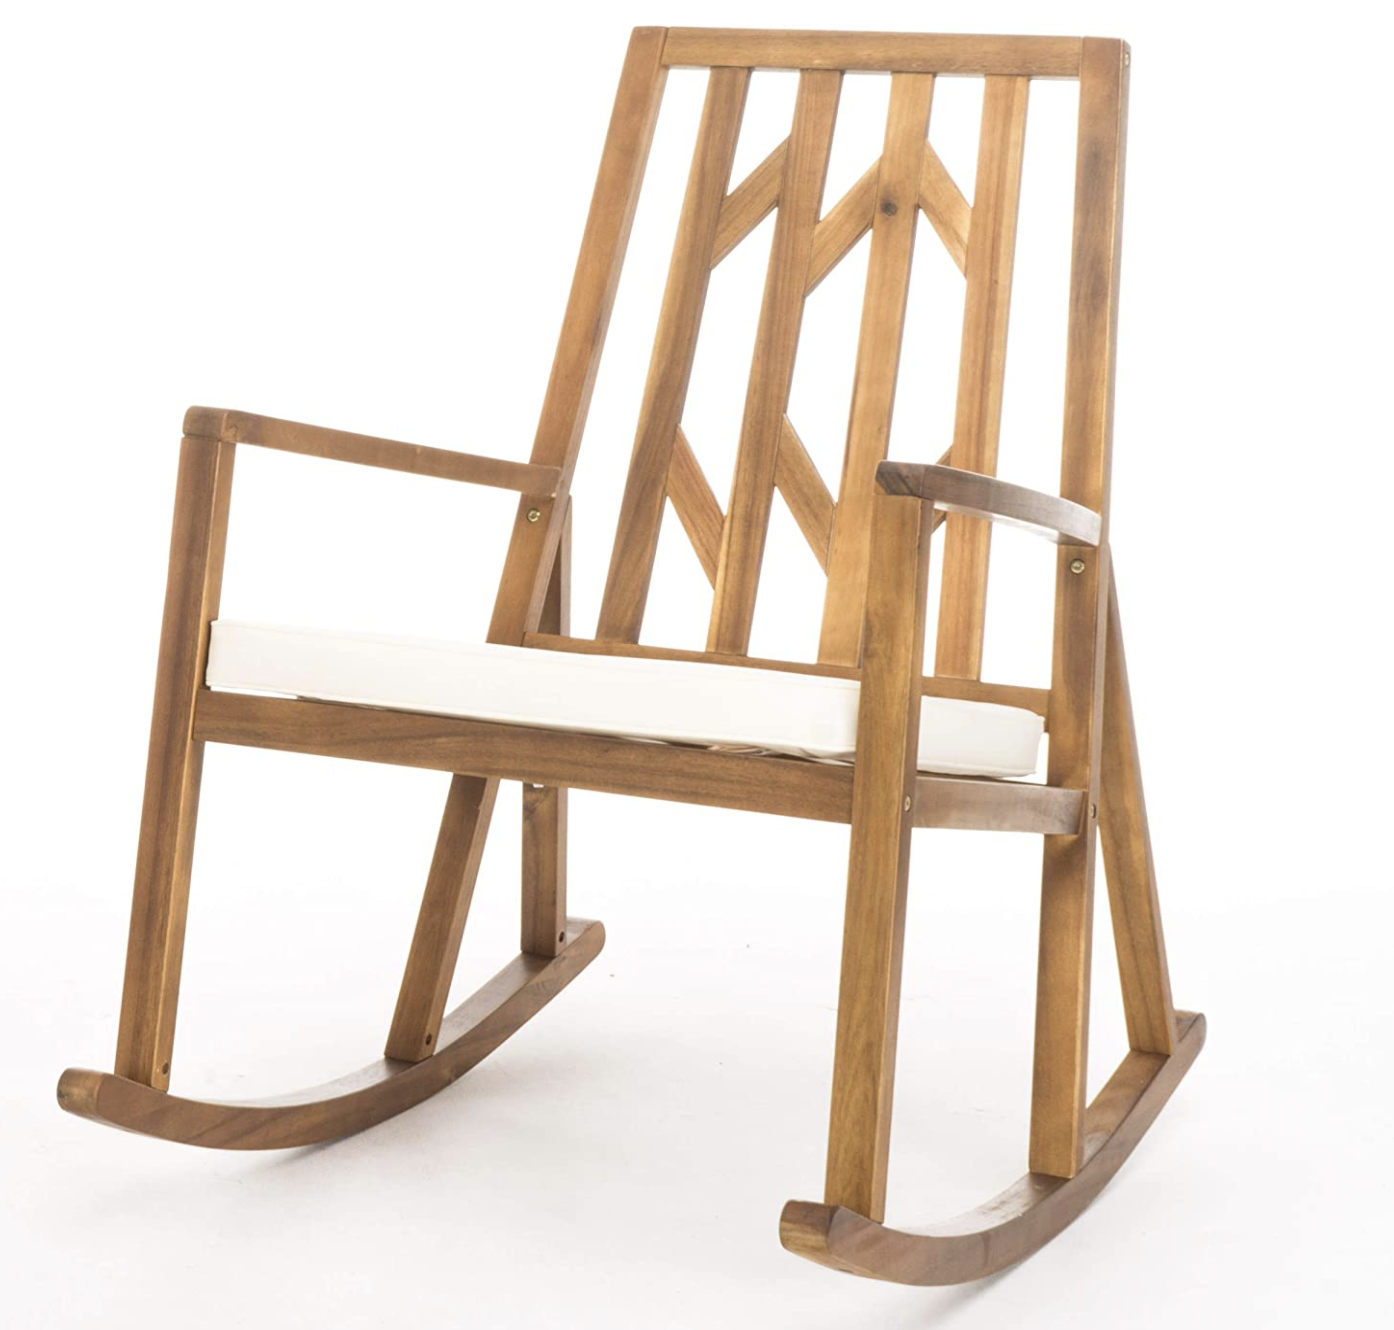
I first discovered Nostalgic Warehouse while searching for items for our primary bedroom makeover, either on Amazon or Instagram. From the moment I laid eyes on their collection, I was smitten. The doorknobs looked stunning online, but when I held one for the first time, I was blown away by its weight and quality.
I often get asked if these doorknobs come with locks, and the answer is yes! Just be sure to choose the privacy version when selecting your door hardware. While the lock may look different from a traditional doorknob, it’s definitely there.


In addition to the privacy version, we’ve used single-sided dummy knobs in the office since they only need to function on one side—they don’t turn; you just pull. We also opted for passage-style knobs on my daughter’s closet for a seamless look.
This year, I’ve added these doorknobs to our hallway, my office, my daughter’s room, and the guest bathroom. They truly are the jewelry of each room, adding a unique and special touch to every space. Alongside the doorknobs, I also found matching lightswitch covers last year, which have become another favorite.


If you’re looking to elevate a room with a high-quality piece, I can’t recommend Nostalgic Warehouse enough. There’s a reason we keep coming back for more.

Wallpaper Details
Let’s talk wallpaper! I have 2 (going on 3) rooms in my house covered in wallpaper and it’s a question I get asked about frequently!
Luscious leopards


Lucious Leopards by Love vs Design is a vinyl peel and stick wallpaper in my powder bathroom. We used their “smooth finish” that has a 1inch overlap. If I could go back I would have tried their Glissade or Woven options instead as I found the “smooth” a little hard to work with as it would stretch when you needed to reposition it. This wallpaper can also be customized meaning you can choose any color combination you’d like.
2. forever & always
Forever and Always by Wallblush comes in peel and stick, but I used their luxe traditional. I have found their luxe traditional to be the easiest temporary wallpaper to apply so far. It’s a paste-to-the-wall removable adhesive that has a butted joint (no overlap). Although, it doesn’t call for any overlap, I found it to shrink JUST A SMIDGE when the paste dried causing very thin gaps so I would suggest overlapping by a cm or two. Code LUTZGOHOME saves you 35% off! I also put a photo of the custom green color that I matched from the wallpaper below.


3. Natalia

Natalia by Peel and Paper is the newest wallpaper I added to the house (see here). This is also a peel and stick application and this site also allows you to choose any color combination you’d like. I applied their new matte paper in their “Peel and Stick Wallpaper” paper type (not vinyl) and LOVE it. It has a butted joint (no overlap). Code LUTZGOHOME10 saves you 10%!

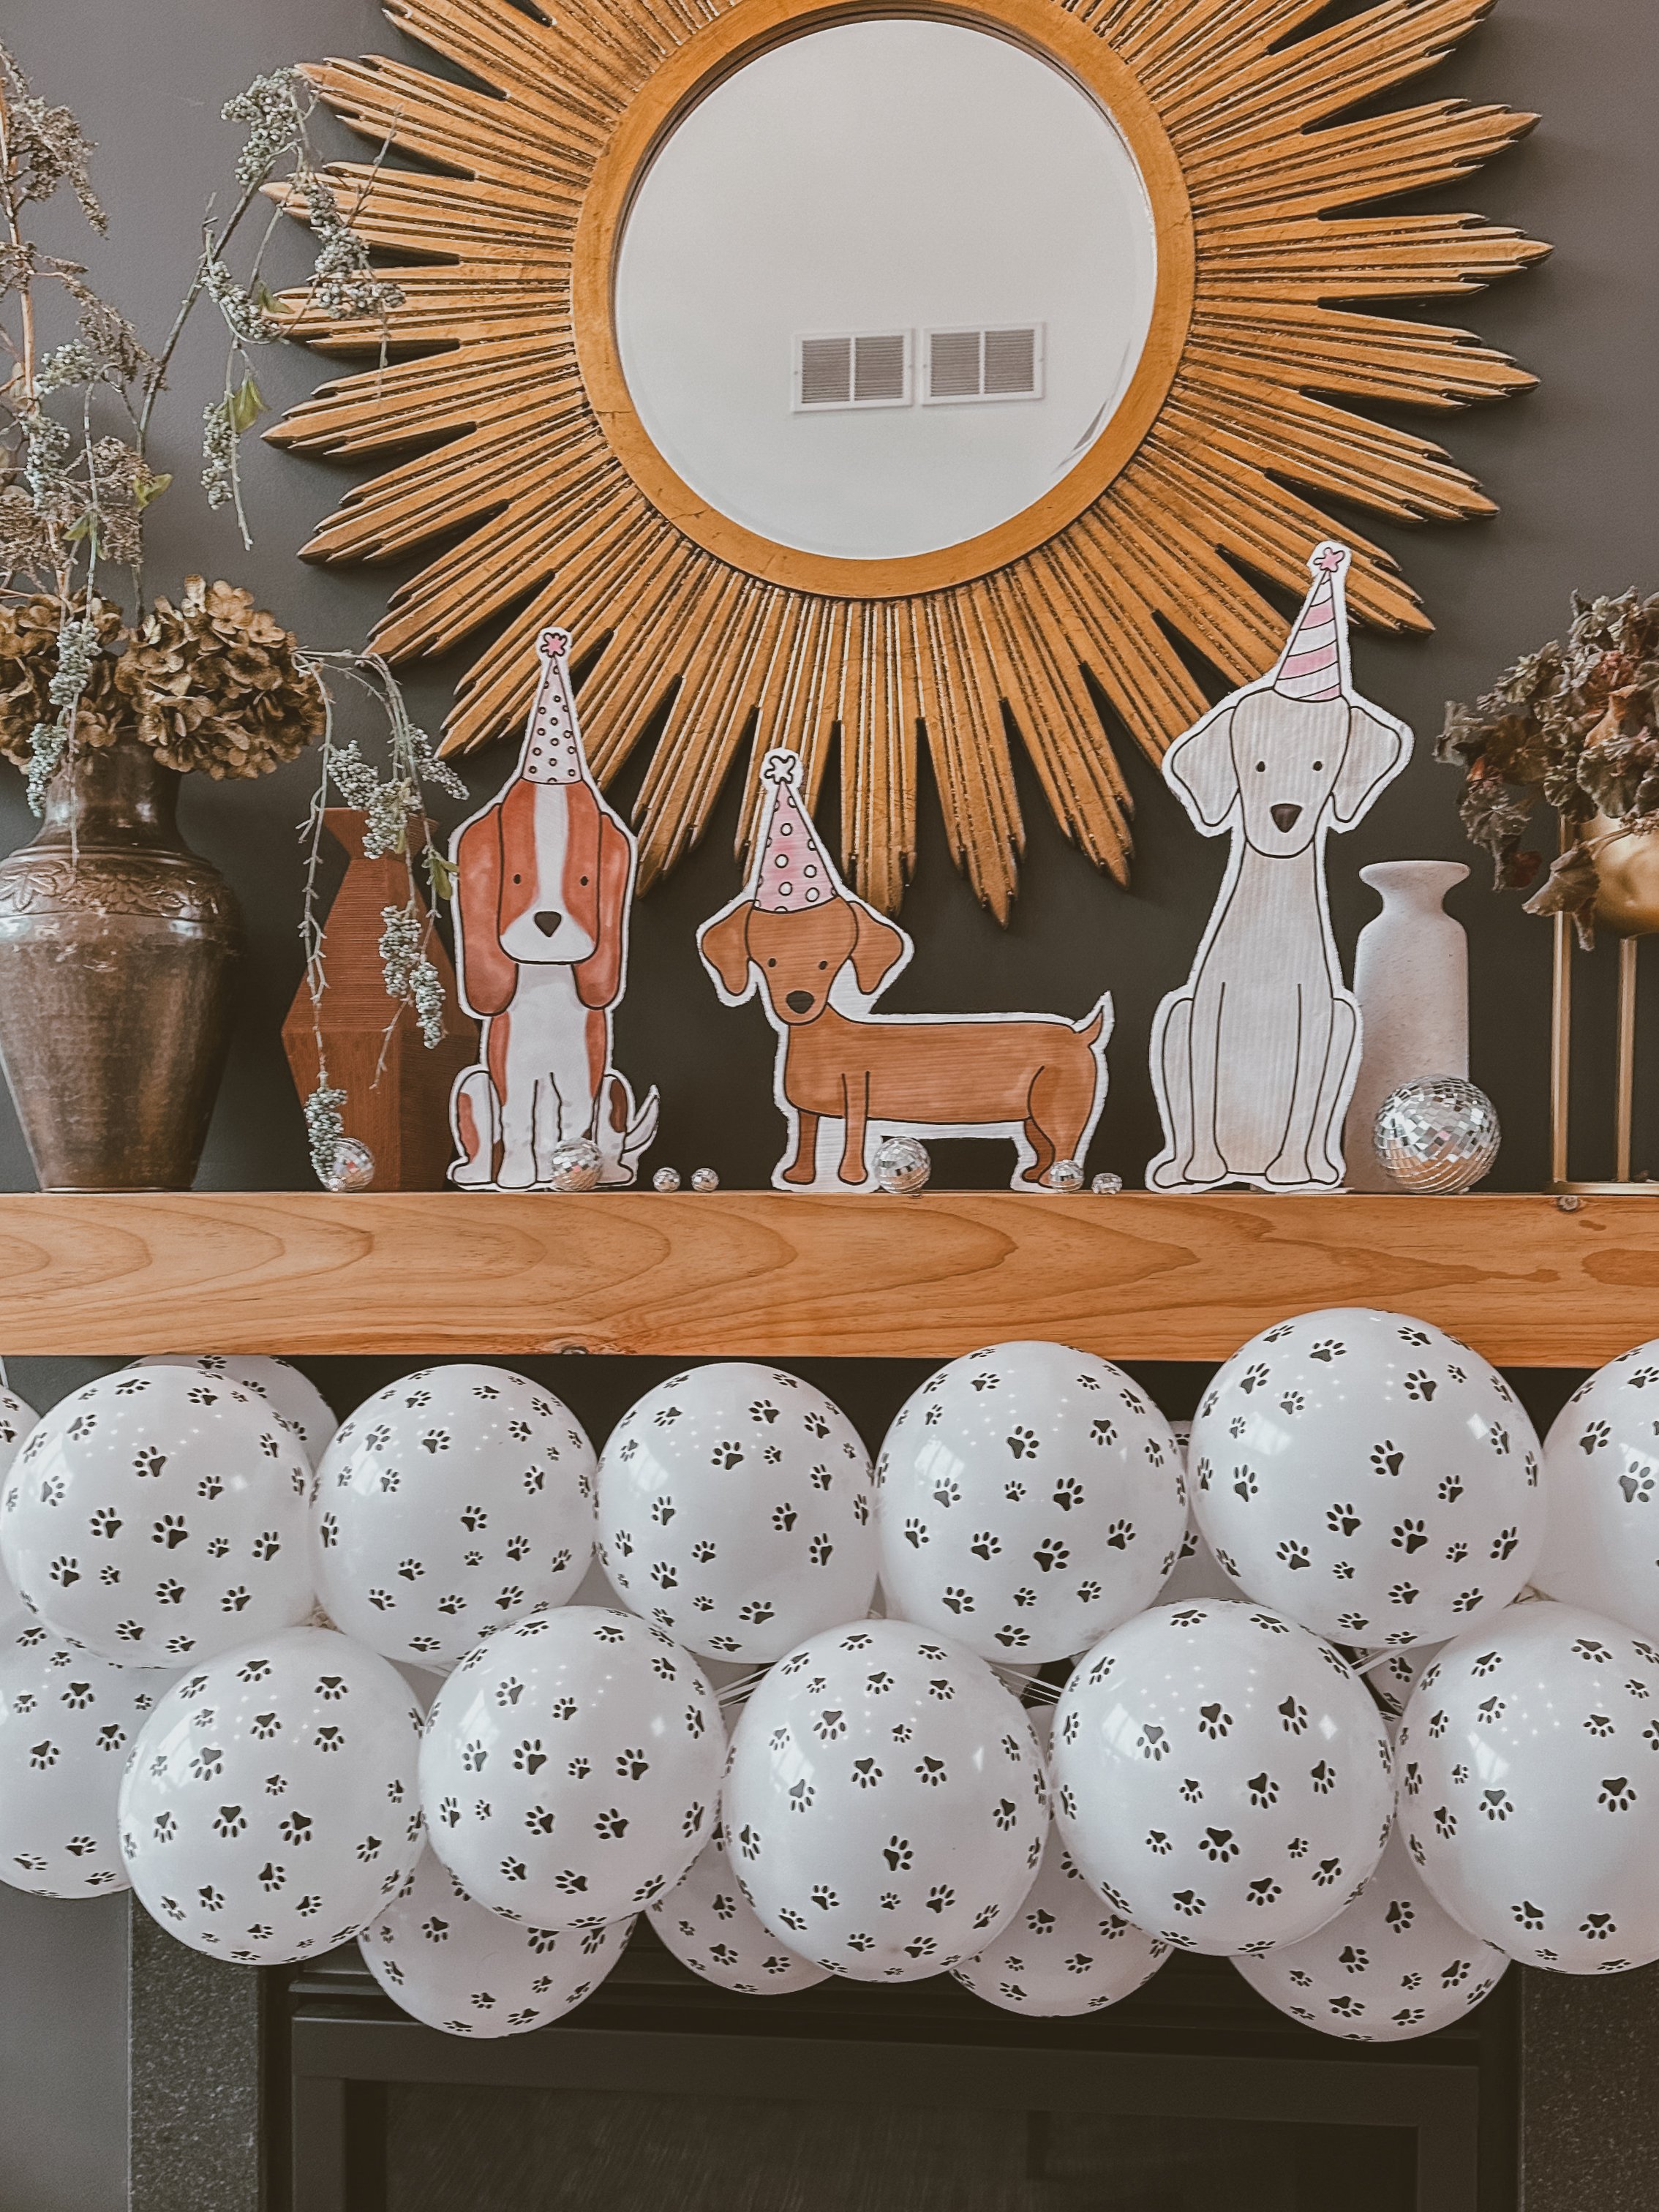
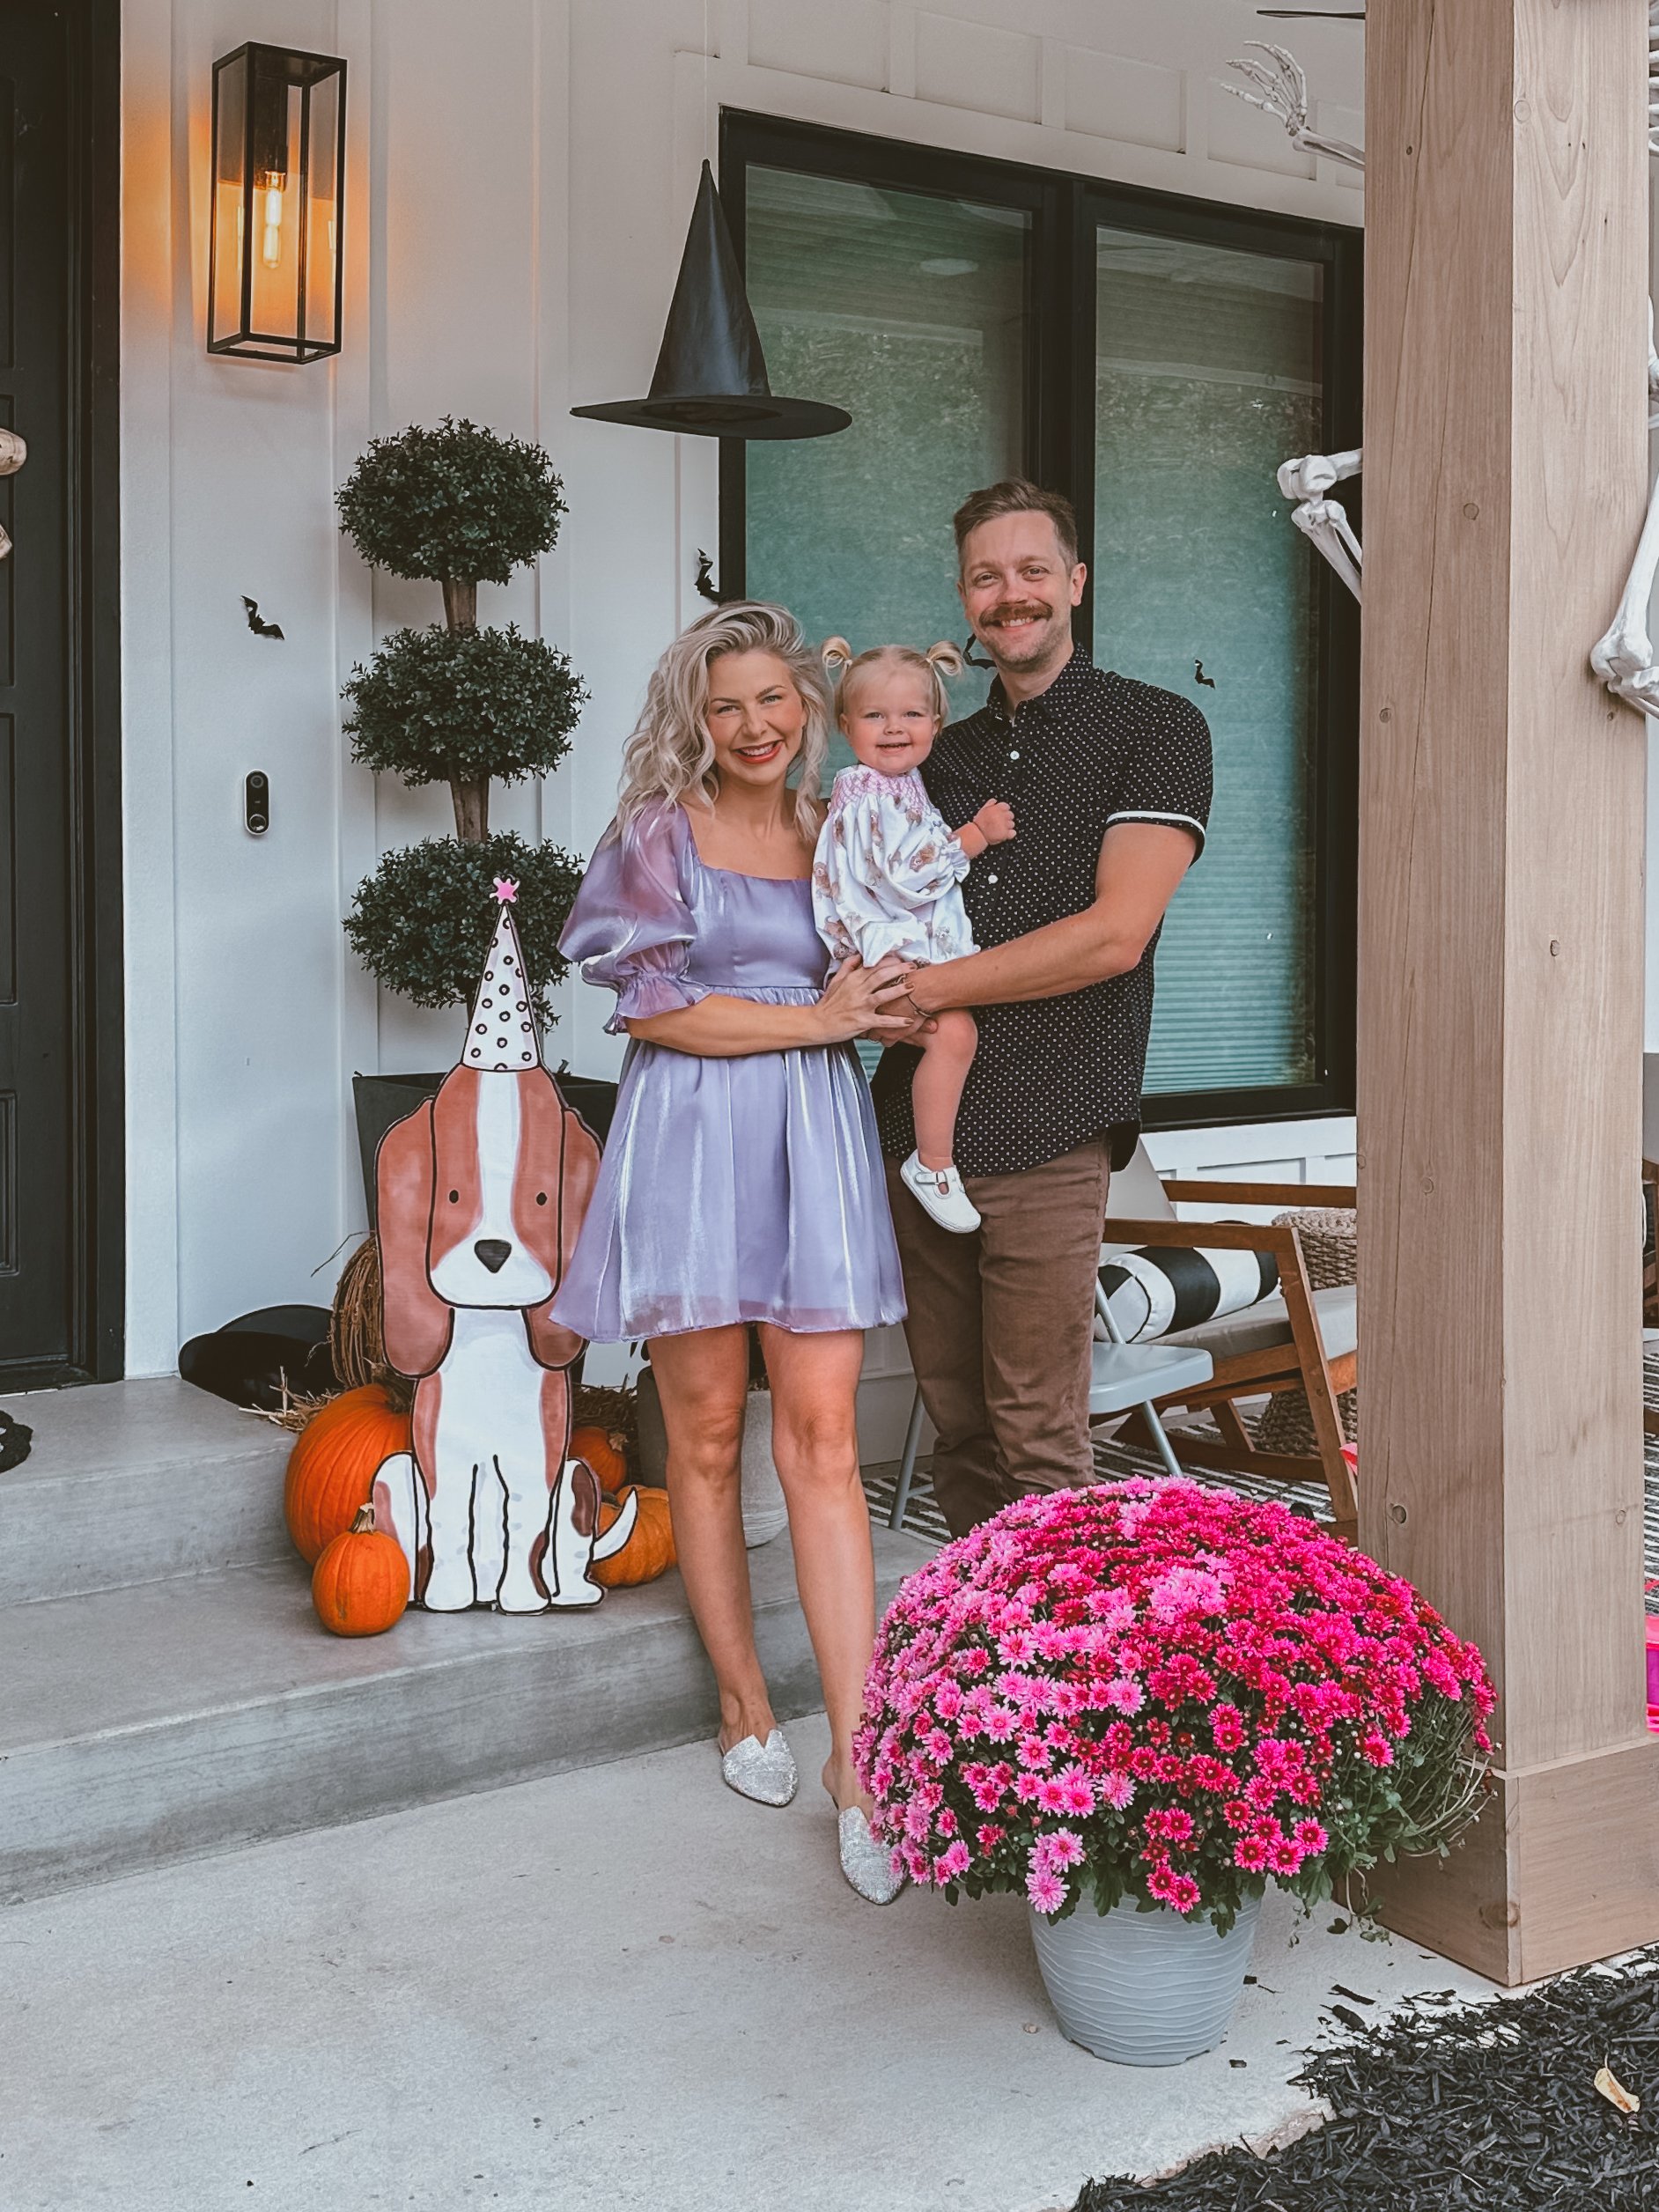
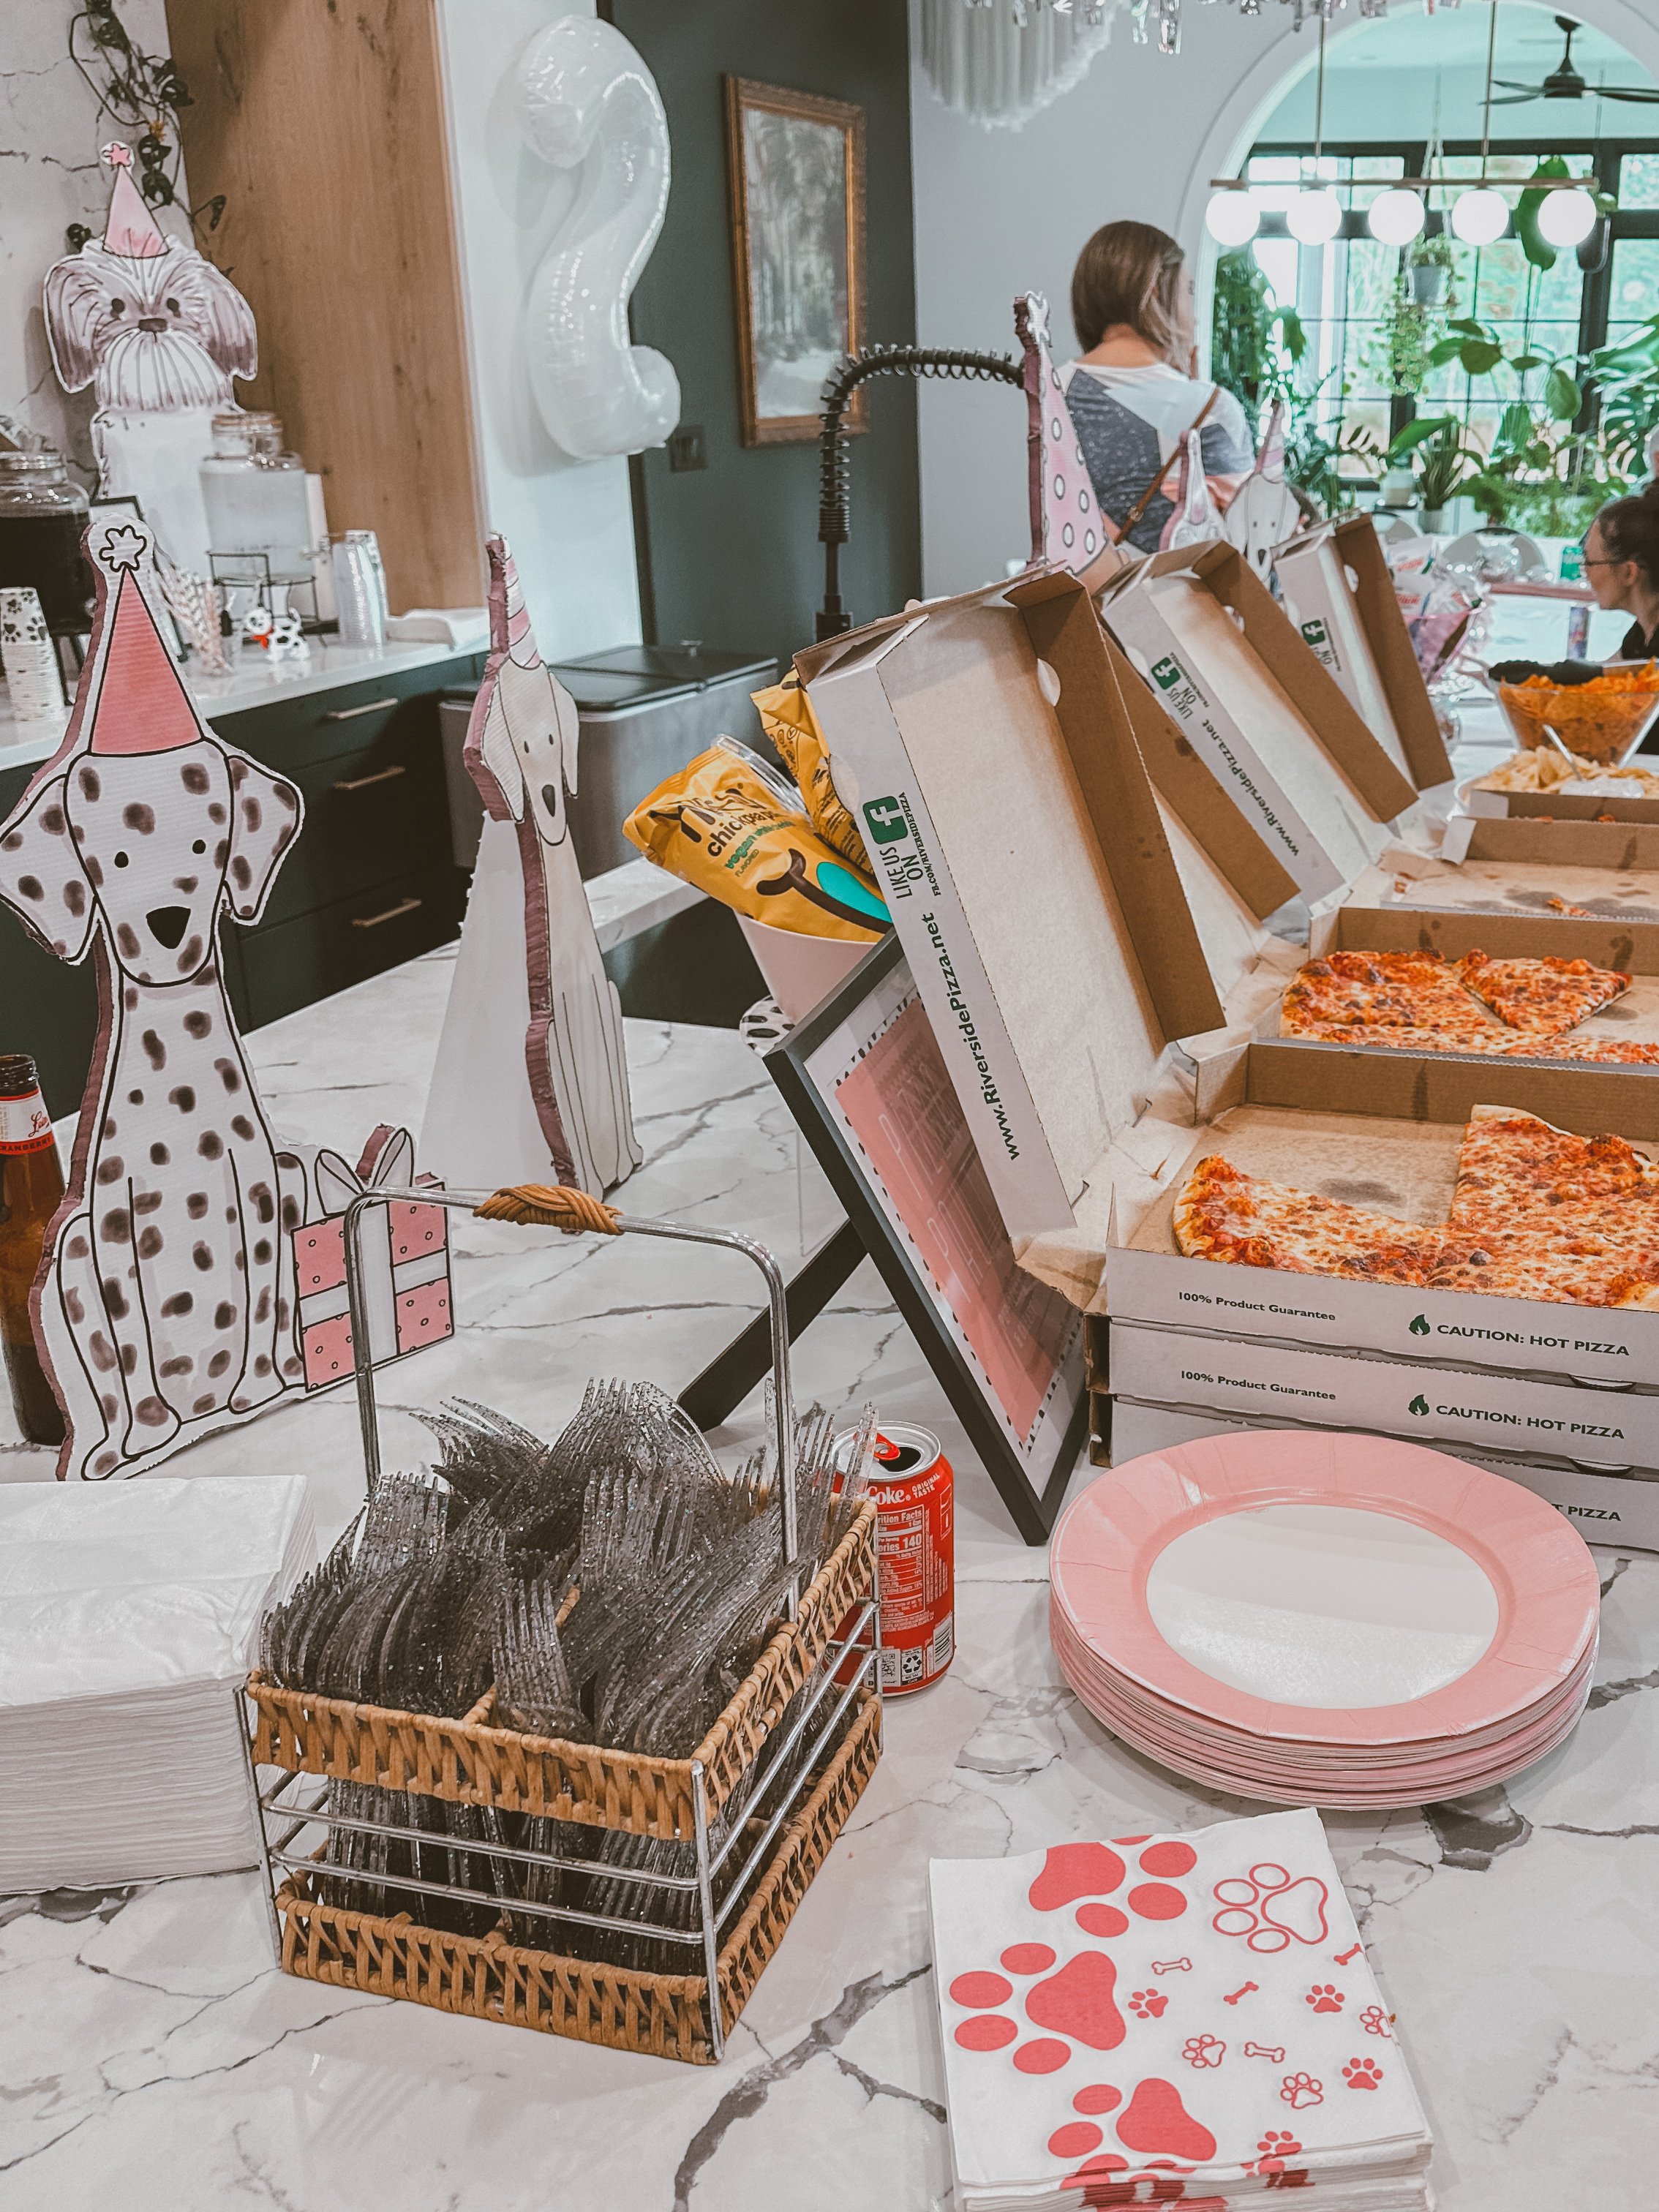
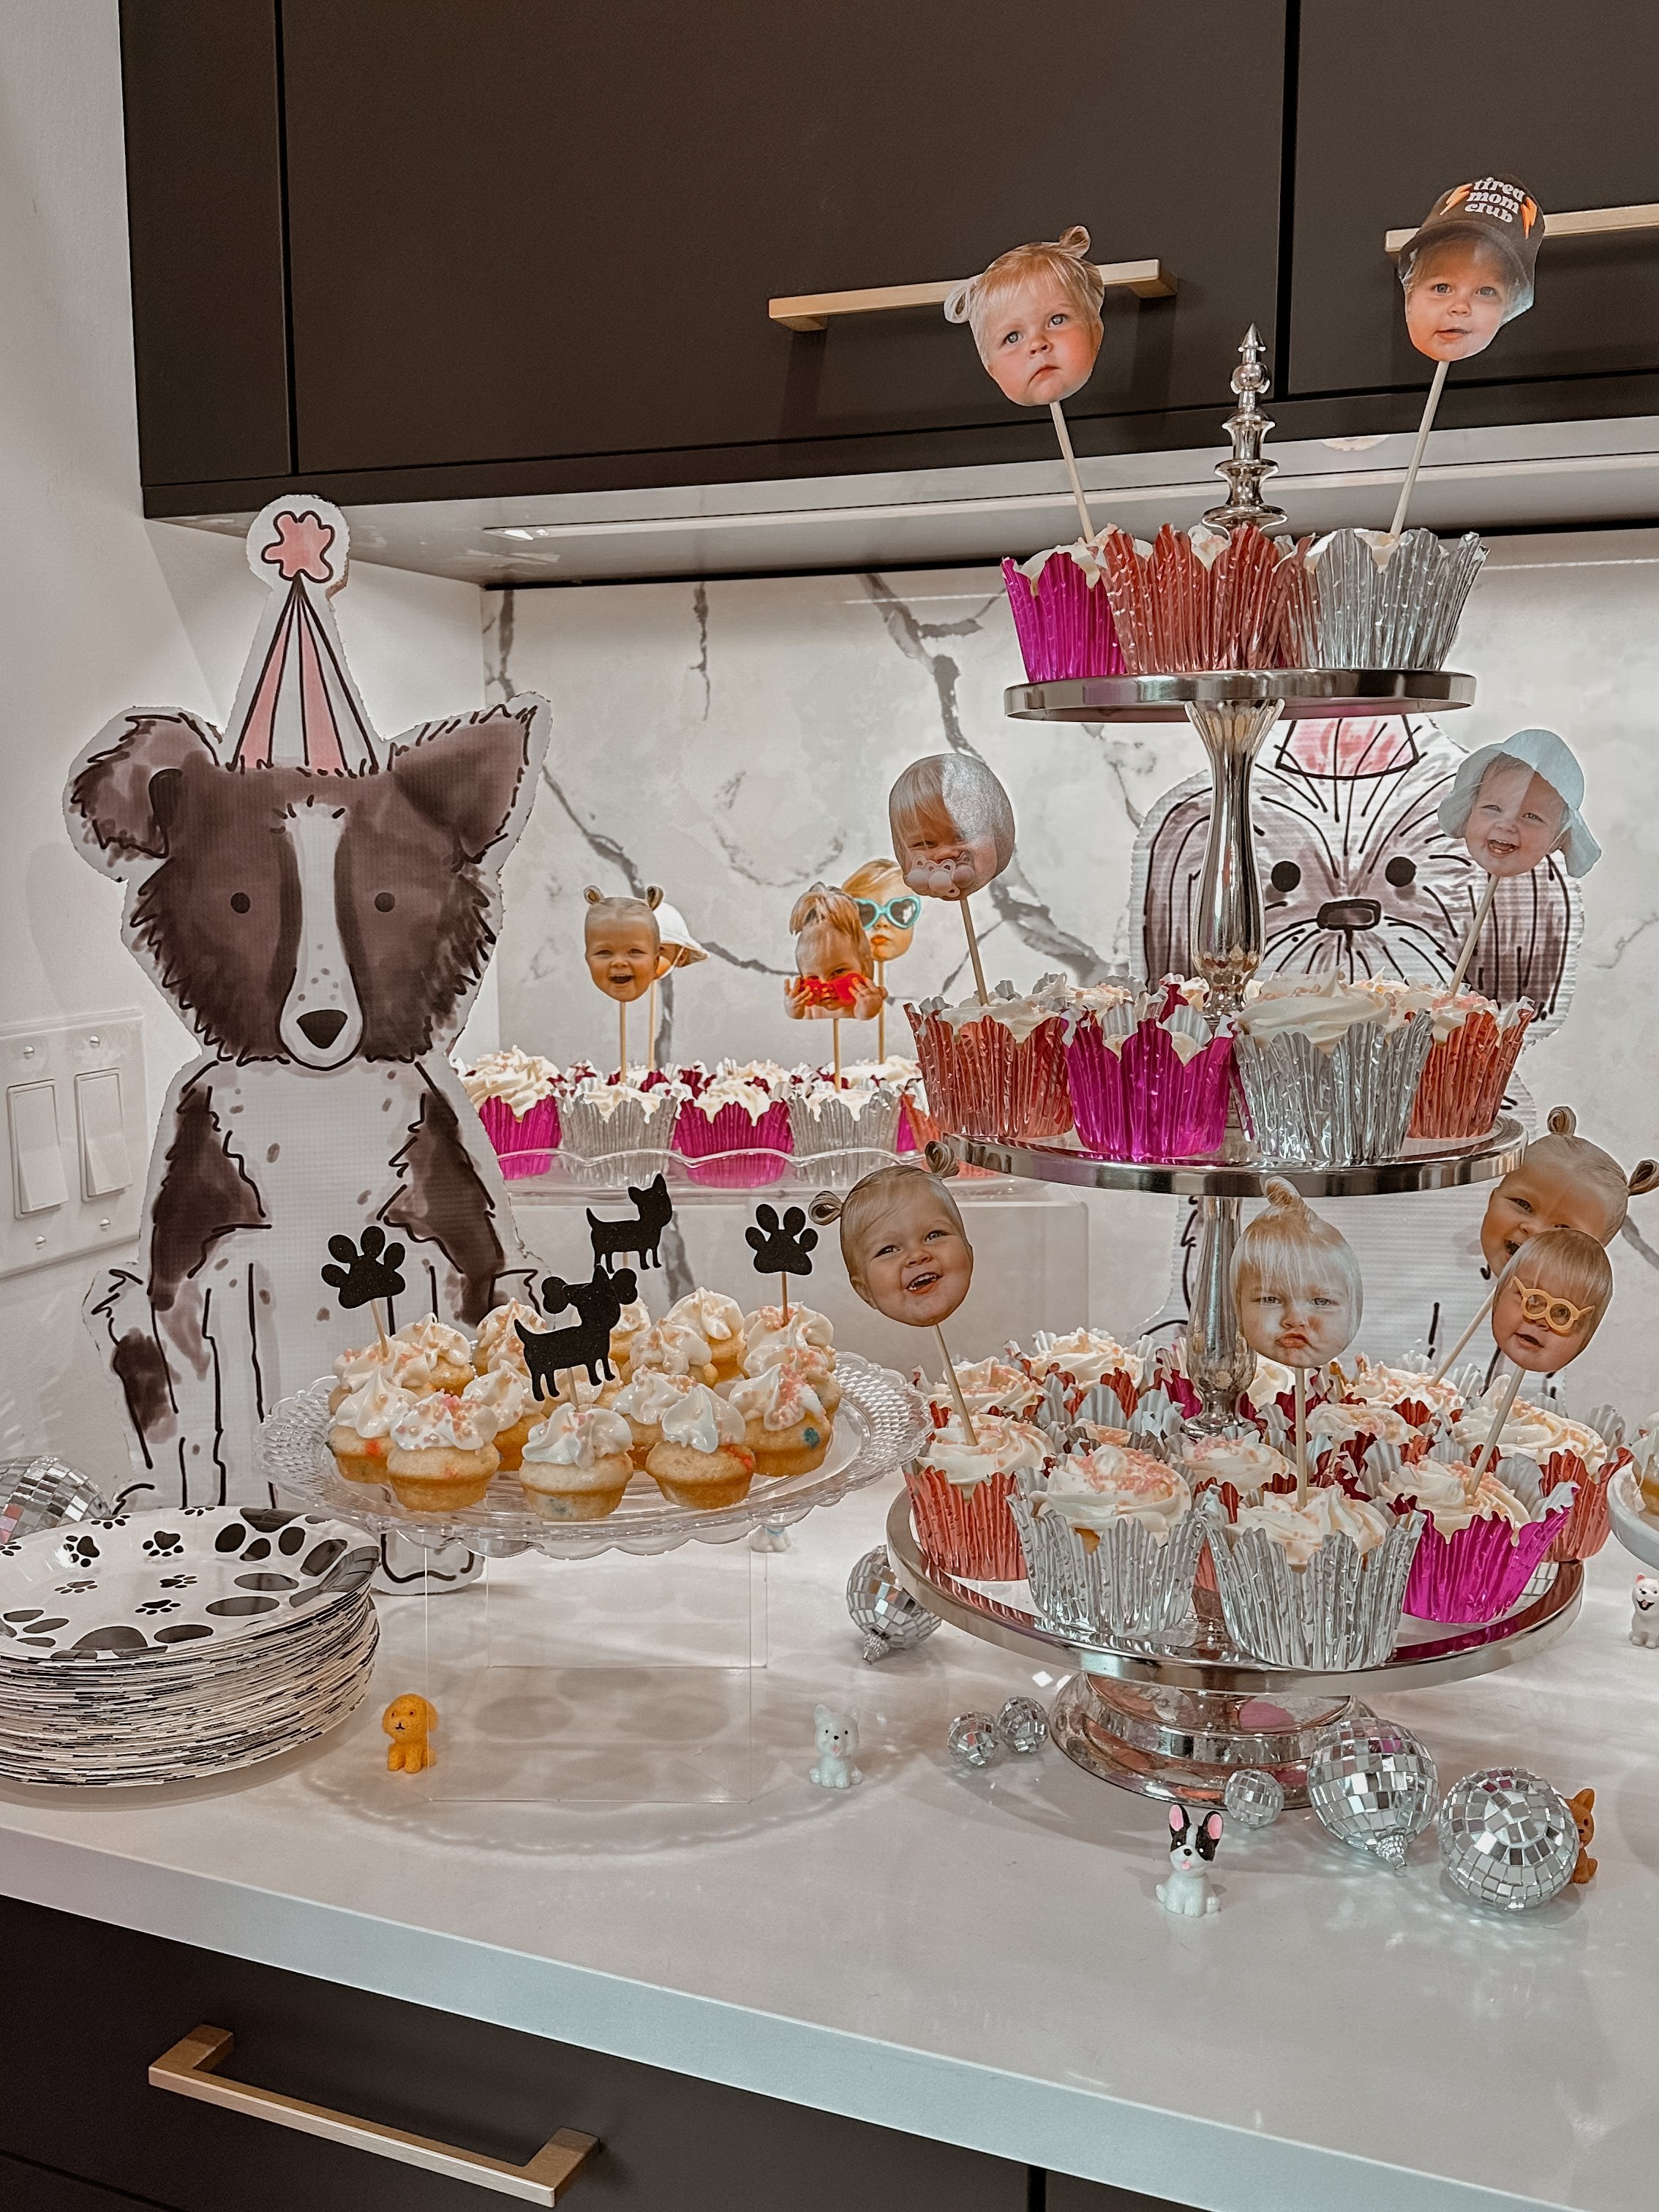
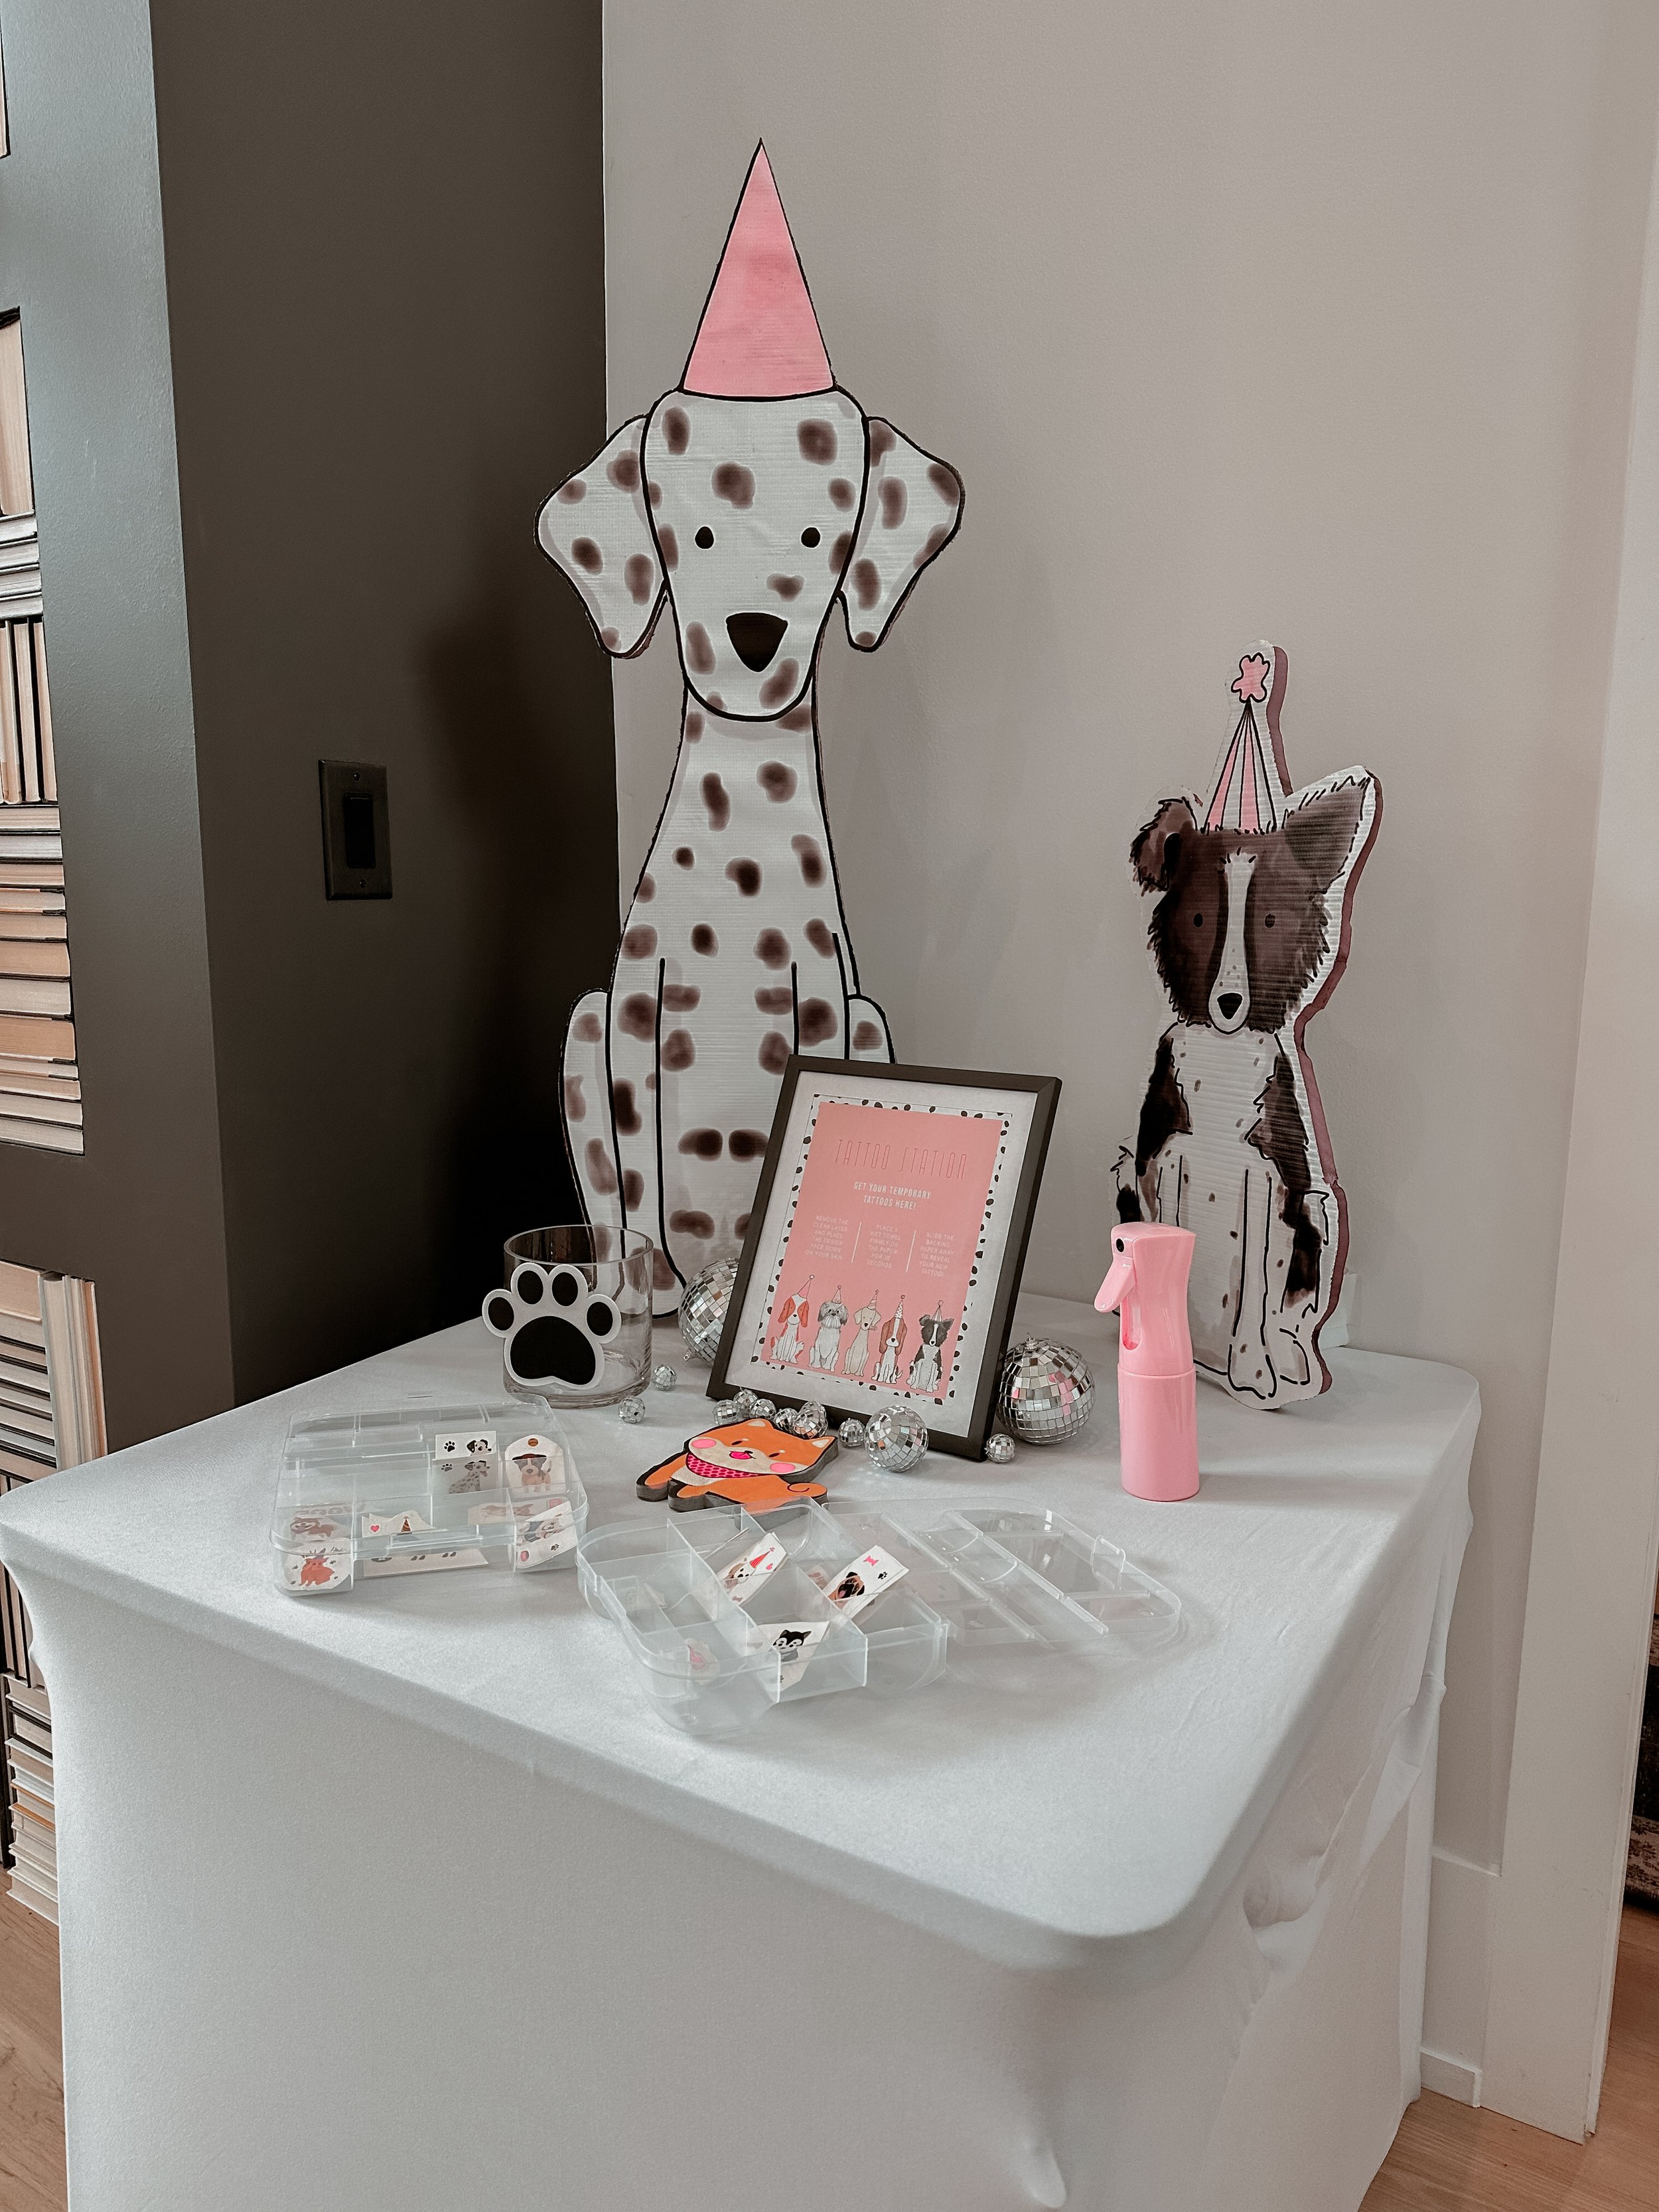
DIY dog cutouts

I custom made dog cut outs for my daughters 2nd Puppy Pawty! Here is the tutorial on how I did it.
SUPPLIES:
8’ x 8’ vinyl banner
2x pieces of 4’ x 8’ insulation board
Foam hot knife and replacement blades
regular white foam board from Dollar Tree
INSTRUCTIONS:
Purchased artwork from Etsy and changed the blue hats to pink in Photoshop. I’m sure for a small fee the seller could do this as well.
Created an 8’ x 8’ TIFF file in photoshop and arranged the dog graphics to fit as many as I needed and in various sizes. TIP: don’t make any small ones or anything that has a lot of detail. The larger ones were MUCH easier to cut out. The biggest dogs are roughly 40” x 18” and they were the easiest and the smaller dogs are roughly 10” x 20” and they were a pain.

3. Ordered an 8’ x 8’ step and repeat banner from https://www.stickersbanners.com/8x8-step-and-repeat.html with no hem, no grommets, no stand, and no carpet. I did local pickup because I live near one of their locations but they also ship.
4. Purchased (2) panels of insulation board that were 4’ x 8’ each and glued the banner to the insulation board using spray adhesive.

5. Cut out the dogs with a foam hot knife. You’ll need to wear a mask because these fumes are so intense and so toxic.


6. Attached a triangular piece of regular foam board from the Dollar Tree to the back of the dogs using white duct tape so that they stand upright on their own.


Here is how they looked at the party!

Cozy Coupe Makeover

Supplies Used:
Orbital Sander (not required)
Sandpaper (220 grit)
1-2 cans of spray primer for plastic
2-3 cans of Vintage Blush Spray Paint
2-3 cans of Smokey Beige Spray Paint
1-2 cans of clear sealer spray paint
Comfort Grip for mess free and more comfortable spray (not required)
Frog tape painters tape
Automotive Trim 1/4”
Construction Adhesive for name plates
I had to order a new steering wheel because mine was broken. You can buy replacement parts here.
INSTRUCTIONS:
Remove any stickers and any removable plastic pieces with a flat head screw driver (gas tank cap, headlights, tail lights, hub caps, etc). If I could go back I would have disassembled the top from the bottom. There are step by step videos on Youtube for assembling the Cozy Coupe. If you don’t want to remove these things then cover them with plastic bags and painters tape.


2. Apply All Purpose Bondo (use directions on container) to any holes left behind from removing unwanted pieces. My cozy coupe was the lady bug so I filled in holes on the top of the car and on the dash where the attenas and eyes were.
3. Sand the All Purpose Bondo and give the entire car a once over with 220 grit Sandpaper.


4. Wash the car with soap and water. Let dry.
5. Cover the wheels, and anything else you don’t want to get paint on, with tape and plastic bags if you didn’t remove them.
6. Give the entire car a coat of spray primer for plastic.

7. Spray the entire car with the colors of your choice. Let dry, remove any tape you may have added. Touch up paint as needed.
8. Seal your masterpiece with several coats of clear sealer spray paint, allowing the car to dry between coats.
9. Remove the plastic bags from anything you were protecting (wheels, steering wheels, etc)


10. Apply automotive trim. This is such a nice touch! Highly recommend. TIP: Measure AND CUT the trim before applying, If you have to lift the trim up to cut it , you’ll peel back the paint.
11. Replace any plastic parts that you removed that you want back on the car like headlights, gas tank cap, etc.
12. Add special touches like VW logo, or in my case, I used custom name plates from Etsy using construction adhesive.


It's all in the details - bedroom makeover

Embarking on my bedroom makeover, I anticipated a few weeks of work to transform the plain white box into my vision of a green and moody retreat. However, as the days turned into months, I realized that creating the perfect space required more time and attention to detail than I initially expected. But let me tell you, every moment spent was worth it. From the dark green walls to the carefully selected furnishings, every choice was made with intention. And it was the incorporation of gold unlacquered brass Nostalgic Warehouse doorknobs, switch plate covers, and door hinges that truly brought the room together, elevating it to a whole new level of elegance.

I've always been captivated by the allure of a dark green and moody bedroom, but have been a little afraid of going bold. The idea of transforming my room into a sanctuary of tranquility seemed worth it seeing how we have had all white walls in this room since we moved in and we were ready for a change. To achieve this desired ambiance, I knew that paying attention to even the smallest details would be crucial. That's why I chose to incorporate gold unlacquered brass hardware into my bedroom makeover. Its timeless elegance effortlessly blends with the dark green surroundings, infusing the space with a warm and inviting atmosphere. These intricate elements have truly brought my entire room together, creating a visually captivating and cohesive aesthetic.


When I stumbled upon Nostalgic Warehouse's collection, I was instantly captivated by their commitment to craftsmanship and attention to detail. The gold unlacquered brass doorknobs, switch plate covers, and door hinges exuded a sense of sophistication that perfectly aligned with my vision. Each piece showcased the dedication and artistry of the brand, reflecting a time when quality and beauty were paramount. By incorporating Nostalgic Warehouse hardware into my bedroom makeover, I've not only added a touch of luxury but also embraced the essence of timeless elegance, turning my space into a true sanctuary of style.


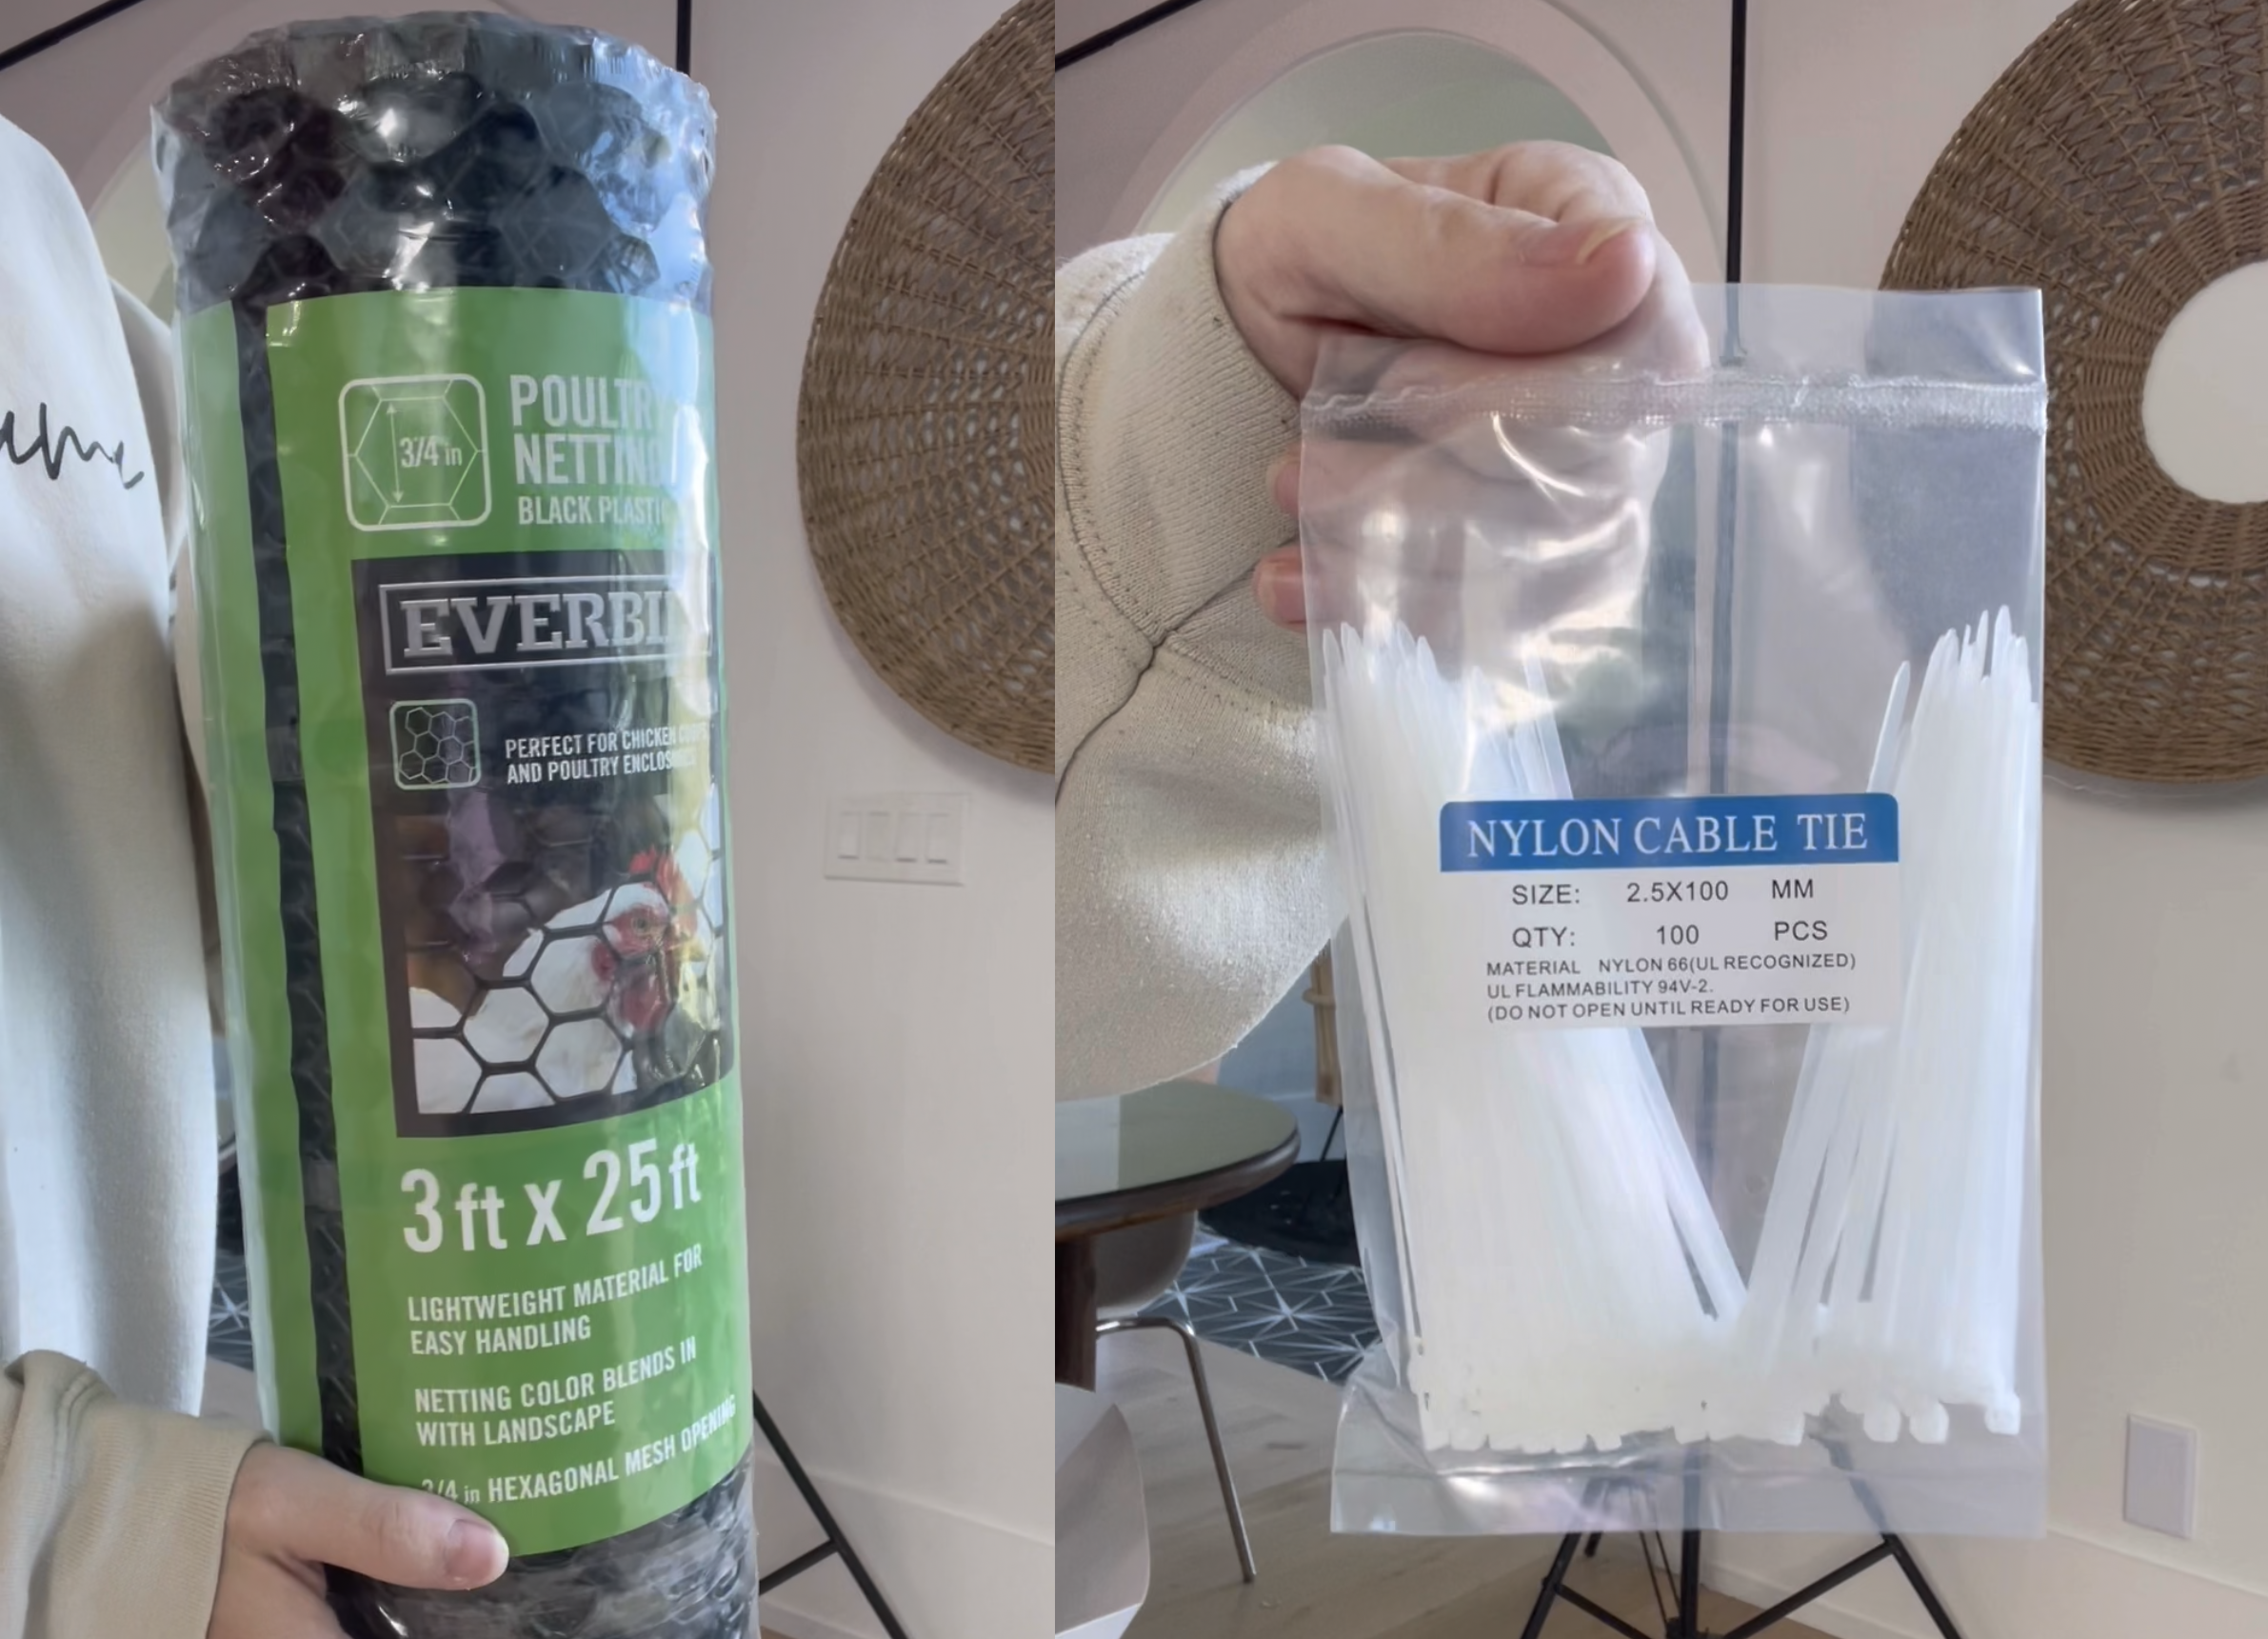
DIY Fringe Backdrop

Ready for a super easy and super cheap DIY that will take FOREVER?! haha! This is definitely one of those show stopper pieces for a party, but you will spend many nights tying lots and lots of knots!
SUPPLIES:
$1 plastic table cloths. I got mine from the Dollar Tree and Walmart.
Cutting mat and rotary cutter with extra blades (you can use scissors, but wow it will take a lot longer)
Optional : something to hang the backdrop on until you’re ready to install it. I used an old backdrop stand, but I would assume you could work directly on the wall using Command Hooks.
DIRECTIONS
Decide how big you want your backdrop to be. I cut the poultry netting into large pieces and fastened them together with zip ties. I also zip-tied the poultry netting to an old backdrop stand.
Cut roughly 1-2” strips of plastic table cloths. No need to measure or unfold them. You can literally just use a rotary cutter and cut strips very quickly.
Unfold each individual strip until you have A LOT. I would recruit someone to help you.
Tie one strip at a time to the poultry netting by folding the strip in half and feeling the tail end through the loop. (example below)
Continue until you achieve the desired look you want.
Trim any pieces as necessary.
Use several 5lbs command hooks to install the backdrop to the wall.
TA-DA! Admire your work!
FAQ:
How big is your backdrop? Mine is roughly 8x8ft
How many tablecloths did you use? I didn’t count but I estimated that I used about 60.
How long did this take? Roughly 10 hours for one person.
Can I use scissors instead of a rotary cutter? Yes! It will just take a little longer.


Ikea Duktig Play Kitchen Makeover
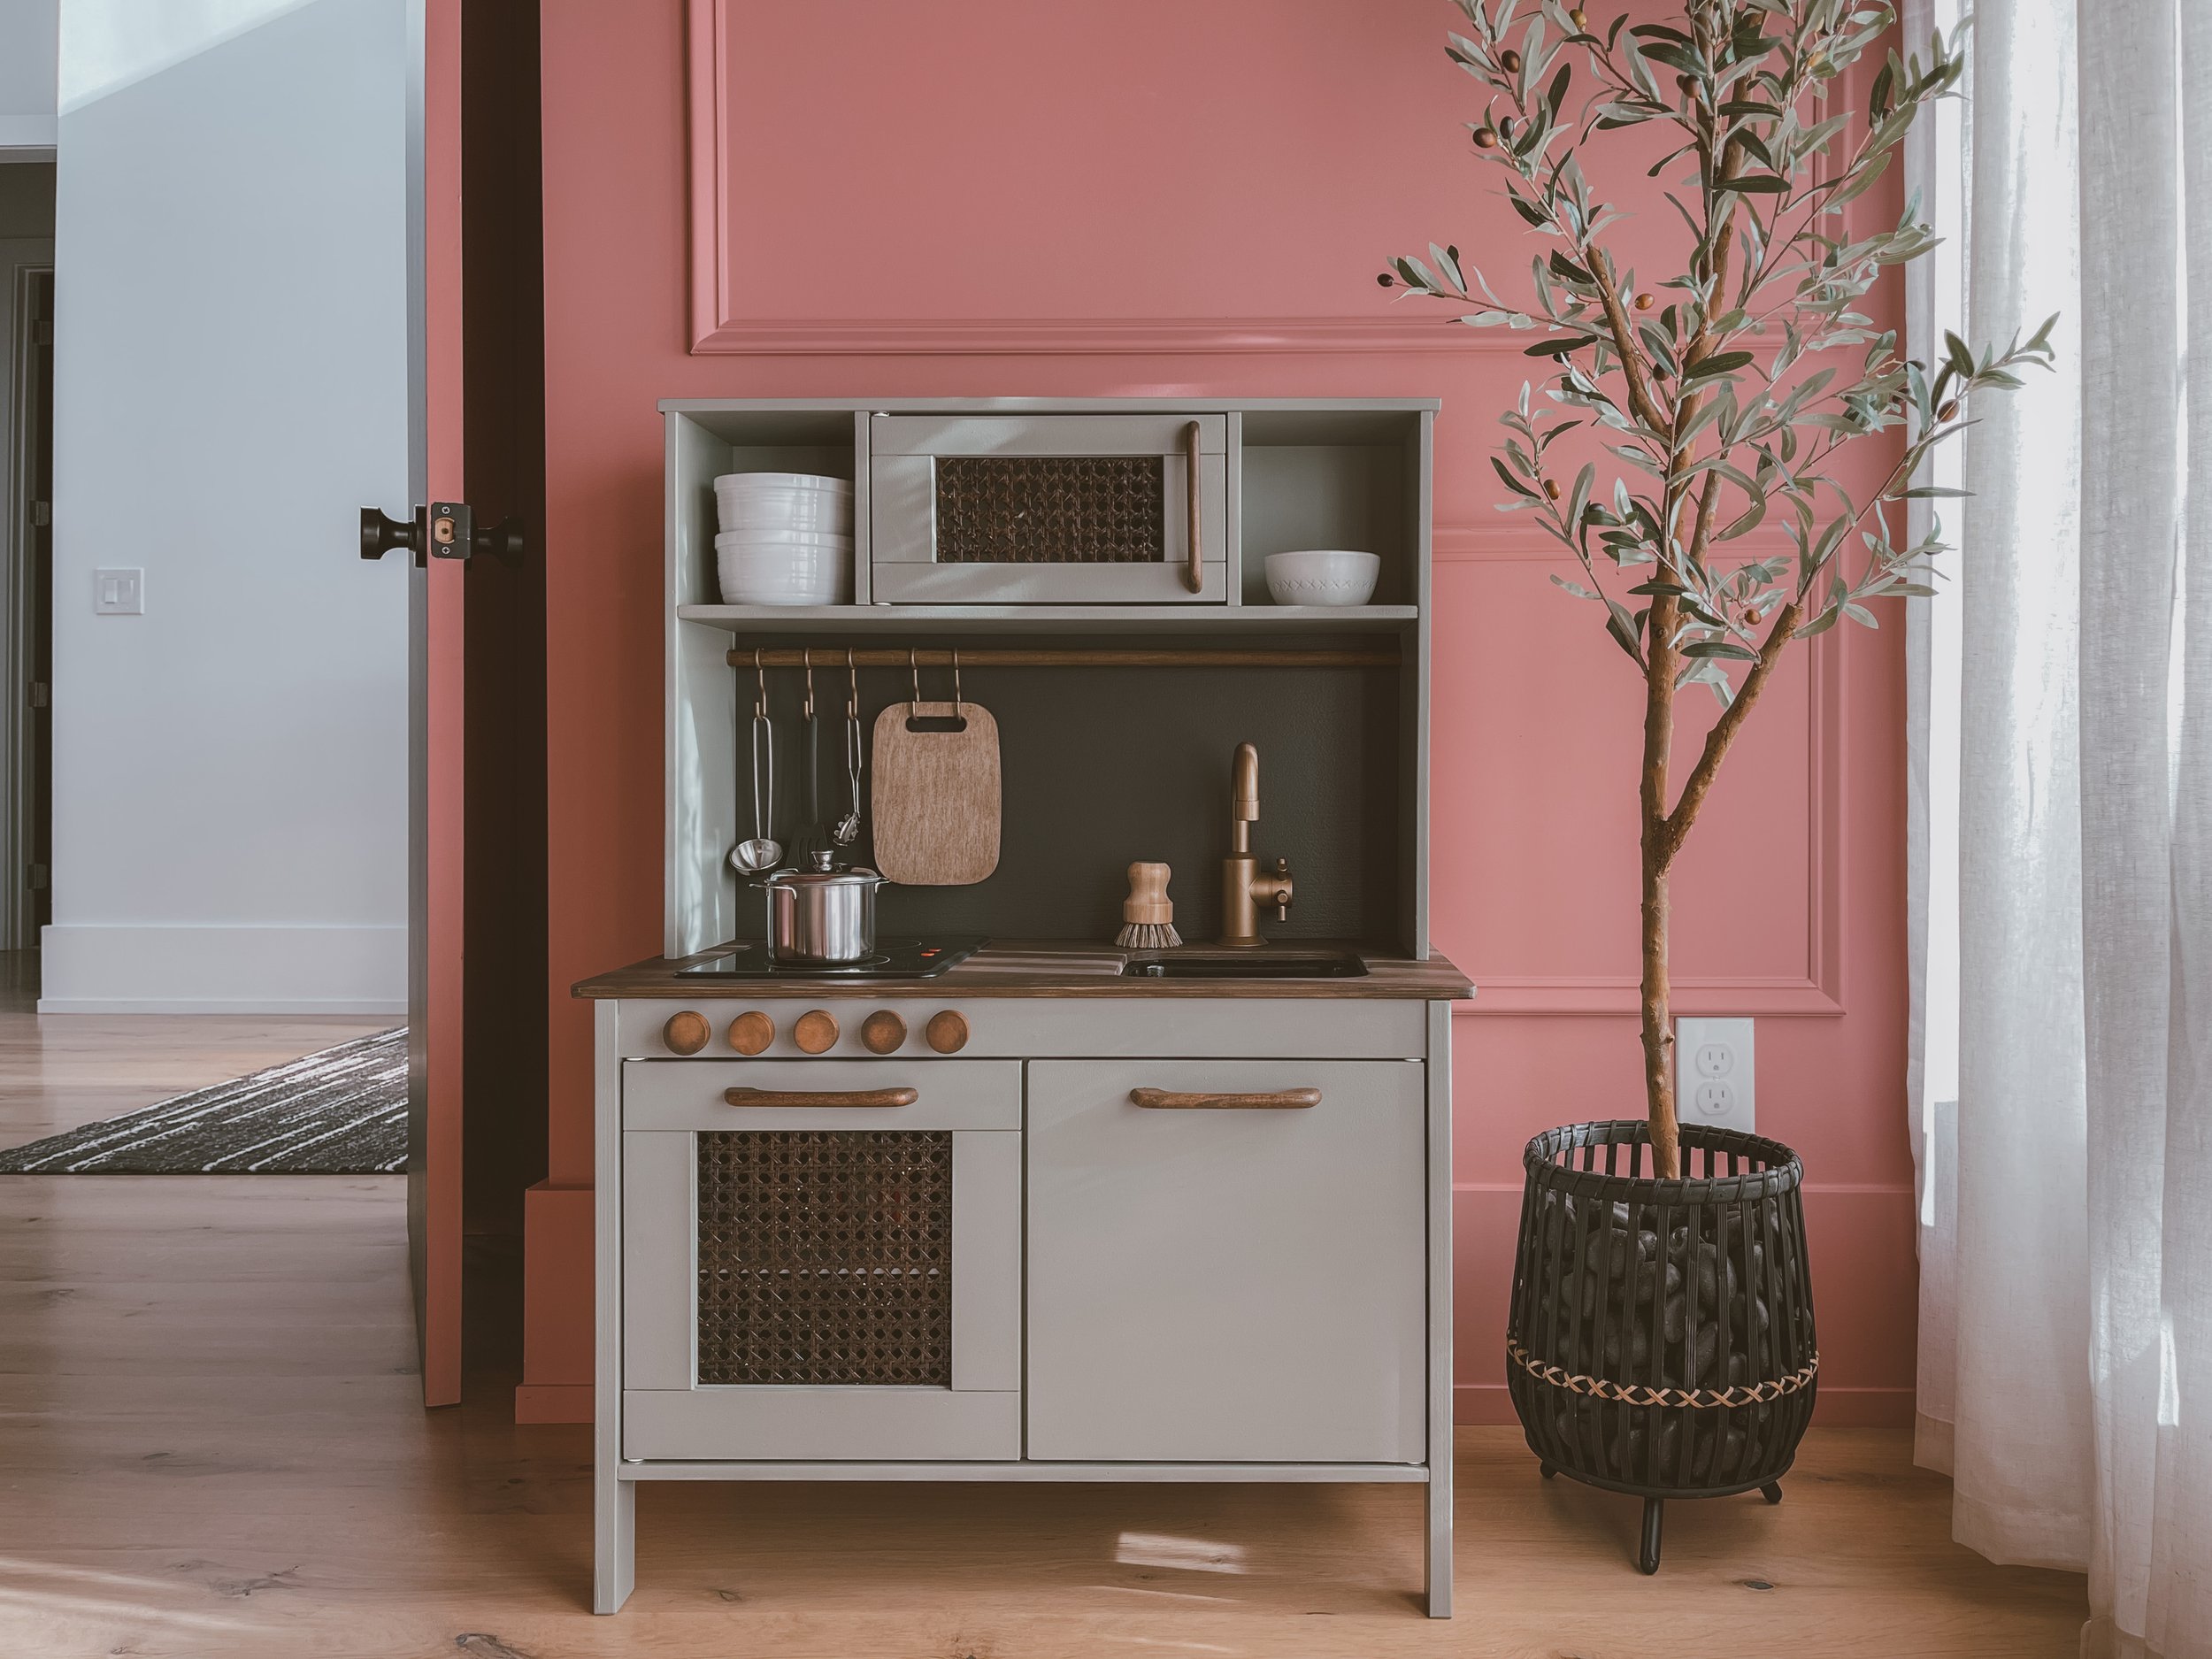
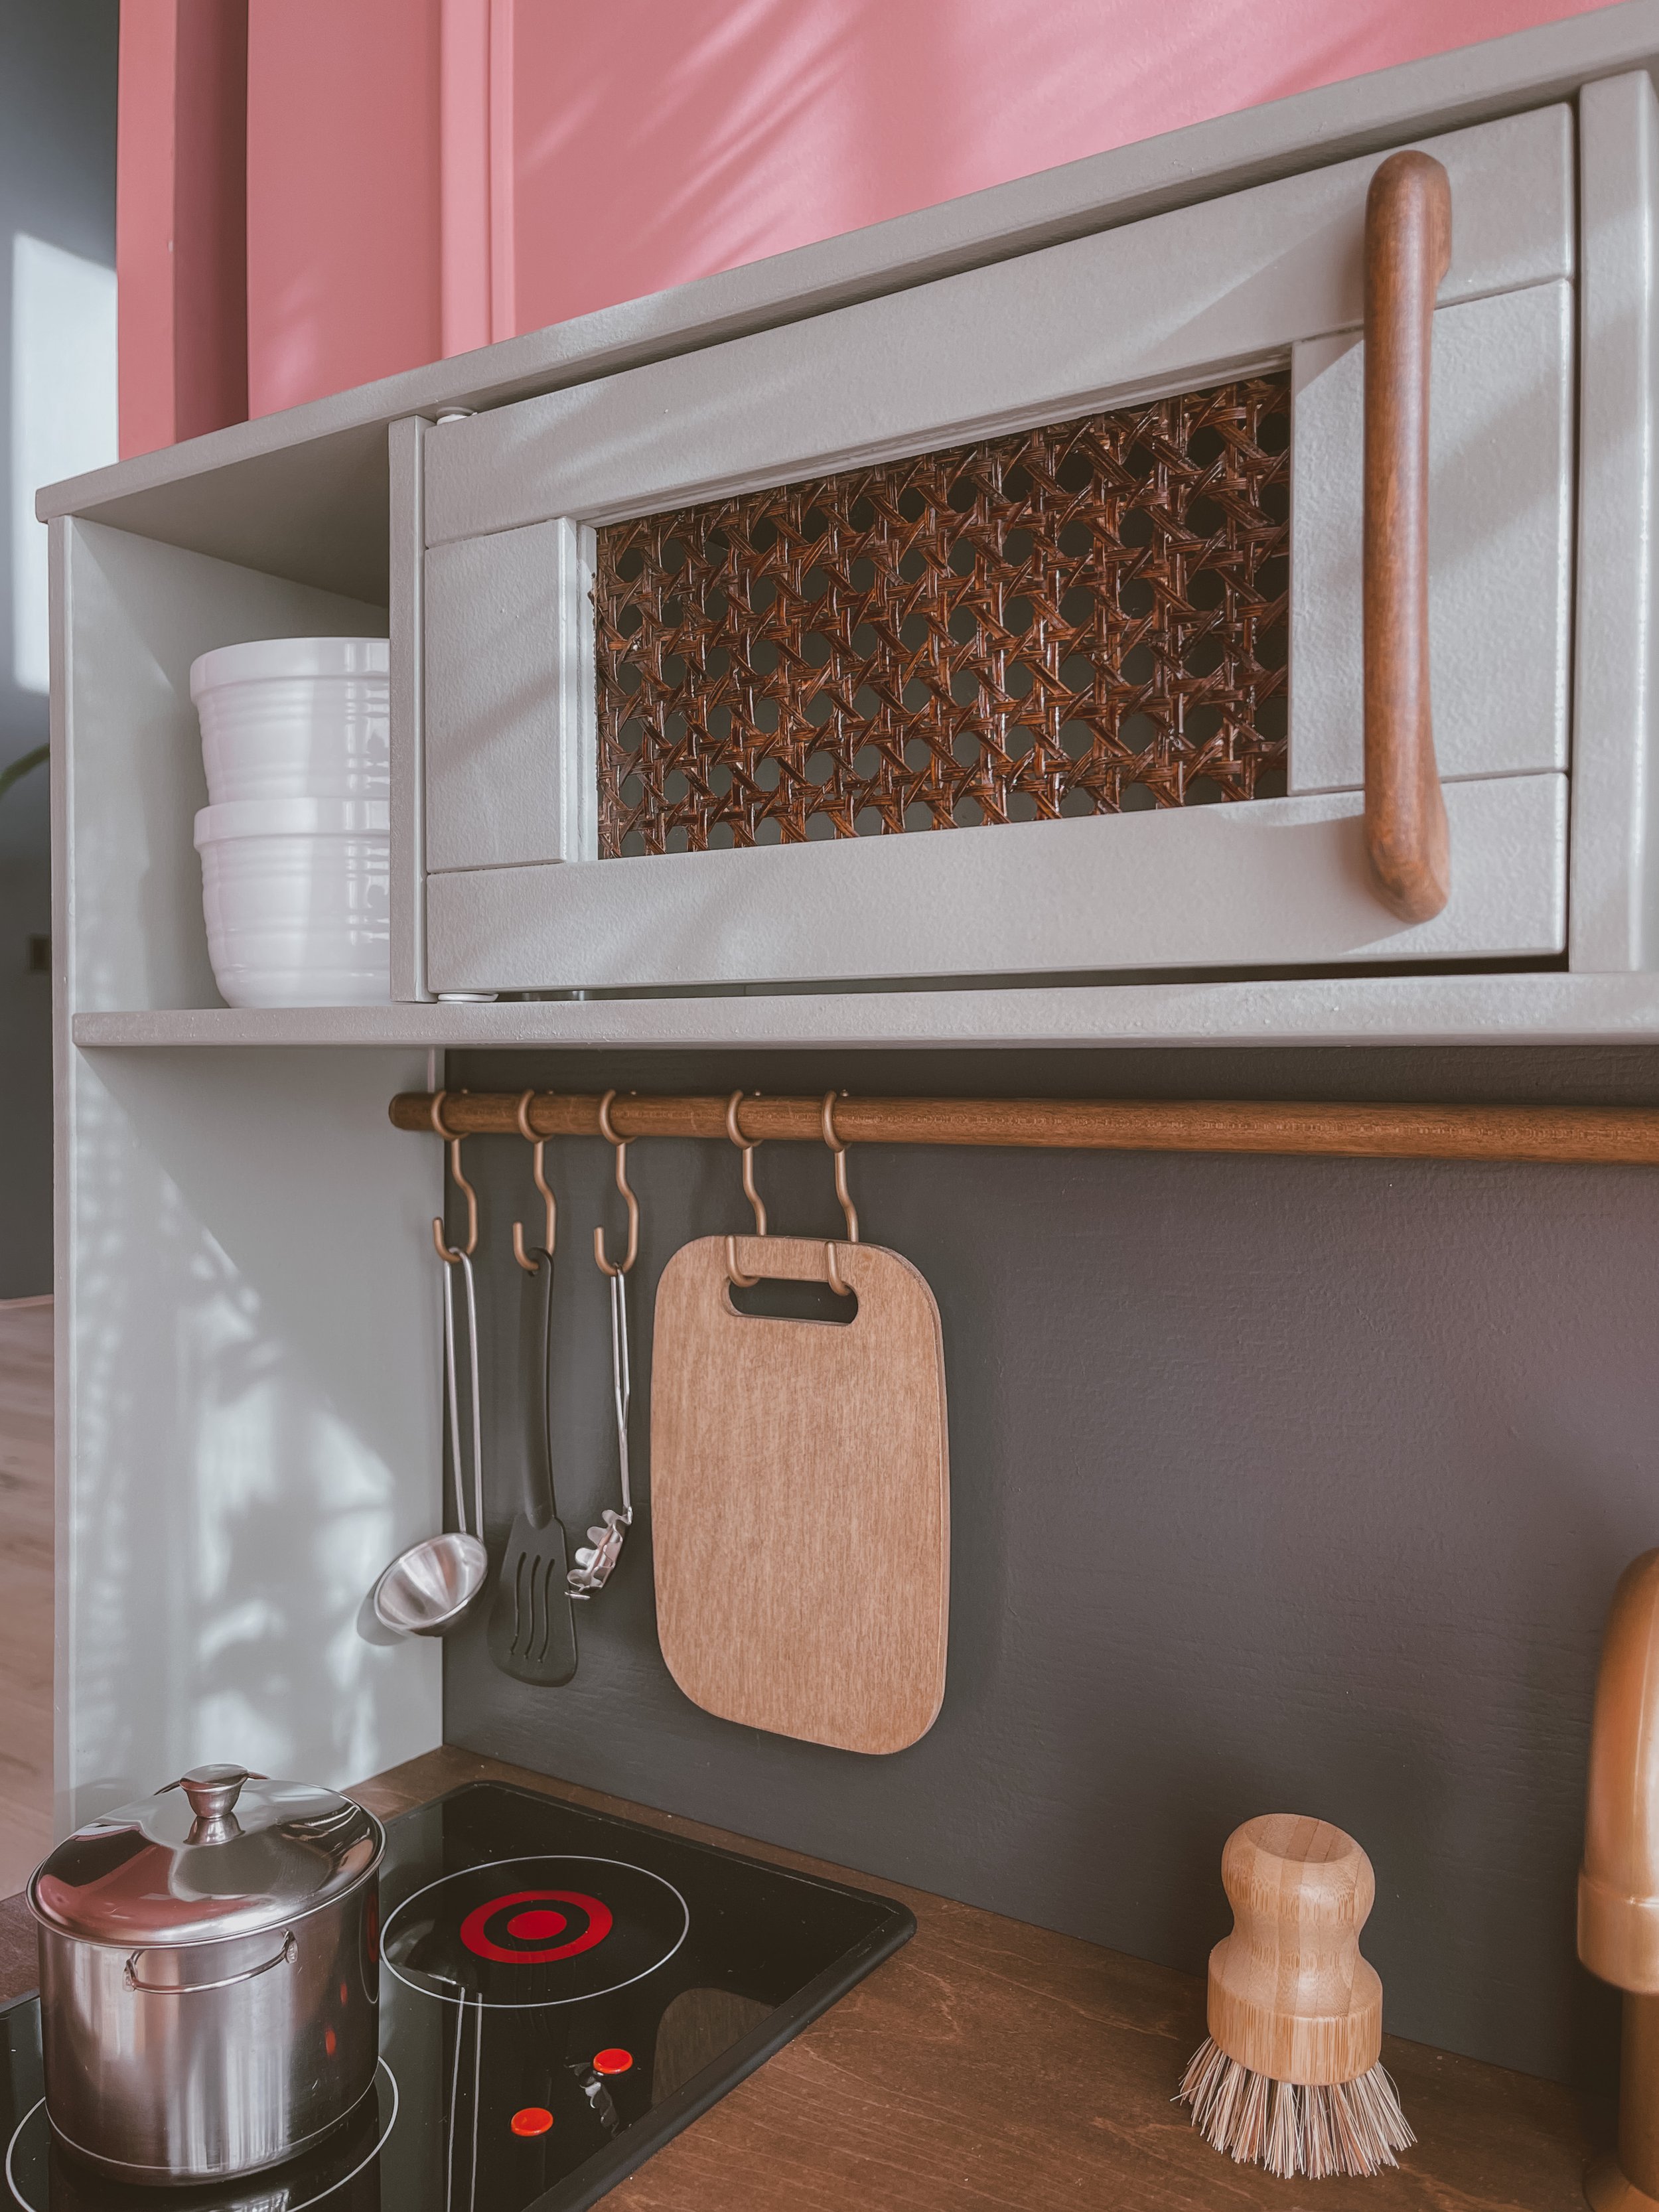
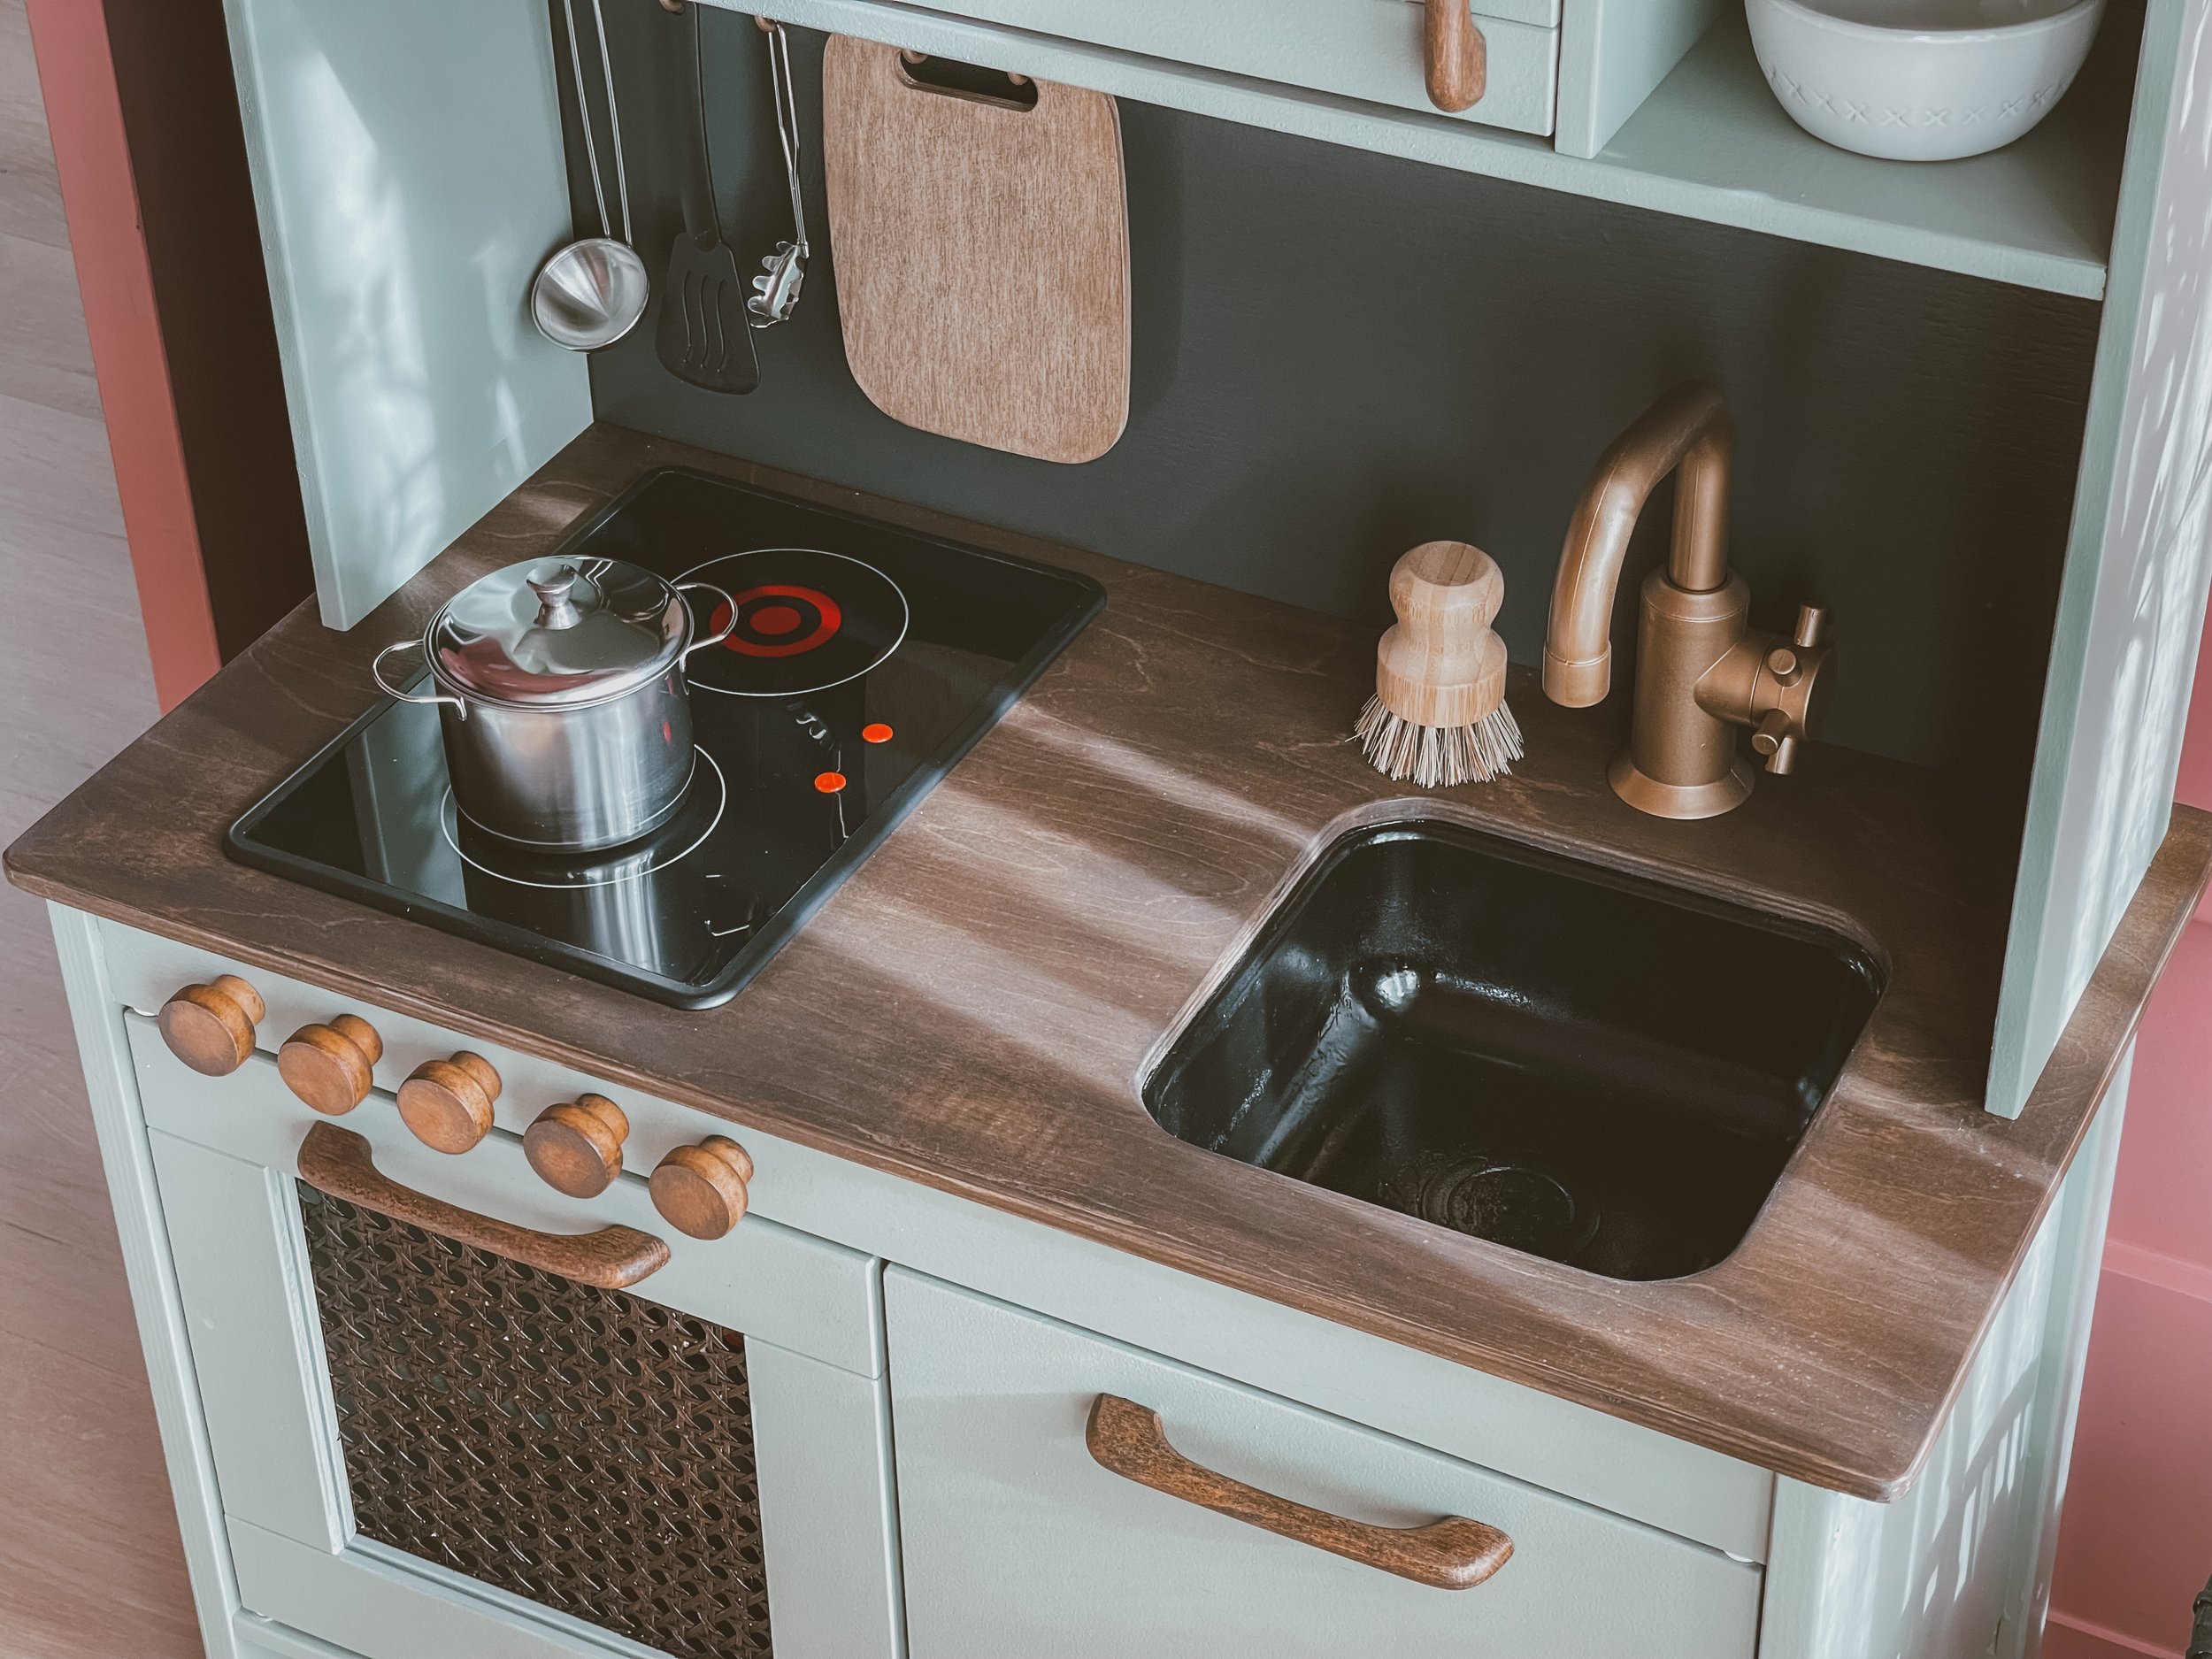
I stressed over this project before I started and let me say, it was SO fun to do. The Ikea Duktig Play Kitchen is $99. It’s a very simplistic design so the options to change it up are endless! You could spend as little or as much money as you want to customize it. I bought all of my materials at Home Depot, Amazon, and my enemy - Spray Polycrylic from Lowes. 😅
I tried to be as detailed as possible about each step, but if you have any questions you can comment below or DM me on Instagram.
MATERIALS:
80 Grit and 320 Grit Sandpaper that I used both by hand and with my Orbital Sander
Zinsser BIN White Shellac Spray - I used 2 1/2 cans
Rustoleum Spray Paint in Champagne Bronze - 1 can
Minwax Polycrylic Spray 1-2 cans in Clear Matte and the regular can half-pint in Satin (they didn’t have matte)
Behr Chalk Paint 1 qt tinted in Dusty Laurel. (This chalk paint can only be tinted in certain colors).
Optional : Polyshades in Mission Oak for the cane webbing. It will NOT work on the countertop. I don’t think you need this product but it’s what I used before I discovered the above stain.
Staining Cloth (I also tried a staining sponge but much prefer the cloths. I just used a glove with the cloths).
6” paint roller, with a 6” roller frame, and a 7” roller tray.
Paint brush - this one that I had on hand.
Wooden dowel in 1/2” cut to 26” long.
Thin piece of 1/4” 2’x4’ plywood for backsplash (or foam board that you could use peel and stick tiles)
Painters tape
24” Cane Webbing (2 feet) from Amazon
Gorilla Glue Construction Adhesive
INSTRUCTIONS FOR THE VENEER PIECES (EXCEPT COUNTERTOP):
Do NOT assemble the kitchen until the end. This makes sanding, painting, and sealing A BREEZE.
Remove the acrylic plastic from the microwave and oven piece. I banged it out with a hammer in the grass.
Lightly sand all of the flat wood/veneer pieces with 80 grit sandpaper. Remove dust.
Lightly spray all of your wood/veneer pieces (except the countertop) with the BIN shellac spray. Let dry, flip over, spray the other side.
Roll the chalk paint on to the pieces. Two coats each side. Let dry and flip and do two coats on the other side. Don’t forget about the edges.
Seal with Polycrylic. I brushed on and used the spray to see which I liked better. I think the spray quickly followed by a dry roller brush is my fav.
INSTRUCTIONS FOR THE COUNTERTOP:
Sand the countertop with 80 grit sandpaper until you remove the finish. If you tilt your head in the light you should see it dulling until there is no more shiny coating. Sand again with 320 grit until you get a smooth finish. Remove dust.
Shake you stain well. Dip your staining cloth and apply the stain in the direction of the grain (side to side). I lightly sanded it again with 320 grit, dusted it off, and applied one more coat of stain.
This part was so easy and I think it looks BEAUTIFUL!!
INSTRUCTIONS FOR HANDLES, KNOBS, AND DOWEL RAIL:
I ended up buying new handles, knobs for below the stove, and replacing the metal rod with a wooden dowel.
Sand all of these pieces with 80 grit by hand to remove the shine. Sand again with 320 grit to smooth down. I just used two of the sanding sheets for my orbital sanded and used it by hand. Remove dust.
Apply the stain with your staining cloth. 1-2 coats. It should be dry within minutes.
Spray with LIGHT sprays of Polycrylic. The spray is INCREDIBLY spitty. You must also do VERY light coats to avoid drips. I just set them up and would walk by every now and then to do another light coat of Polycrylic.
INSTRUCTIONS FOR THE CANE WEBBING:
Stain the cane with the staining cloth and liquid stain. Let dry.
Soak in luke-warm water for at least 30 minutes.
Apply with staple gun and 1/4” staples.
INSTRUCTIONS FOR STOVE:
Use painters tape to tape off the top area that you don’t want touched, leaving the grey edge exposed.
Spray grey edge with black spray paint. Let dry.
Spray with Polycrylic.
Remove painters tape.
INSTRUCTIONS FOR THE HOOKS, PLASTIC LEGS, AND FAUCET:
I’m not sure if I should have used the BIN primer first, but I didn’t. I just sprayed them with two coats of the Champagne Gold Spray Paint.
I did several LIGHT coats of the Spray Polycrylic letting it dry in-between coats.
INSTRUCTIONS FOR THE BACKSPLASH:
Cut a piece of thin wood or foam board into 26 5/8” x 12 3/8”
I used a thin piece of wood I found in the clearance section at Home Depot and painted it with some leftover Iron Ore Matte paint and sealed it with the Polycrylic.
Nail the backsplash onto the kitchen with 3/4” brad nails.
INSTRUCTIONS FOR THE SINK ( a disaster!) :
Well, this is where I made my one and only big mistake. I sprayed the sink with black appliance epoxy spray paint and as I was walking outside to see it in the daylight after it dried and I BARELY scratched it on the door. No big deal since I planned to undermount the sink. I proceeded to sprayed it with Polycrylic and THIS was the first time I was using the spray and realizing how spitty it was. First, you need SUPER light coats. Well, I didn’t know that yet, so I sprayed it on like spray paint and it started to puddle inside of the sink. This is also when I realized the spray was SO spitty. I ended up trying to sand the paint off and I gouged the HECK out of the sink. I tried so hard to save it. The gouges I made while trying to remove that spray paint and polycrylic are obviously still there but oh well!
MY SOLUTION: Well, turns out you can’t buy a replacement sink so someone on reddit recommend using an 8 inch pan so that’s what I did but didn’t love how it looked. Remember, there is always a solution and DIYs don’t always go as planned. I ended up painting the original sink one more time with the black Appliance Epoxy spray paint.
If under-mounting, attach the original sink with Gorilla construction adhesive. You don’t need much!
Once you have prepped all of the above it’s time to assemble it!!
Drill holes for your “stove knobs”. We covered the area with painters tape to mark where we wanted the knobs to go. Drilled using 5/32” drill bit. Use screws that came with the knobs.
Attach the cane webbing with a staple gun and 1/4” long staples to the back of the microwave and stove pieces. I added some left over thin wood that I bought for the backsplash to cover the back of the cane in hopes of stopping my toddler from poking right through the holes. You could also use a sheet of acrylic.
Follow the Ikea directions to assemble the kitchen.
To under-mount the sink you can glue it or screw it in. We glued it using Gorilla Glue Construction Adhesive.
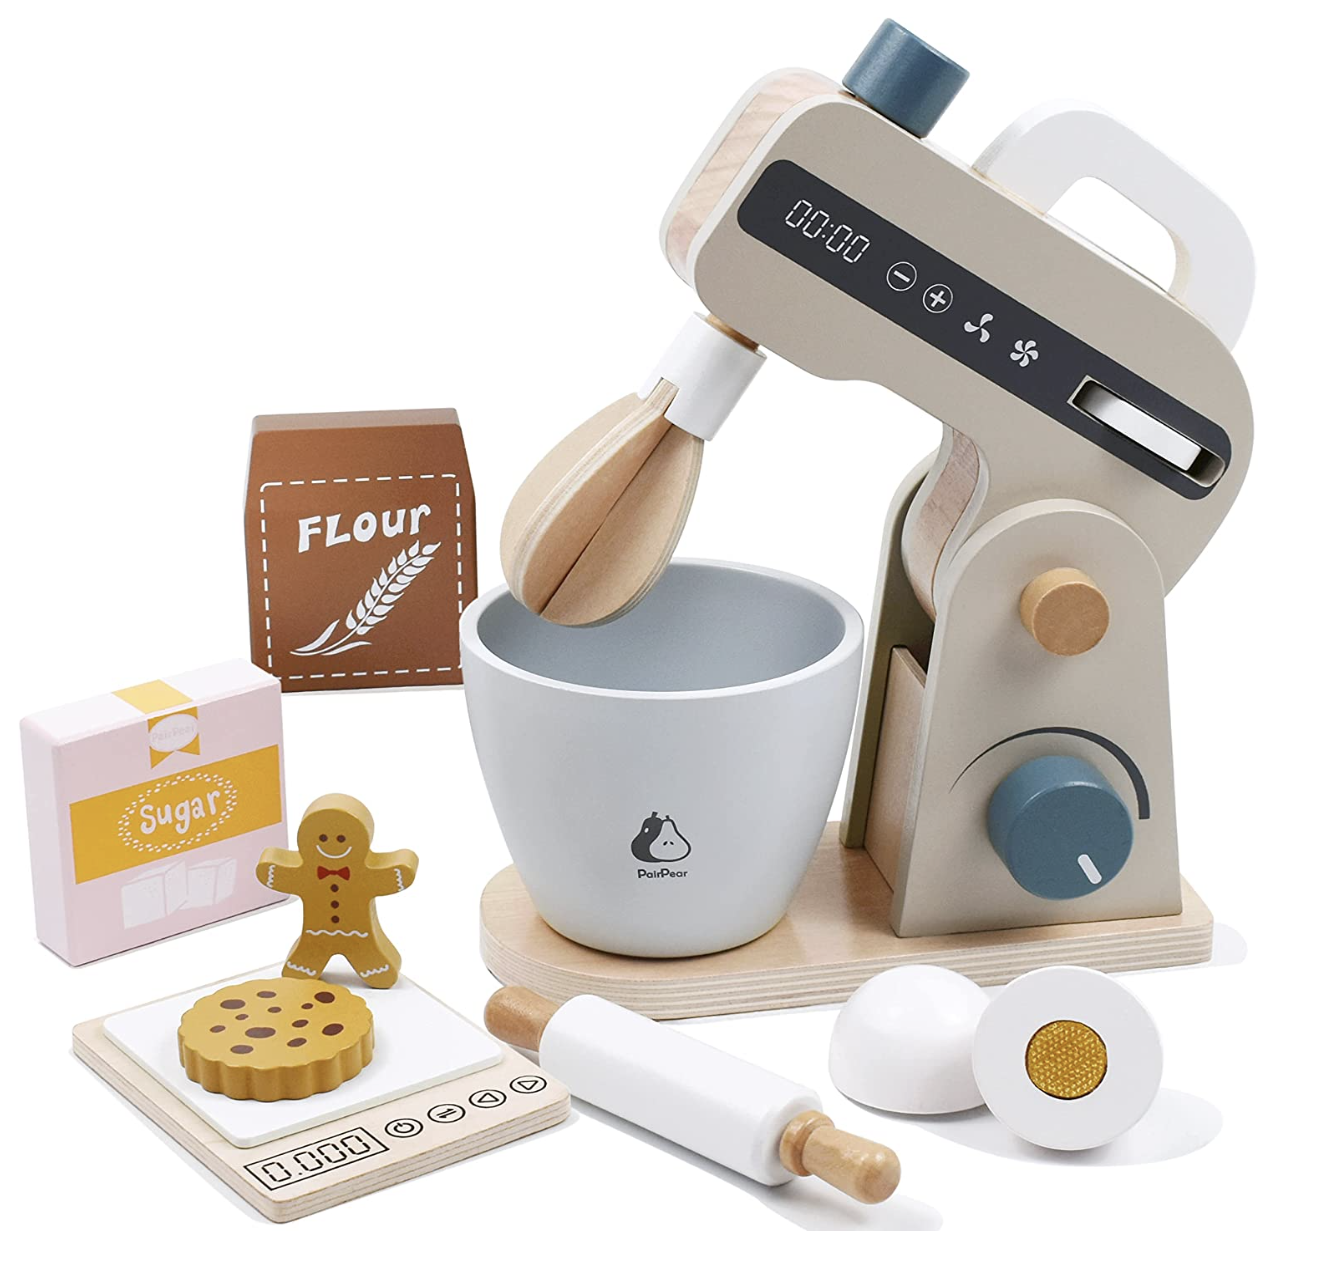
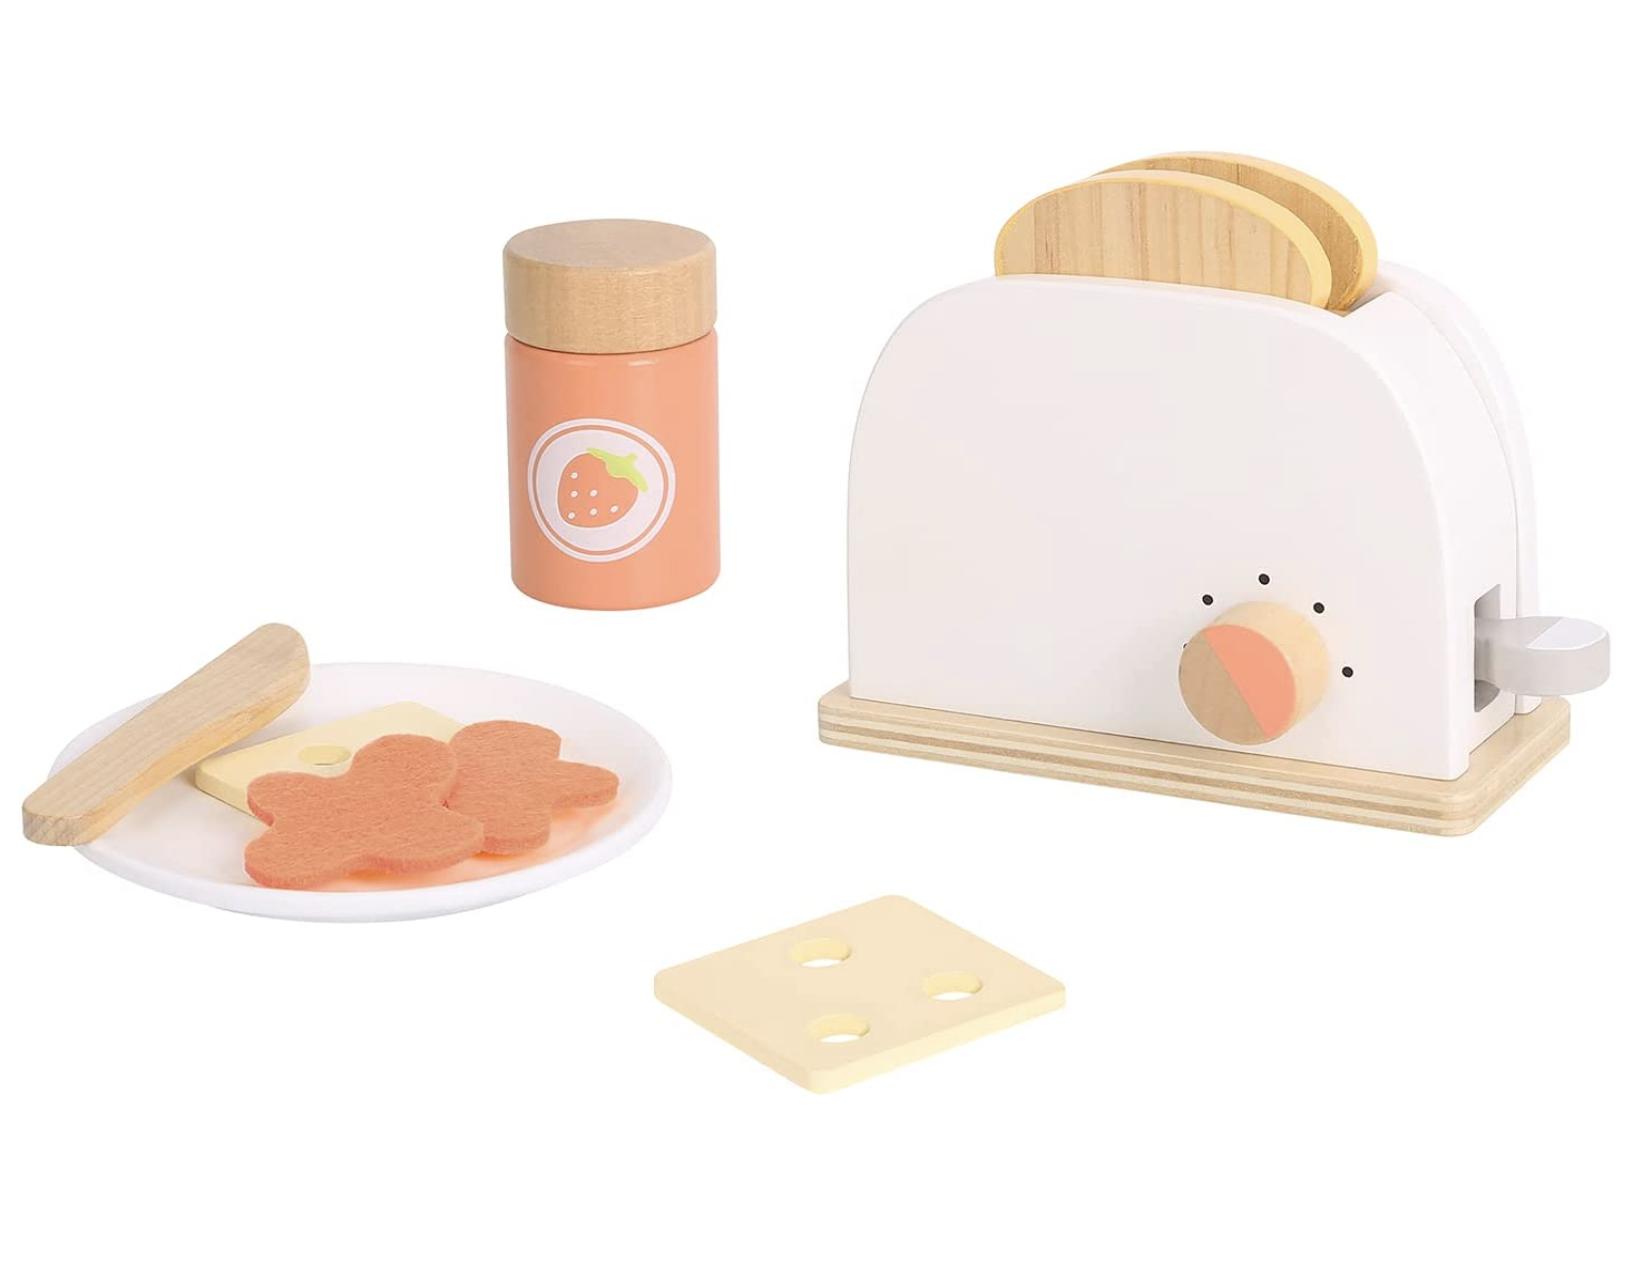
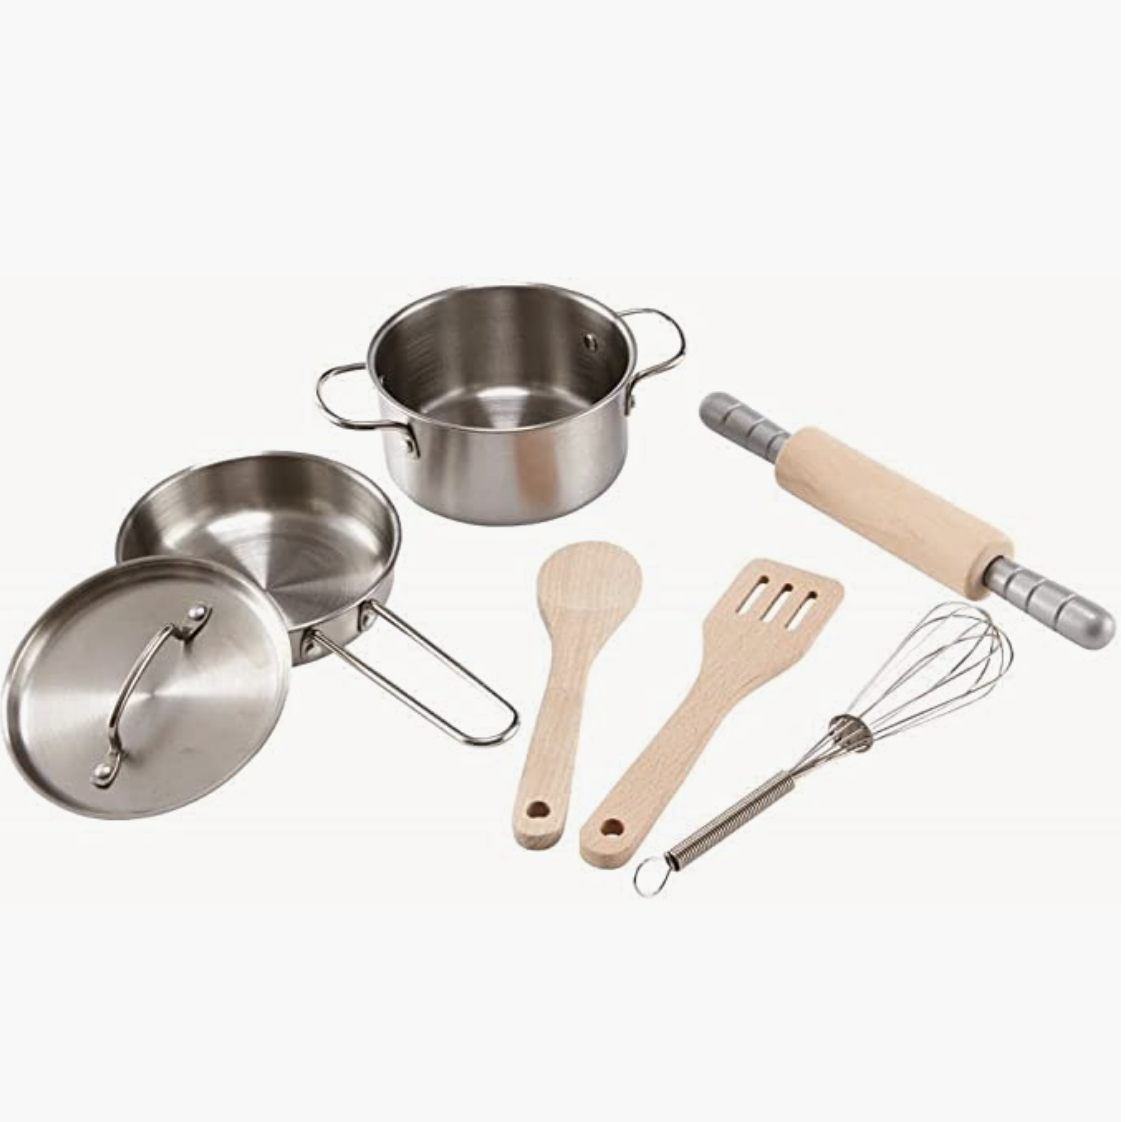
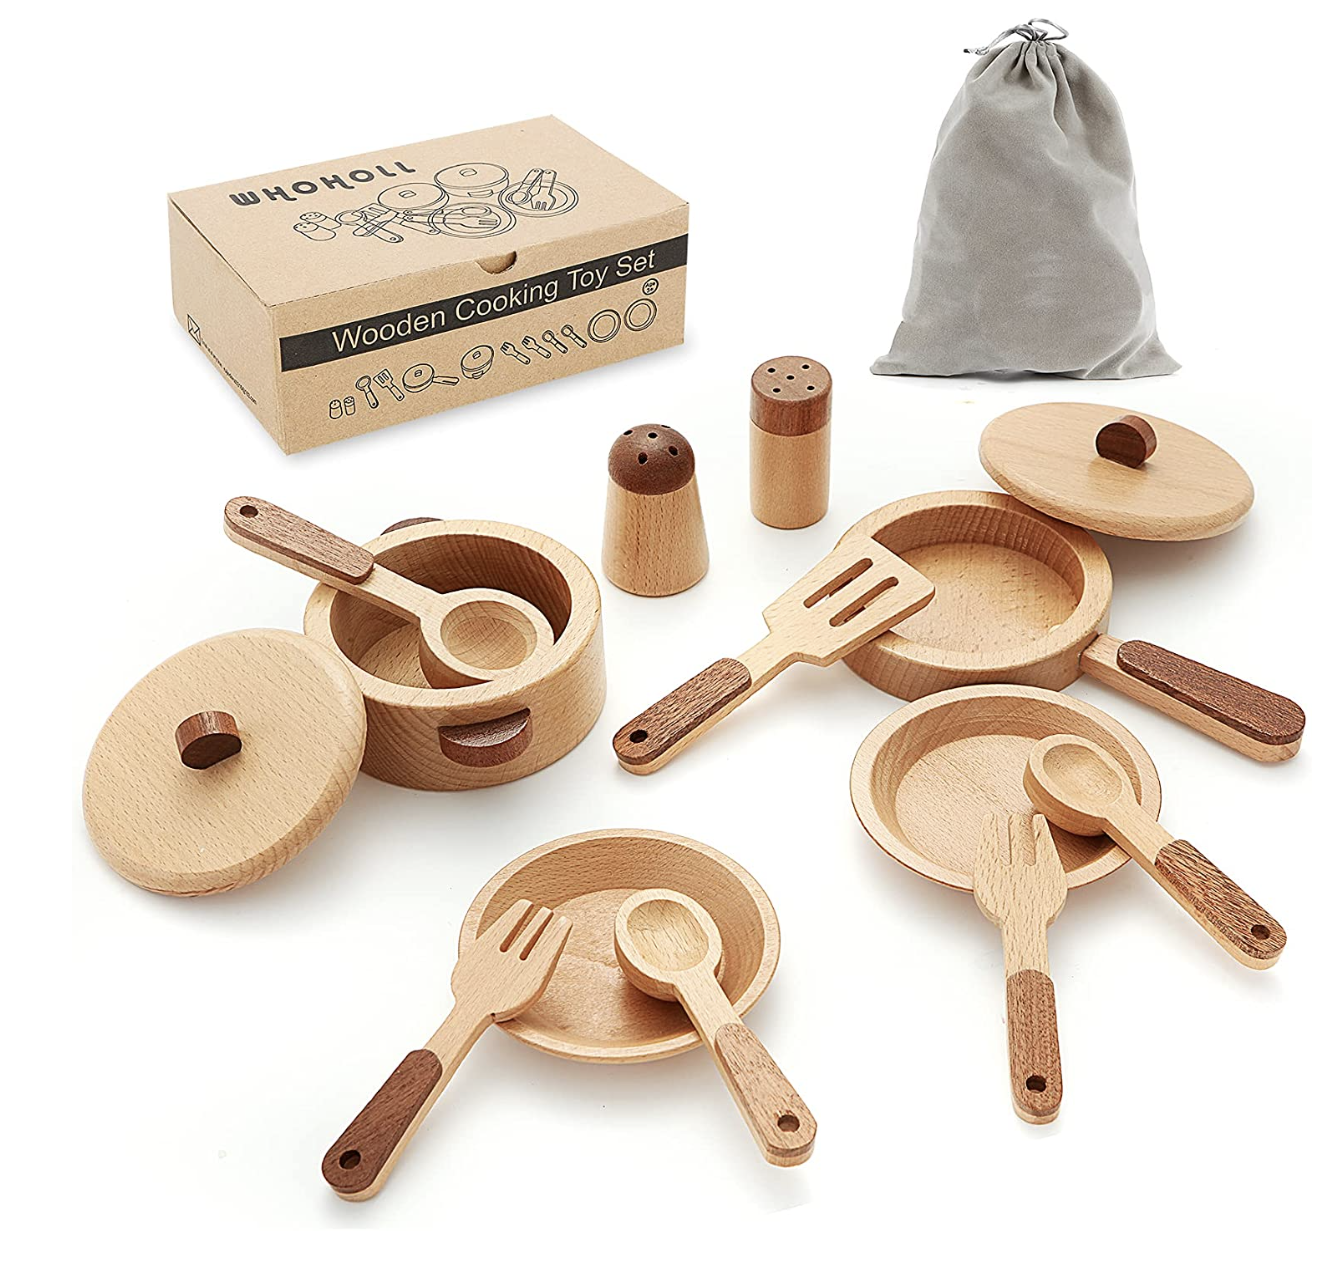
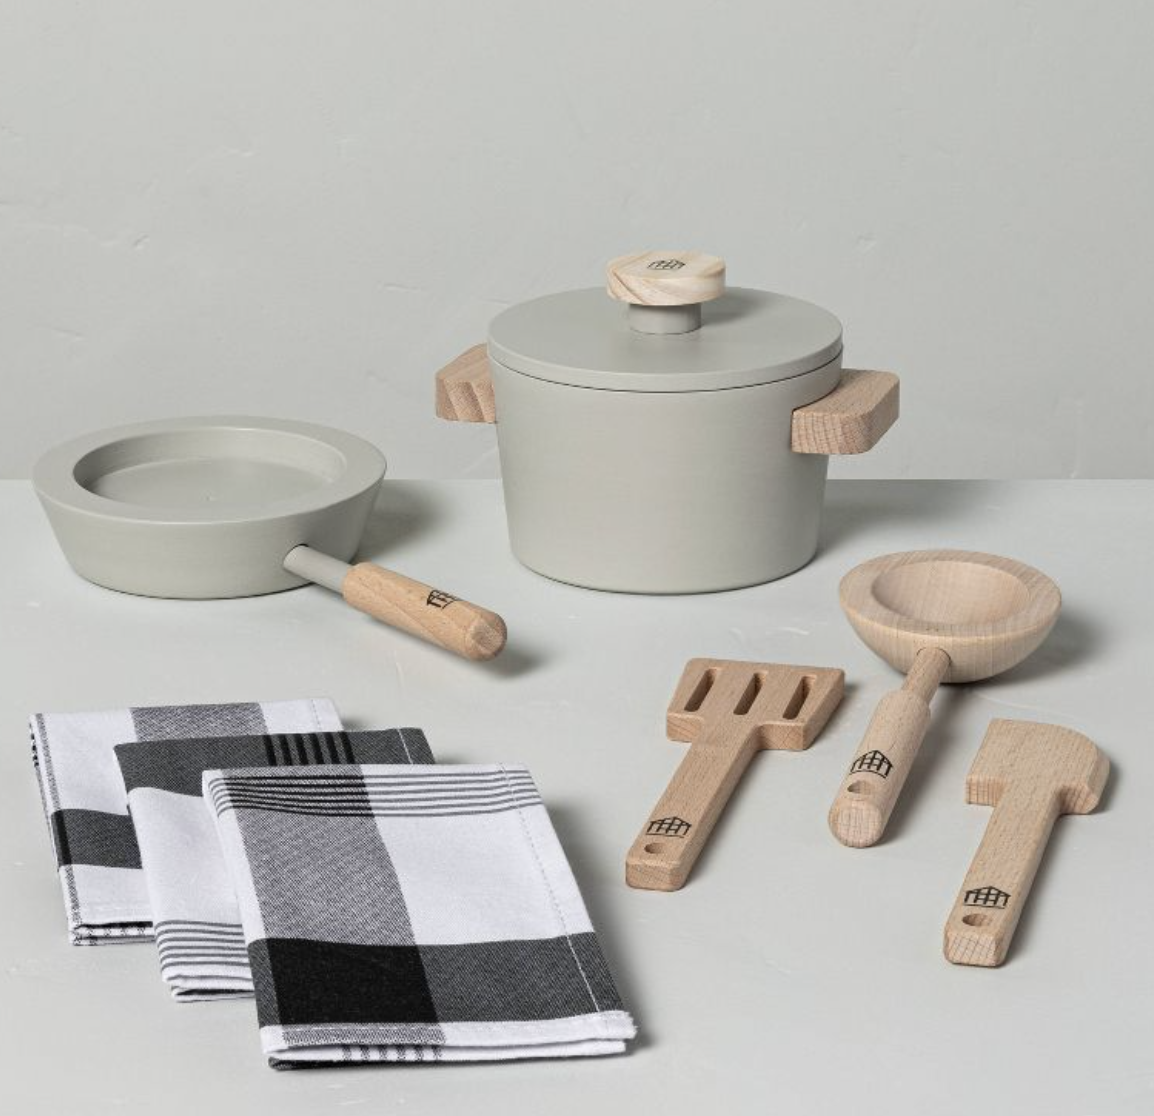
Now you can accessorize with adorable kitchen items!